Summer’s bounty brings with it the unparalleled joy of biting into sweet, juicy corn on the cob. But as the season wanes, you don’t have to say goodbye to that fresh corn flavor. Freezing corn on the cob is a remarkably easy and efficient way to keep that taste of summer alive throughout the year. This guide will walk you through the best practices for freezing corn, ensuring you can enjoy its deliciousness long after the summer harvest.
Selecting the Perfect Corn for Freezing
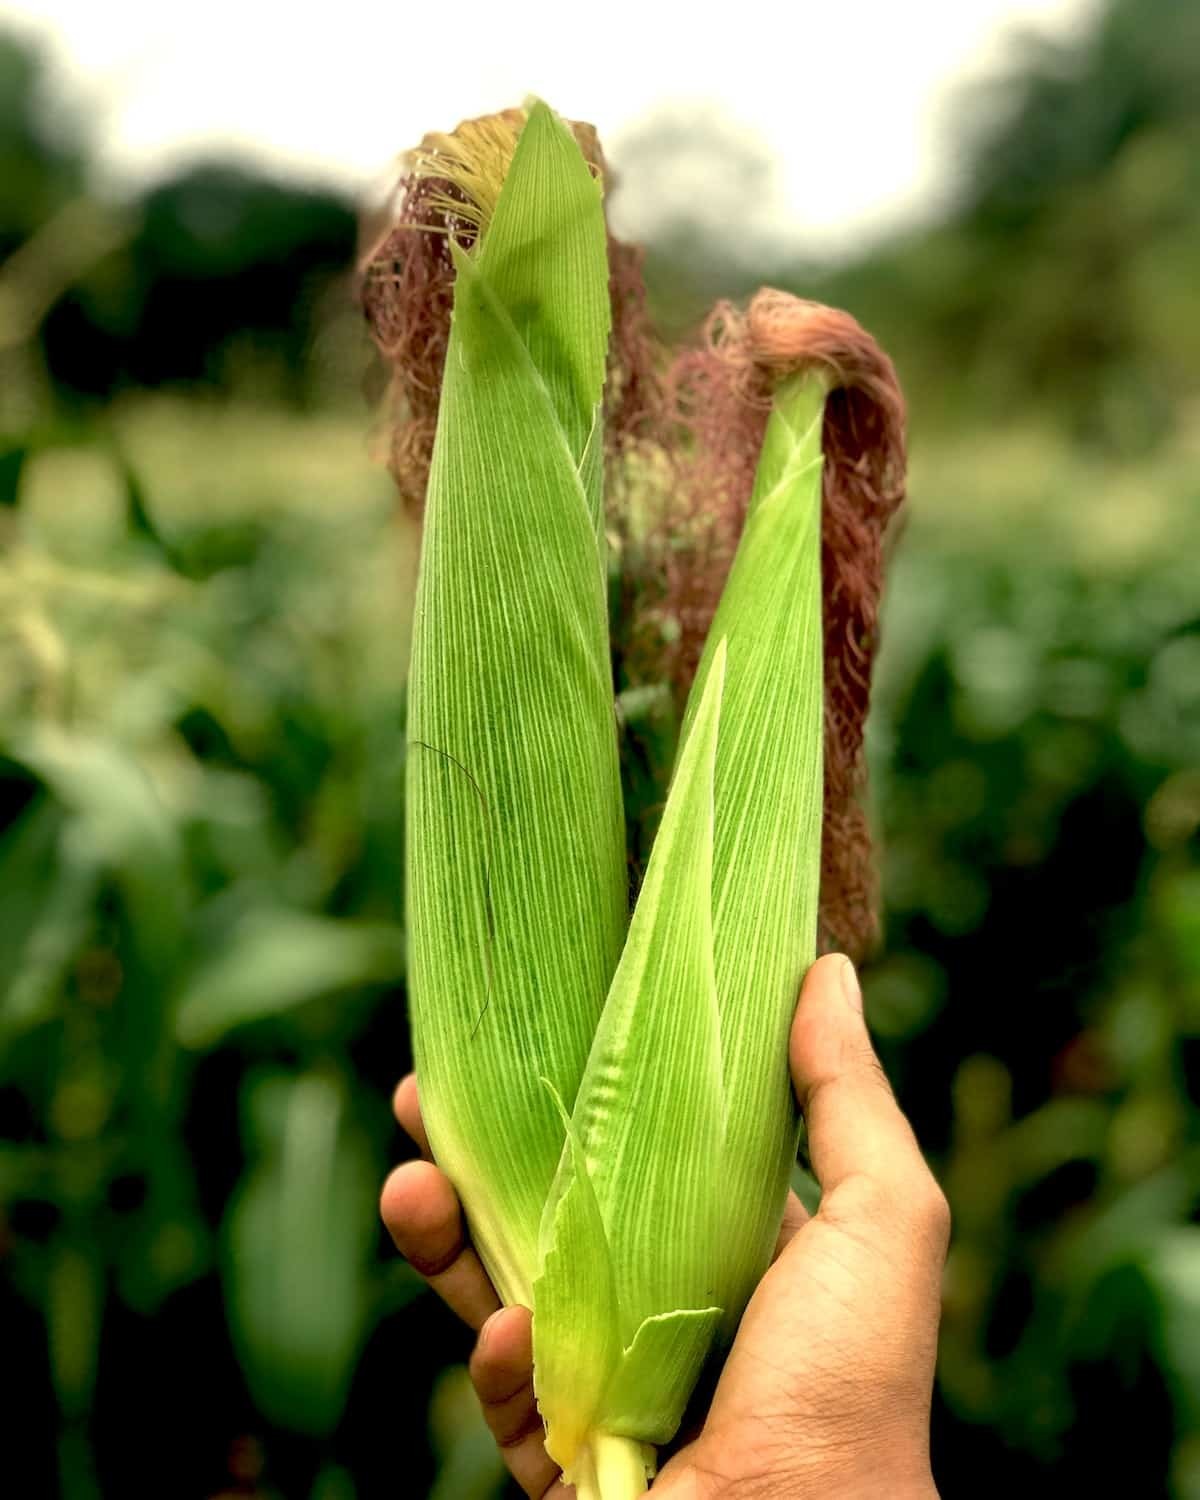
The foundation of exceptional frozen corn starts with choosing the right ears. Regardless of the freezing method you choose, begin with the highest quality, peak-season corn. Look for ears that feel heavy for their size, indicating plump kernels full of flavor. The husks should be bright green and tightly wrapped, with fresh, white silks protruding from the top. Don’t hesitate to peel back a small section of the husk to check for any signs of insects or mold, particularly at the tip of the ear, where they often hide. Choosing the best corn upfront will significantly impact the taste and texture of your frozen corn later.
Step-by-Step Guide: Freezing Corn on the Cob
Just like freezing other summer vegetables like zucchini, summer squash, and even avocados, freezing corn on the cob is a straightforward process. There are three primary methods to effectively freeze corn, each with its own advantages depending on how you plan to use the corn later. These methods will help you extend the life of your corn harvest, allowing you to savor the taste of summer corn well into the colder months. Let’s explore each method in detail.
Method 1: Freezing Whole Corn on the Cob
This method is ideal for those who want to enjoy corn on the cob just as they would fresh, simply reheating and serving it whole.
Step 1: Shucking the Corn
Begin by shucking the corn. This means removing the outer green husks and the silky strands (corn silk) from each ear of corn. Ensure all husk and silk are removed to prepare the corn for blanching.
Step 2: Blanching the Corn
Blanching is a crucial step before freezing corn. It deactivates enzymes that can cause loss of color, nutrients, flavor, and texture during freezing. Bring a large pot of salted water to a rolling boil. Carefully place the shucked corn into the boiling water. Blanch for 2-3 minutes. Use tongs to remove the corn from the boiling water and immediately submerge it in a bowl of ice water to stop the cooking process. This ice bath is essential to prevent the corn from overcooking.
Step 3: Cooling, Drying, and Freezing
After blanching and cooling, remove the corn from the ice bath and allow it to drain and cool completely. Thoroughly dry each cob with paper towels. Excess moisture can lead to ice crystals and freezer burn. Wrap each cob individually in plastic wrap or parchment paper. This extra layer of protection helps prevent freezer burn and maintain the corn’s texture. Place the wrapped corn cobs into a freezer-safe bag. Remove as much air as possible from the bag before sealing to further prevent freezer burn. Label the bag with the date and contents before placing it in the freezer.
Using high-quality freezer bags, especially reusable silicone bags like Stasher bags, is recommended for freezing corn. They offer superior protection against freezer burn and are an environmentally friendly option.
Method 2: Freezing Blanched Corn Kernels
If you prefer to use corn kernels in recipes rather than eating it on the cob, freezing blanched kernels is a convenient method.
Step 1: Removing Corn Kernels from the Cob
The first step is to remove the kernels from the cob. A helpful technique is to stand the cob upright in a large bowl. Using a sharp kitchen knife, slice downwards along the cob, allowing the kernels to fall directly into the bowl. This method minimizes mess and efficiently removes the kernels.
Step 2: Blanching the Corn Kernels
Blanching kernels is similar to blanching whole cobs, but requires less time. Bring a pot of salted water to a boil. Add the corn kernels to the boiling water and blanch for about 2 minutes. Remove the blanched kernels using a spider strainer or by pouring them into a colander to drain the hot water.
Step 3: Cooling, Drying, and Freezing Kernels
After blanching, immediately transfer the kernels to an ice bath to stop the cooking process and cool them down. Once cooled, thoroughly pat the kernels dry with paper towels to remove excess moisture. Spread the kernels in a single layer on a baking sheet lined with parchment paper and flash freeze for about 1-2 hours. This pre-freezing step prevents the kernels from clumping together in the freezer bag. After flash freezing, transfer the kernels to a freezer-safe bag, remove as much air as possible, seal, label, and freeze.
Method 3: Freezing Unblanched Corn Kernels
For the quickest method, you can freeze corn kernels without blanching. This is the simplest approach, though it may slightly affect the texture of the corn.
Step 1: Cutting and Freezing Kernels
Cut the kernels off the cob using the same method as in Method 2. Place the raw kernels directly into freezer-safe bags or silicone bags. Remove as much air as possible from the bag before sealing.
Step 2: Freezing and Storing
Label the bags with the date and contents and place them in the freezer. Unblanched frozen corn kernels can be stored for up to 12 months. It’s important to note that unblanched corn will have a softer texture after thawing compared to blanched corn, making it best suited for cooked dishes where texture is less critical.
Thawing Unblanched Corn: To use, you can thaw the kernels overnight in the refrigerator. For quicker use, pour the frozen kernels into a strainer and run cold water over them until they are thawed enough to use in your recipe. Unblanched corn kernels are not ideal for fresh preparations like salads due to the texture change, but they work wonderfully in soups, chili, and skillet dishes.
Reheating and Serving Frozen Corn
The best way to reheat and serve your frozen corn depends on the method you used for freezing.
Reheating Whole Frozen Corn on the Cob
Whole frozen corn on the cob can be cooked directly from frozen. Bring a pot of water to a boil, and add the frozen corn cobs. Boil for approximately 5-8 minutes, or until the corn is heated through. To check for doneness, a kernel should easily puncture when gently pressed with a paring knife.
Serve whole corn on the cob with butter, salt, and pepper for a classic side dish. Alternatively, you can cut the kernels off the cob after reheating and add them to dishes like stuffed grilled avocados or turkey chili pie. Just like fresh summer wax beans, frozen corn is also delicious when garnished with fresh herbs like cilantro or basil.
Reheating Blanched Frozen Corn Kernels
Blanched frozen corn kernels are very similar to store-bought frozen corn and are quick to reheat. Microwave the kernels with a tablespoon or two of water on high for about 2-3 minutes, or until heated through. You can also sauté them in a skillet with a bit of butter or olive oil.
Use blanched frozen corn kernels in any recipe where you would use fresh cooked corn or canned corn. They are excellent in salads, burritos, grain bowls, wraps, and salsas. For a simple side dish, try tossing them with brown butter. Blanched frozen corn kernels are also great for baking. Add them to sweet potato cornbread or cherry corn muffins for a boost of flavor and texture.
Cooking with Unblanched Frozen Corn Kernels
Unblanched frozen corn kernels are best used in cooked dishes where a slightly softer texture is acceptable. Add them directly to soups, stews, or chili. For a simple reheating method, add the frozen kernels to a pot of boiling salted water and cook for 3-5 minutes, or until heated through.
Unblanched corn shines in dishes like brisket chili and Mexican vegetable soup, where its texture blends seamlessly with other ingredients.
Final Thoughts on Freezing Corn
While nothing quite compares to the absolute perfection of fresh-picked corn on the cob enjoyed in the summer sun, freezing corn is an invaluable skill for preserving the taste of summer. Whether you choose to freeze whole cobs, blanched kernels, or unblanched kernels, you can easily extend the life of your corn harvest and enjoy its sweet flavor throughout the year.
Remember to select the freezing method that best suits how you plan to use the corn. Whole cobs are perfect for simple enjoyment, blanched kernels are versatile for salads and side dishes, and unblanched kernels are ideal for soups and stews. With these simple techniques, you can have a taste of summer corn anytime you desire.
How to Freeze Corn on the Cob Recipe
By: Gina Matsoukas
Servings: 4 servings
Prep time: 5 minutes
Cook time: 4 minutes
Additional time: 5 minutes
Total time: 14 minutes
Save this recipe on Pinterest Print this Recipe
Learn how to preserve summer’s fresh corn by freezing corn on the cob with these three easy methods.
Ingredients
- 4 corn on the cob
- Plastic wrap or parchment paper
- Freezer-safe bags
Instructions
Whole Frozen Corn on the Cob
- Shuck the corn by removing husks and silk.
- Blanch the corn: Add corn to boiling salted water for 2-3 minutes.
- Ice bath: Submerge blanched corn in ice water.
- Dry and wrap: Dry corn thoroughly with paper towels, wrap each cob in plastic wrap or parchment paper.
- Freeze: Place wrapped cobs in a freezer bag, remove air, seal, and freeze.
Blanched Corn Kernels
- Remove kernels: Slice kernels off the cob into a bowl.
- Blanch kernels: Blanch corn kernels in boiling salted water for 2 minutes.
- Drain and cool: Remove kernels with a strainer and drain.
- Dry and freeze: Pat kernels dry, let cool, then freeze in a freezer bag.
Unblanched Corn Kernels
- Cut kernels: Cut corn kernels off the cob.
- Freeze kernels: Add kernels to a freezer bag, remove air, seal.
- Store: Place in freezer, label and date for future use.
Nutrition
Serving: 1g | Calories: 157kcal | Carbohydrates: 32g | Protein: 5g | Fat: 3g | Saturated Fat: 1g | Polyunsaturated Fat: 2g | Sodium: 347mg | Fiber: 3g | Sugar: 5g
Nutritional information is an approximation.
Additional Information
Course: Guides
Cuisine: American
Original article source: Food Drink Life
By: Gina Matsoukas
Founder and Writer at Running to the Kitchen