Craving a delicious and satisfying meal that’s also incredibly easy to make? Look no further than oven-baked chicken legs! This recipe transforms simple chicken drumsticks into a flavorful dish with irresistibly crispy skin and tender, juicy meat inside. Forget bland chicken – with the right seasonings and baking technique, you can create chicken legs that will be the star of any dinner table.
Whether you’re looking for a weeknight dinner solution or a crowd-pleasing main course for a casual gathering, baking chicken legs is a fantastic option. It’s budget-friendly, requires minimal prep work, and pairs perfectly with a variety of side dishes. If you’re ready to learn the secrets to baking chicken legs that are better than takeout, keep reading!
Why Oven-Baked Chicken Legs are a Winner
Baking chicken legs offers several advantages that make it a go-to cooking method for many home cooks:
- Effortless Cooking: Simply season, place on a baking sheet, and let the oven do the work. Minimal hands-on time is required, making it perfect for busy weeknights.
- Budget-Friendly Protein: Chicken legs are typically more affordable than chicken breasts or thighs, allowing you to feed a family without breaking the bank.
- Versatile Flavor Profile: Chicken legs are incredibly adaptable to different seasonings and sauces. From simple salt and pepper to bold spice blends, you can customize the flavor to your liking.
- Crispy Skin and Juicy Interior: Baking at the right temperature ensures crispy skin while keeping the inside meat moist and tender, a textural contrast that’s truly satisfying.
- Pairs with Everything: Baked chicken legs are a blank canvas when it comes to side dishes. They complement everything from classic mashed potatoes and mac and cheese to fresh salads and roasted vegetables.
Essential Ingredients for Baking Chicken Legs
This recipe uses pantry staples to create a flavorful seasoning that enhances the natural taste of chicken. Here’s what you’ll need:
- Chicken Drumsticks: The star of the show! Aim for about 2 pounds of chicken legs, which is typically around 8 drumsticks.
- Olive Oil: Helps the seasoning adhere to the chicken and promotes crispy skin. You can substitute with another cooking oil if preferred.
- Sea Salt & Black Pepper: Essential for bringing out the flavor of the chicken and other spices.
- Garlic Powder: Adds a savory and aromatic depth to the seasoning.
- Smoked Paprika: This is the secret ingredient for a hint of smoky flavor, reminiscent of grilled chicken. If you only have regular paprika, it will still work, but smoked paprika is highly recommended for the best taste.
- Chili Powder: Provides a mild warmth and complexity to the spice blend.
- Onion Powder: Another foundational savory spice that complements the garlic powder and other seasonings.
Step-by-Step Guide: Baking Chicken Legs to Perfection
Follow these simple steps to bake chicken legs that are guaranteed to impress:
1. Prepare the Chicken
- Pat Dry: Remove the chicken drumsticks from their packaging and pat them thoroughly dry with paper towels. This is a crucial step for achieving crispy skin because removing excess moisture allows the skin to crisp up in the oven.
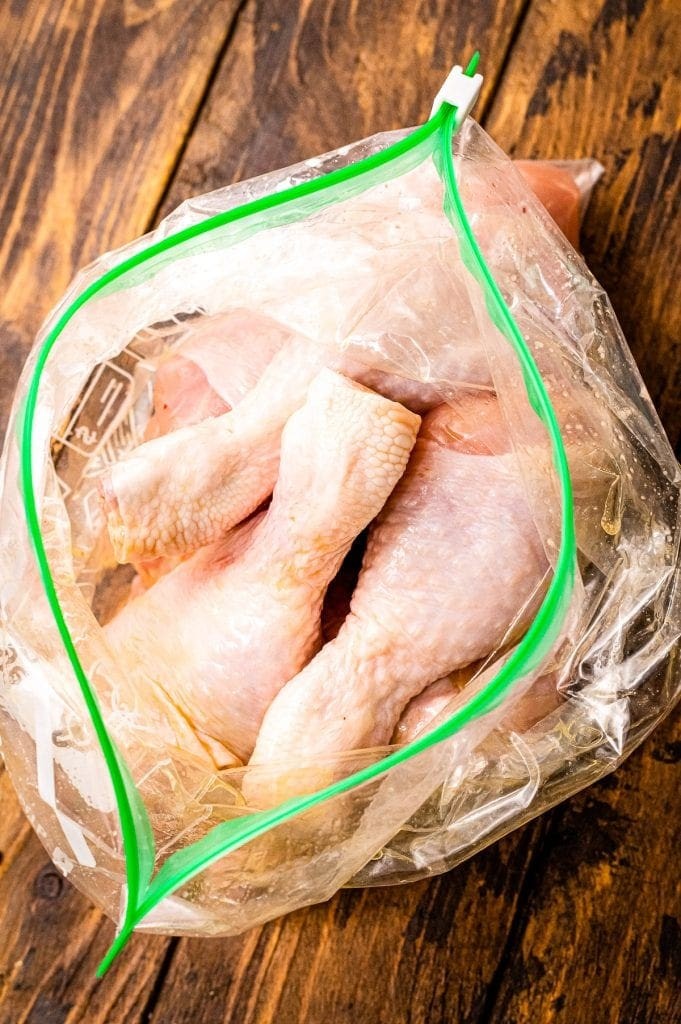
- Oil Coating: Place the dried chicken legs in a large resealable plastic bag or a bowl. Drizzle with olive oil and toss to ensure each drumstick is evenly coated. The oil helps the seasoning stick and contributes to crispy skin.
2. Create the Flavorful Seasoning
- Spice Blend: In a small bowl, combine the sea salt, black pepper, garlic powder, smoked paprika, chili powder, and onion powder. Mix well to ensure all spices are evenly distributed.
3. Season the Chicken Legs
- Spice Application: Pour the spice mixture into the bag or bowl with the oiled chicken legs. Seal the bag (if using) and toss or stir to thoroughly coat each drumstick with the seasoning blend. Make sure the spices are evenly distributed for consistent flavor in every bite.
4. Baking Instructions for Crispy Chicken Legs
- Preheat Oven: Preheat your oven to 425°F (220°C). This high temperature is key to achieving crispy skin.
- Prepare Baking Sheet: Line a baking sheet with aluminum foil for easy cleanup. Lightly spray the foil with non-stick cooking spray to prevent the chicken legs from sticking during baking.
- Arrange Chicken: Place the seasoned chicken legs on the prepared baking sheet in a single layer, ensuring they are not overcrowded. Overcrowding can steam the chicken instead of baking, hindering crispiness.
- Bake Time: Bake in the preheated oven for 40-45 minutes. There’s no need to flip the chicken legs during baking. The high heat will circulate and cook them evenly.
5. Check for Doneness
- Internal Temperature: The most accurate way to check if chicken legs are fully cooked is to use a meat thermometer. Insert the thermometer into the thickest part of a drumstick, avoiding the bone. The internal temperature should reach at least 165°F (74°C). For chicken legs, cooking them slightly longer can result in even more tender meat that practically falls off the bone.
- Visual Cues: If you don’t have a meat thermometer, you can check for doneness by cutting into the thickest part of a chicken leg. The meat should be cooked through to the bone, and the juices should run clear, not pink.
Tips for Extra Crispy Baked Chicken Legs
Want to take your baked chicken legs to the next level of crispiness? Here are a few extra tips:
- Maximize Dryness: The drier the chicken skin before baking, the crispier it will become. Consider letting the seasoned chicken legs sit uncovered in the refrigerator for 30 minutes to an hour before baking to further dry out the skin.
- High Heat is Your Friend: Baking at 425°F (220°C) is crucial for crispy skin. Don’t be tempted to lower the temperature, as this can result in less crispy chicken.
- Don’t Overcrowd the Pan: Give the chicken legs space on the baking sheet. If they are too close together, they will steam instead of crisping up. Use two baking sheets if necessary.
- Baking Rack (Optional): For even crispier skin all around, place a baking rack on top of your baking sheet and arrange the chicken legs on the rack. This allows hot air to circulate underneath the chicken, promoting even crisping.
How to Store and Reheat Baked Chicken Legs
- Storage: Leftover baked chicken legs can be stored in an airtight container in the refrigerator for up to 4 days.
- Reheating: You can reheat chicken legs in the oven, air fryer, or microwave. Oven or air fryer reheating will help to retain some crispiness, while microwaving is quicker but may result in softer skin. Note that reheated skin will generally not be as crispy as freshly baked chicken.
- Creative Leftovers: Shred leftover chicken leg meat and use it in sandwiches, salads, tacos, or soups for a quick and flavorful meal. Cold baked chicken is also delicious in salads or as a snack.
What to Serve with Baked Chicken Legs? Side Dish Ideas
Baked chicken legs are incredibly versatile and pair well with a wide array of side dishes. Here are a few delicious suggestions:
- Classic Comfort Food: Mac and cheese, mashed potatoes, creamy coleslaw, cornbread.
- Healthy Options: Roasted vegetables (broccoli, carrots, potatoes, Brussels sprouts), quinoa salad, green beans, side salad.
- BBQ Inspired: Baked beans, potato salad, corn on the cob, watermelon salad.
- International Flavors: Rice pilaf, couscous, греческий салат (Greek salad), салат из капусты (cabbage salad).
No matter what you choose to serve alongside, these baked chicken legs are guaranteed to be a crowd-pleaser. Enjoy the process of creating this simple yet satisfying dish, and get ready for compliments on your perfectly baked, crispy, and juicy chicken!