Have you ever cooked chicken breast only to find it dry, rubbery, and bland? You’re not alone. It’s a common kitchen woe, turning what should be a simple, healthy meal into a disappointing experience. But fear not! Mastering perfectly cooked, juicy chicken breast is absolutely achievable. This guide will walk you through the best method: pan-searing. Pan-searing chicken breast is not only incredibly fast and easy, but it also locks in moisture and creates a beautiful golden-brown crust that elevates flavor and texture. Let’s dive into the secrets of cooking chicken breast that’s consistently tender, flavorful, and far from boring.
Why Pan-Seared Chicken Breasts are a Game Changer
Pan-searing has become my absolute favorite technique for cooking chicken breasts, and for good reason. Unlike oven-baking, which can sometimes result in dry meat, pan-searing offers a rapid cooking process that seals in the juices. The direct heat from the skillet creates a wonderful Maillard reaction on the surface of the chicken, that beautiful browning that equals incredible flavor. This simply doesn’t happen as effectively in the more gentle, ambient heat of an oven.
Beyond speed and flavor, pan-seared chicken breasts are incredibly versatile. A simple change in seasoning can transform the dish entirely, making it feel like a brand new meal every time. I often cook a batch of chicken breasts at the start of the week and then slice them up to add protein to salads, pasta dishes, sandwiches, and grain bowls throughout the week. It’s a minimal time investment that pays off big in terms of healthy, readily available protein for meal prepping. Consider pairing your perfectly cooked chicken with flexible recipes that accommodate both vegetarians and meat-eaters, or simply add some roasted vegetables for a complete and balanced meal prep solution.
Boneless vs. Bone-in Chicken Breasts: What’s Best for Pan-Searing?
This guide focuses specifically on cooking boneless, skinless chicken breasts in a skillet. While bone-in chicken breasts are delicious, they require a different cooking approach, often benefiting from oven finishing to ensure they cook through evenly without burning the outside. Bone-in chicken takes considerably longer to cook because the bone insulates the meat. For bone-in chicken breasts, I recommend exploring oven-roasting methods, which are better suited for achieving even cooking.
Mastering the Pan-Sear: Key Techniques for Juicy Chicken
The cooking time for pan-searing chicken breast depends on several factors, including the thickness of the chicken, the heat level of your stove, and the type of skillet you are using. To eliminate guesswork and ensure your chicken is cooked to a safe and juicy 165°F internal temperature, I strongly recommend using an instant-read meat thermometer. This tool is invaluable for achieving perfectly cooked chicken every single time.
Adjusting Cooking Time for Chicken Breast Thickness
Thickness is the most significant factor affecting pan-searing time. Here’s how to adjust your technique based on whether you have thick or thin chicken breasts:
Thick Chicken Breasts (Approximately 1 inch thick)
Thicker chicken breasts require a gentler approach to ensure they cook through without becoming dry or burnt on the outside. I recommend using medium-low heat for thicker breasts. This lower temperature allows the heat to penetrate to the center of the chicken before the exterior becomes overly browned. For a boneless chicken breast that is about one inch thick, plan to cook for approximately 8 minutes per side over medium-low heat. Always check the internal temperature with a meat thermometer to confirm doneness.
Thin Chicken Breasts (Approximately ½ inch thick or less)
Thin-cut chicken breasts, chicken cutlets, or breasts that have been butterflied or pounded to ½-inch thickness cook much more quickly. To still achieve that desirable golden-brown sear without overcooking the inside, you’ll need to increase the heat to medium. The higher heat allows for browning in a shorter cooking time, preventing the chicken from drying out. For thinner breasts, aim for about 4-5 minutes per side over medium heat. Again, a meat thermometer is your best friend to guarantee perfect results.
Flavor Boost: Seasoning Your Chicken Breasts
While the simple recipe below uses a classic smoky seasoning blend, the possibilities for flavoring pan-seared chicken breasts are endless! Experiment with different spice combinations to match your meal or your mood. Here are some delicious seasoning ideas to get you started:
- Lemon Pepper Seasoning: Bright and zesty, perfect for spring and summer dishes.
- Cajun Seasoning: Add a spicy kick with homemade Cajun seasoning.
- Taco Seasoning: Great for Mexican-inspired meals and bowls.
- Montreal Steak Seasoning: A robust and savory blend ideal for a classic flavor.
- Italian Seasoning: Herbaceous and versatile, excellent with pasta or salads.
- Garlic Herb Seasoning: A simple yet flavorful combination for everyday cooking.
- Garam Masala: Warm and aromatic, perfect for Indian-inspired dishes.
- Tajín Seasoning: A chili-lime seasoning that adds a tangy and slightly spicy flavor.
- Greek Seasoning: Mediterranean herbs and spices for a fresh and vibrant taste.
Feel free to get creative and mix and match your favorite spices to create your signature chicken breast seasoning!
Pan Seared Chicken Breasts Recipe
This recipe provides a simple and delicious base for perfectly pan-seared chicken breasts. Feel free to adapt the seasoning to your preference using the suggestions above.
Yields: 4 servings
Prep time: 5 minutes
Cook time: 15 minutes
Total time: 20 minutes
Ingredients:
- 2 tsp steak seasoning ($0.20)
- ½ tsp smoked paprika ($0.05)
- ½ tsp sweet paprika ($0.05)
- 2 boneless, skinless chicken breasts (about 1.3 lbs total) ($6.79)
- 1 Tbsp cooking oil (vegetable, canola, or olive oil) ($0.08)
- 1 Tbsp butter (optional, for extra flavor and richness) ($0.10)
Equipment
- Large skillet
- Instant-read meat thermometer
- Small bowl
Instructions
- Season the Chicken: In a small bowl, combine the steak seasoning, smoked paprika, and sweet paprika. Liberally coat both sides of the chicken breasts with the seasoning mixture, pressing it lightly to adhere.
- Heat the Skillet: Add the cooking oil to a large skillet, preferably cast iron or stainless steel, and heat over medium-low heat (or medium heat for thin-cut breasts). Allow the skillet to heat up completely. You’ll know it’s ready when the oil shimmers or a drop of water flicked into the pan sizzles immediately.
- Sear the Chicken: Once the skillet is hot, carefully place the seasoned chicken breasts in the skillet. Ensure not to overcrowd the pan; cook in batches if necessary to maintain proper searing. Cook for approximately 8 minutes without moving or flipping the chicken (or 5 minutes for thin-cut breasts).
- Flip and Cook Through: Flip the chicken breasts using tongs or a spatula. Cook on the second side for another 5-8 minutes, or until the chicken is well-browned and cooked through. The internal temperature should reach 165°F when measured with an instant-read meat thermometer inserted into the thickest part of the breast.
- Butter Baste (Optional): For extra luscious and flavorful chicken, add a tablespoon of butter to the skillet during the last few minutes of cooking. Let the butter melt and then tilt the pan and use a spoon to baste the melted butter over the chicken breasts a couple of times. This adds richness and helps to dissolve any flavorful browned bits from the skillet bottom, further coating the chicken.
- Rest and Serve: Transfer the cooked chicken breasts to a clean cutting board. Loosely tent with foil and let the chicken rest for 5 minutes before slicing and serving. Resting allows the juices to redistribute throughout the meat, resulting in more tender and flavorful chicken.
Nutritional Information (per serving):
- Calories: 229kcal
- Carbohydrates: 1g
- Protein: 31g
- Fat: 10g
- Sodium: 197mg
- Fiber: 1g
Note: Nutritional information is an estimate and may vary based on specific ingredients and brands used.
Step-by-Step Visual Guide: How to Pan-Sear Chicken Breast
Follow along with these step-by-step photos to ensure your pan-seared chicken breasts turn out perfectly every time.
Step 1: Season the Chicken
Begin by liberally seasoning each side of the chicken breasts. This recipe uses a blend of steak seasoning, smoked paprika, and sweet paprika for a smoky and savory flavor. The steak seasoning often contains salt, so additional salt may not be necessary.
Step 2: Heat Oil in Skillet
Add cooking oil to a large skillet and heat over medium-low heat (or medium for thinner breasts). Ensure the skillet is fully heated before adding the chicken to achieve a good sear.
Step 3: Sear Chicken Breasts
Carefully place the seasoned chicken breasts in the hot skillet. Let them cook undisturbed for 8 minutes (or 5 minutes for thin breasts) to develop a golden-brown crust.
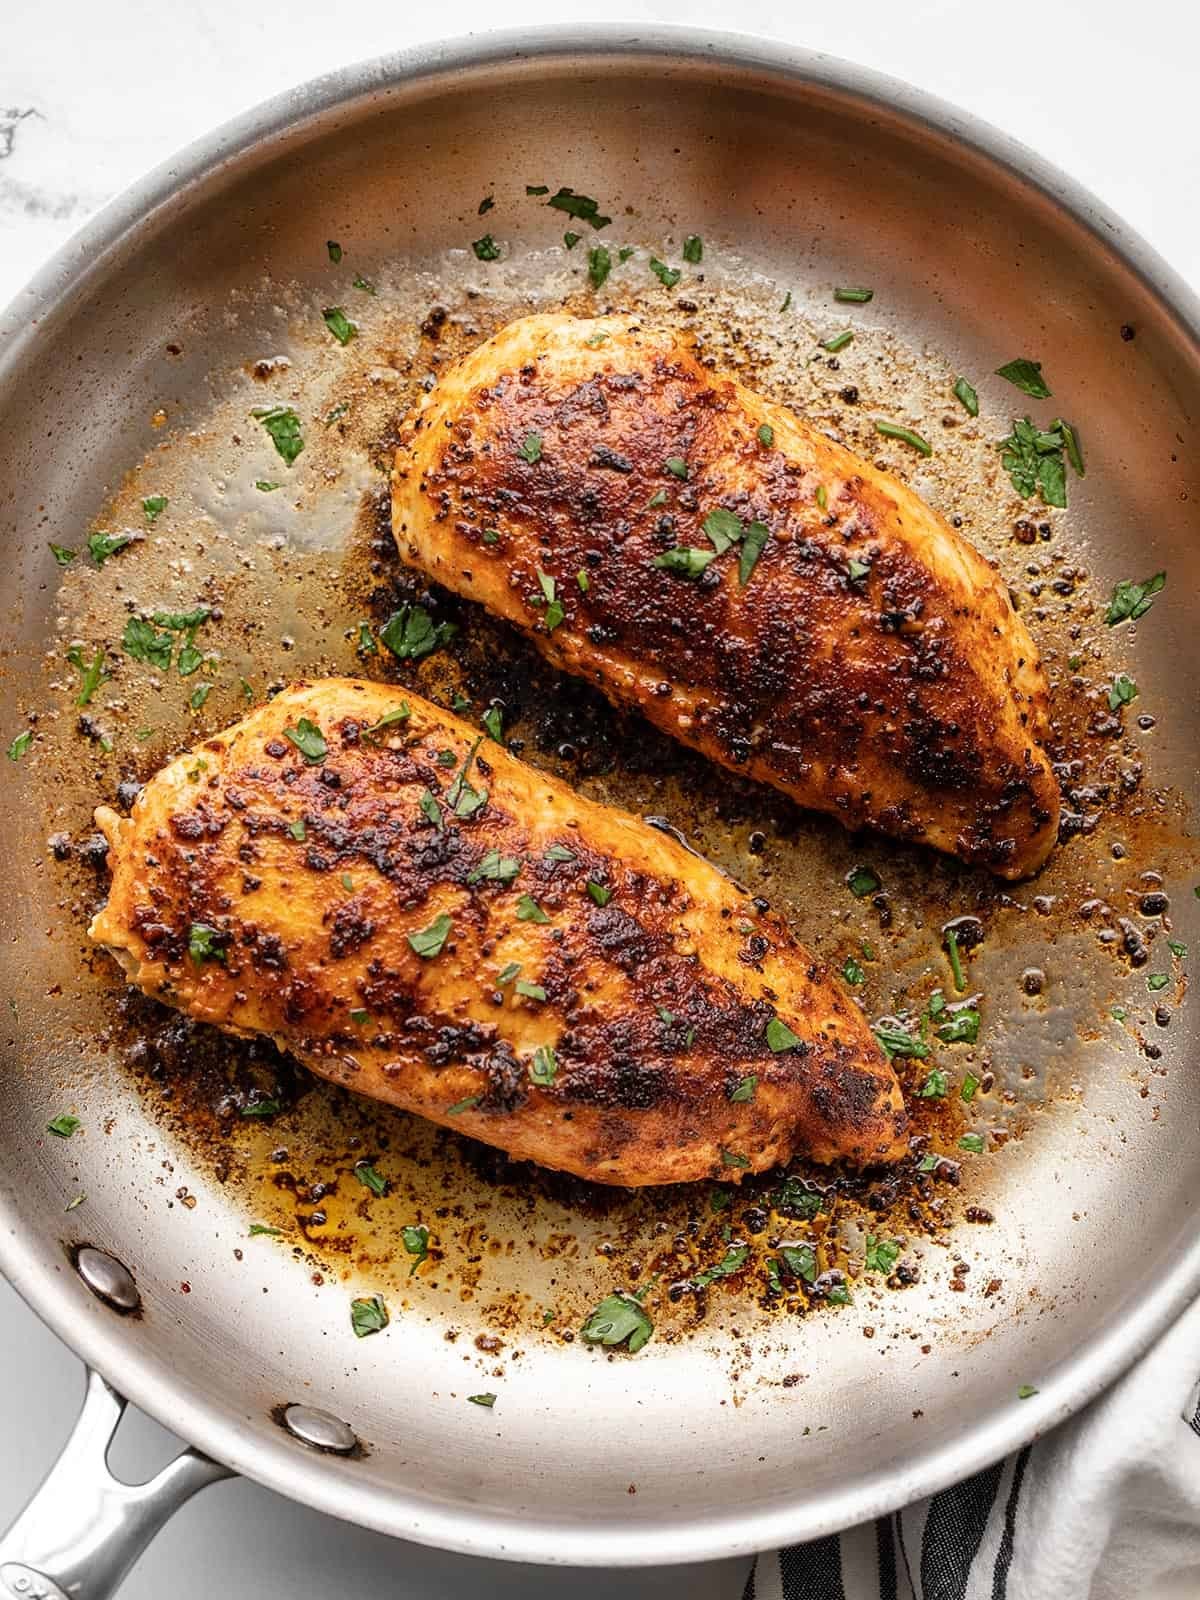
Step 4: Flip and Finish Cooking
Flip the chicken breasts and continue cooking until they are browned on the second side and cooked through to an internal temperature of 165°F. For added richness, melt butter in the skillet and baste the chicken during the last few minutes of cooking.
Step 5: Rest and Slice
Transfer the cooked chicken to a cutting board and let it rest for 5 minutes before slicing and serving. Resting ensures juicy and tender chicken breasts.
Serving Suggestions for Pan-Seared Chicken Breast
Perfectly pan-seared chicken breasts are incredibly versatile and can be the star of countless meals. Here are a few serving ideas:
- Salads: Slice and add to your favorite green salad, Caesar salad, or Cobb salad for a protein boost.
- Pasta Dishes: Dice or slice and toss with pasta and your favorite sauce, like pesto, marinara, or Alfredo.
- Sandwiches and Wraps: Use sliced chicken breast in sandwiches, wraps, or paninis for a healthy and satisfying lunch.
- Grain Bowls: Create nutritious grain bowls with quinoa, rice, or farro, topped with pan-seared chicken and roasted vegetables.
- Meal Prep: Prepare a batch of pan-seared chicken breasts for easy protein additions to your meals throughout the week.
Explore More Easy Chicken Recipes
Looking for more delicious and easy chicken recipes? Check out these reader favorites:
- Easy Teriyaki Chicken
- Easy Lemon Pepper Chicken
- Baked Chicken Drumsticks
- Grilled Chicken
Pan-searing chicken breast is a fundamental cooking skill that will empower you to create countless delicious and healthy meals. With a few simple techniques and a meat thermometer, you can say goodbye to dry, tasteless chicken forever and hello to juicy, flavorful perfection! Enjoy!