Craving a dessert that’s both incredibly satisfying and surprisingly simple to create? Look no further than homemade ice cream! Forget store-bought tubs – the freshest, most flavorful ice cream is the kind you churn in your own kitchen. If you haven’t experienced the joy of crafting your own frozen treat, this summer is the perfect time to start. Dust off your ice cream maker and get ready to dive into the delightful world of homemade ice cream.
While grocery stores offer endless rows of ice cream options, nothing compares to the rich, creamy texture and intensely vanilla flavor of homemade. Even devoted chocolate lovers will be won over by the pure, clean taste of this classic vanilla ice cream. And the best part? This recipe for homemade ice cream is unbelievably easy. We’re talking just 5 simple ingredients and around 15 minutes of active preparation time. Yes, there are a few hands-off waiting periods that test your patience, but trust us, the reward of tasting your own homemade ice cream makes every minute worthwhile. It truly is the quintessential summer indulgence.
Simple Ingredients for the Best Homemade Vanilla Ice Cream
This homemade vanilla ice cream recipe begins with just five essential ingredients, each playing a crucial role in achieving that perfect creamy texture and flavor:
- Heavy Cream: The foundation of rich and decadent ice cream. For those seeking a dairy-free option, explore excellent vegan ice cream recipes.
- Whole Milk: It’s crucial to use whole milk and avoid reduced-fat or skim versions. The higher fat content in whole milk is key to preventing iciness and ensuring a smooth, creamy final product.
- Cane Sugar: Provides the perfect level of sweetness, balancing the richness of the cream and milk.
- Vanilla Extract: Infuses the ice cream with that warm, classic vanilla flavor. For an even more intense vanilla experience, consider using vanilla bean paste, which adds both flavor and beautiful vanilla bean specks.
- Salt: A pinch of salt is essential to enhance and balance all the sweet flavors, making them truly pop.
Find the detailed recipe with precise measurements at the end of this guide.
Frequently Asked Question: Do I need eggs in homemade ice cream? Some traditional homemade ice cream recipes incorporate eggs or egg yolks to create a richer, custard-like base and thicker consistency. However, this recipe intentionally omits eggs to simplify the process without sacrificing flavor or texture. The result is an ultra-easy recipe that’s just as delicious as more complex custard-based versions!
Step-by-Step Guide: How to Make Ice Cream at Home
Ready to make your own homemade ice cream? Follow these simple steps for ice cream success:
Step 1: Freeze Your Ice Cream Maker Bowl
This is the most crucial step and requires advance planning. At least 12 hours, or ideally 24 hours, before you plan to make your ice cream, place the bowl of your ice cream maker in the freezer. It needs to be thoroughly frozen to properly churn and solidify the ice cream. A pre-frozen bowl is essential for achieving the right ice cream texture.
Step 2: Prepare the Ice Cream Base
It’s best to make the ice cream base ahead of time, anywhere from 2 to 24 hours before churning. Chilling the base thoroughly is important; if it’s not cold enough, the ice cream may not thicken properly when churned.
In a medium saucepan, combine the heavy cream, whole milk, cane sugar, vanilla extract, and salt. Place the saucepan over medium-low heat.
Warm the mixture for about 5 minutes, whisking frequently, until the sugar is completely dissolved and the mixture is heated through but not boiling. You’ll know it’s ready when the sugar granules are no longer visible and the mixture is smooth.
Step 3: Chill the Ice Cream Base
Transfer the warm ice cream base to a heatproof bowl. Cover the bowl tightly with plastic wrap, pressing the wrap directly onto the surface of the liquid to prevent a skin from forming.
Refrigerate the covered bowl for at least 2 hours, or preferably overnight, to allow the base to become thoroughly chilled. This chilling time is crucial for the ice cream to churn properly and achieve a creamy texture.
Step 4: Churn the Ice Cream
Once your ice cream base is thoroughly chilled and your ice cream maker bowl is frozen, you’re ready to churn!
Assemble your ice cream maker according to the manufacturer’s instructions. Pour the chilled ice cream base into the frozen bowl.
Churn the mixture for 20 to 30 minutes, or according to your ice cream maker’s instructions, until it reaches a soft-serve consistency.
For those using a KitchenAid stand mixer with the ice cream maker attachment (a highly recommended combination for ice cream enthusiasts!), or a Cuisinart Ice Cream maker (another excellent option), the churning time is typically within this range.
Important Note on Texture: Freshly churned homemade ice cream will have a soft, serve-like texture. It’s absolutely delicious at this stage if you enjoy soft serve. However, for a more traditional scoopable ice cream, we recommend freezing it for an additional 2 hours or more. This extra freeze time firms it up to the perfect scoopable consistency, ideal for cones, pairing with summer desserts, or enjoying on its own with your favorite toppings!
Topping Ideas and Flavor Variations
While this vanilla ice cream is divine on its own, toppings can elevate it to the next level of deliciousness! Here are a few topping suggestions to get you started:
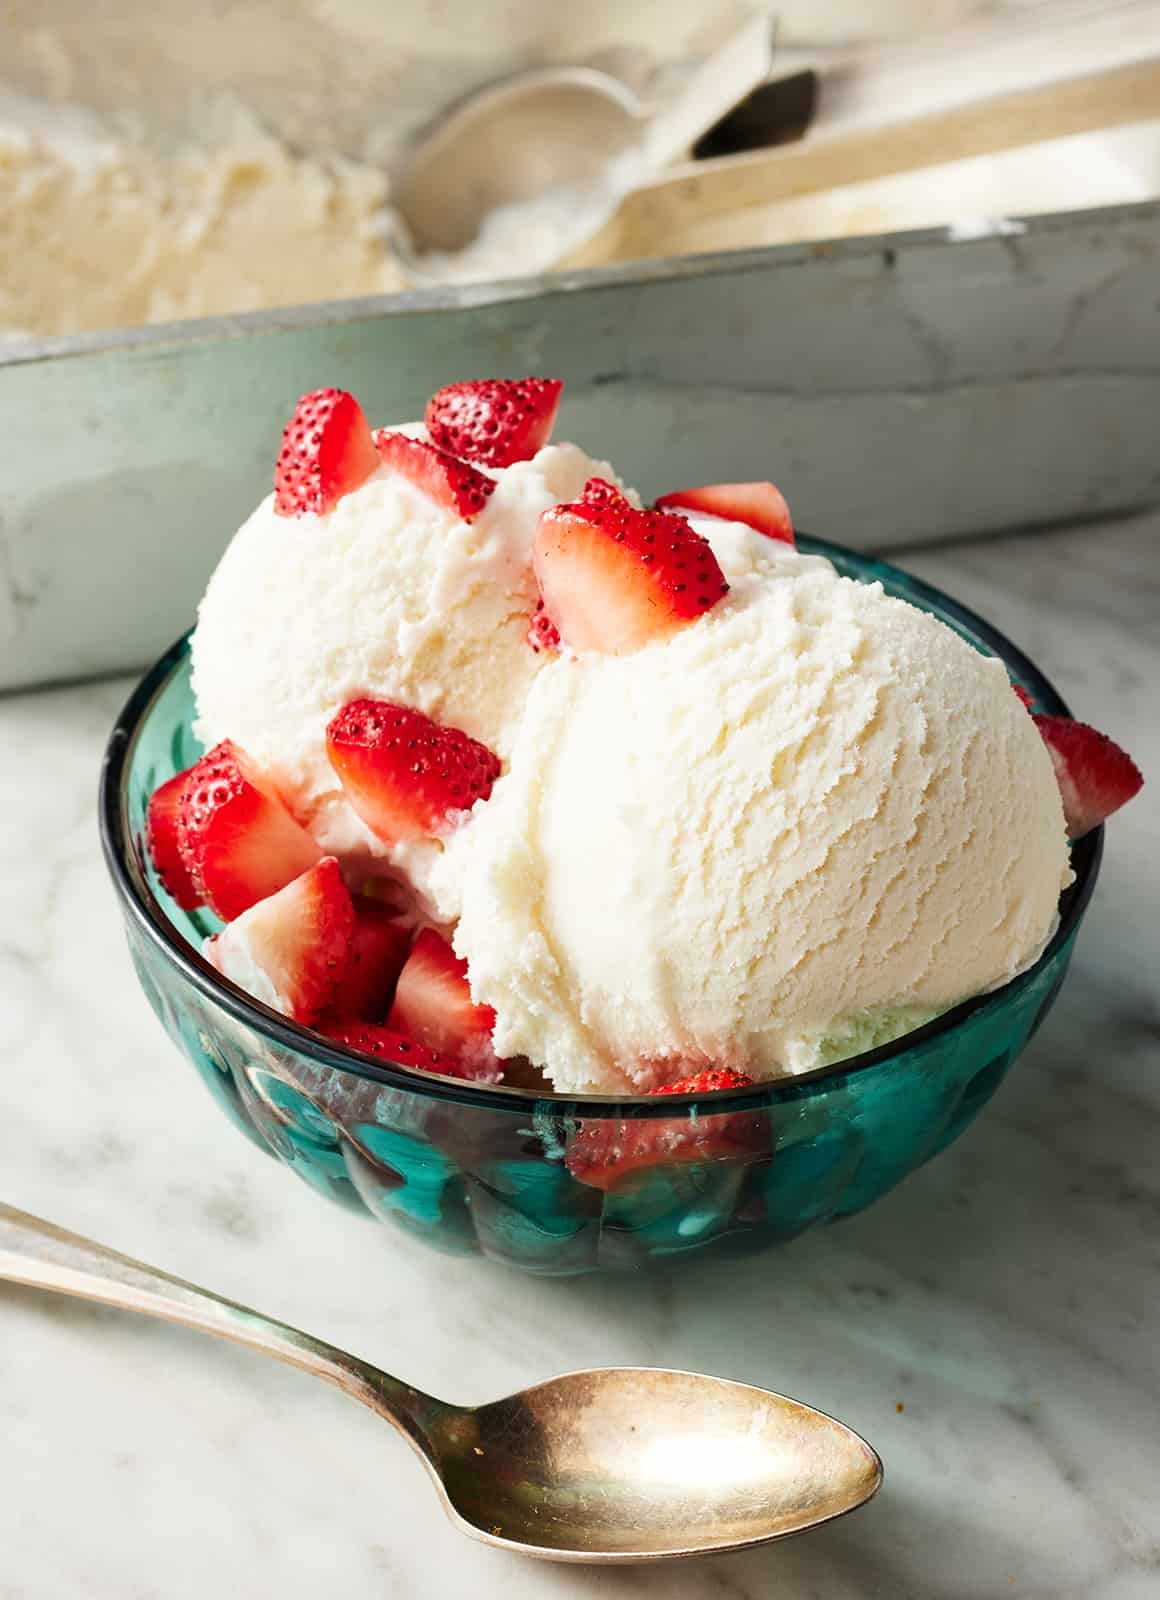
- Fresh Berries: Strawberries, raspberries, blueberries
- Chocolate Sauce or Hot Fudge
- Caramel Sauce
- Sprinkles
- Chopped Nuts
- Whipped Cream
- Fruit Compotes or Jams
Want to venture beyond vanilla? It’s easy to customize this base recipe to create different ice cream flavors. Immediately after churning, gently fold in 2 to 2 1/2 cups of your favorite mix-ins. Fresh fruit like diced strawberries makes a classic strawberry ice cream. Other fantastic additions include:
- Mini chocolate chips
- Cookie crumbles
- Brownie pieces
- Peanut butter cups
- Toffee bits
- Swirls of jam or fruit preserves
How to Store Homemade Ice Cream
To ensure your homemade ice cream stays fresh and delicious, transfer the soft ice cream from the ice cream maker into a quart-sized airtight container using a spatula.
For optimal storage and to prevent ice crystals from forming on the surface, press a piece of plastic wrap or parchment paper directly onto the top of the ice cream before sealing the container.
Freeze for at least 2 hours to allow the ice cream to firm up to a scoopable consistency. Homemade ice cream can be stored in the freezer for up to one month.
While it will be easily scoopable on the first day or two, after longer freezer storage, it may become firmer. If needed, let it sit at room temperature for a few minutes to soften slightly before scooping.
Delicious Ways to Serve Homemade Ice Cream
This homemade vanilla ice cream is wonderful enjoyed simply on its own, but it also shines as a perfect accompaniment to other summer desserts. Add a scoop to any of these treats to take them over the top:
- Warm fruit crisps or cobblers
- Brownies or blondies
- Chocolate chip cookies
- Birthday cake
- Alongside a slice of pie
Enjoy the delightful experience of homemade ice cream!
Homemade Ice Cream Recipe
Rate this recipe: 4.9 stars from 131 votes
Prep Time: 30 minutes
Chilling Time: 2 hours
Total Time: 2 hours 30 minutes
Serves 4 to 8
Save Recipe Print Recipe
This homemade vanilla ice cream recipe is the ultimate summer treat! With just 5 ingredients, it’s incredibly simple to make. Remember to freeze your ice cream maker bowl at least 12 hours in advance of churning. See the post above for fantastic mix-in and topping ideas!
Equipment
- Ice Cream Maker
- Medium Saucepan
- Whisk
- Heatproof Bowl
- Airtight Container
- Spatula
Ingredients
- 1 ½ cups heavy cream
- 1 ½ cups whole milk
- ⅔ cup cane sugar
- 2 teaspoons vanilla extract
- ⅛ teaspoon sea salt
Instructions
- Freeze the ice cream maker bowl: At least 12 hours before making ice cream, freeze the bowl of your ice cream maker according to the manufacturer’s instructions.
- Make the ice cream base: In a medium saucepan, combine heavy cream, whole milk, cane sugar, vanilla extract, and sea salt. Heat over medium-low heat, whisking occasionally, until sugar is dissolved and mixture is warm, about 5 minutes. Do not boil.
- Chill the base: Pour the mixture into a heatproof bowl, cover, and refrigerate for at least 2 hours, or preferably overnight.
- Churn the ice cream: Pour chilled ice cream base into the frozen ice cream maker bowl. Churn according to manufacturer’s instructions, usually 20-30 minutes, until it reaches soft-serve consistency.
- Freeze to firm (optional): For firmer, scoopable ice cream, transfer to an airtight container and freeze for at least 2 hours.
Notes
Makes 1 quart