AirTags are designed to be low-maintenance, but eventually, you’ll need to replace the battery. The good news is, changing the AirTag battery is a straightforward process you can do yourself in just a few moments. This guide will walk you through each step to replace your AirTag battery and keep your tracking device running smoothly.
What You’ll Need to Change Your AirTag Battery
Before you begin, gather these simple supplies:
- A New CR2032 Battery: This common 3V lithium coin battery is widely available at most drug stores, electronics stores, and online retailers.
- Your AirTag: The AirTag you need to replace the battery in.
Step-by-Step Guide to Replacing Your AirTag Battery
Follow these easy steps to replace your AirTag battery:
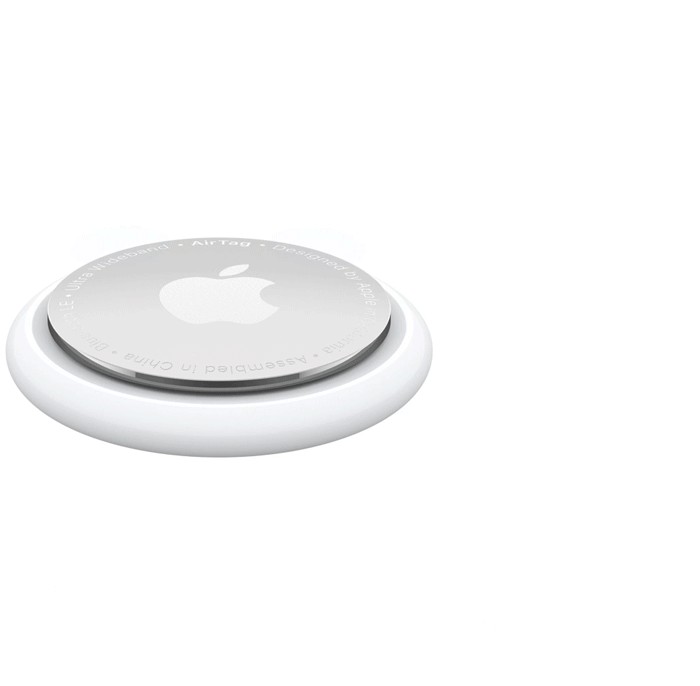
Step 1: Open the Battery Compartment
Locate the polished stainless steel battery cover on the back of your AirTag. Gently press down on the cover and rotate it counterclockwise. Continue rotating until the cover stops and is no longer attached.
Step 2: Remove the Old Battery
Once the cover is loose, remove it from the AirTag. The old battery will now be visible. Simply lift out the old CR2032 battery from the compartment.
Step 3: Insert the New Battery
Take your new CR2032 battery and insert it into the battery compartment. Ensure that the positive (+) side of the battery is facing upwards as you place it in. You should hear a brief sound or beep from the AirTag, indicating that the new battery is properly connected and working.
Step 4: Close the Battery Compartment
Replace the stainless steel cover, carefully aligning the three small tabs on the cover with the corresponding three slots on the AirTag. Once aligned, press down lightly and rotate the cover clockwise until it stops and is securely closed.
How to Tell When Your AirTag Battery Needs Replacing
Your iPhone will conveniently notify you when your AirTag battery is running low. A “Low Battery” notification will appear on your iPhone’s lock screen.
Alternatively, you can manually check the battery status in the Find My app:
- Open the Find My app on your iPhone.
- Tap on the Items tab at the bottom of the screen.
- Select the specific AirTag you want to check.
- If the battery is low, you will see “Low Battery” displayed under the AirTag’s name.
Important Battery Safety Information
Warning: Choking Hazard. AirTags, the battery cover, and the battery itself can be dangerous if swallowed by small children. Keep these small items away from children to prevent accidental ingestion.
To further enhance safety and reduce the risk of accidental ingestion by children, consider using CR2032 batteries with a bitterant coating, such as the Duracell 2032 Lithium Coin Battery with Bitter Coating. These batteries are designed to discourage swallowing. Always check the packaging to ensure the battery is marked as “Compatible with Apple AirTag”.
Key Battery Safety Points:
- Ingestion Hazard: Contains a button cell or coin battery.
- Serious Injury Risk: Swallowing can cause death or serious internal injuries.
- Internal Chemical Burns: Can occur within hours of swallowing.
- Keep Away From Children: Store new and used batteries out of children’s reach.
- Seek Medical Help Immediately: If you suspect a battery has been swallowed, get immediate medical attention.
Changing your AirTag battery is a simple task that ensures your AirTag remains functional and ready to help you keep track of your important items. By following these steps and safety precautions, you can easily maintain your AirTag’s battery life.