Have you ever found yourself ready to start a sewing project, only to be stumped by the seemingly simple task of threading a needle? It’s a common frustration, whether you’re a beginner or have been sewing for years. Many people struggle with this basic step, sometimes feeling like it’s more complicated than it should be. But don’t worry, threading a needle doesn’t have to be a challenge. In fact, with a few easy techniques, you can master this skill and get to your sewing projects faster. This guide will show you a straightforward method to How To Thread A Needle, even if you find it fiddly. We’ll even explore a clever one-handed trick for those moments when you need an extra bit of dexterity.
First, let’s gather what you’ll need. It’s quite simple:
- A needle – choose the right type and size for your thread and fabric.
- Thread – select your desired thread color and type.
- A stable surface or even your clothing (for the one-handed method).
Now, let’s get started with the standard method, and then we’ll dive into the handy one-handed technique.
Method 1: The Standard Two-Handed Approach
This is the classic way to thread a needle, and it’s effective when you have both hands free.
-
Prepare Your Needle and Thread: Hold the needle firmly in your non-dominant hand, ensuring the eye of the needle is clearly visible. Take the end of your thread and make sure it’s cut neatly. A frayed end can make threading much harder. You can dampen the tip of the thread slightly with saliva to make it firmer and easier to pass through the eye of the needle.
-
Position the Thread: Bring the tip of the thread to the eye of the needle. You’ll want to position it directly in front of the eye.
-
Push the Thread Through: Carefully push the thread through the eye of the needle. It might take a couple of tries, but be patient. Wiggling the thread slightly can sometimes help it find its way through.
-
Pull the Thread Through: Once you’ve managed to get the tip of the thread through the eye, grasp the thread on the other side of the needle and pull it through. Pull enough thread through so you have a tail to work with – a few inches should be sufficient.
Congratulations, you’ve threaded a needle! Now you’re ready to knot the end and begin sewing.
Method 2: The Clever One-Handed Needle Threading Trick
Sometimes, you might find yourself needing to thread a needle with only one hand available. Perhaps you’re holding fabric with the other hand, or maybe you just prefer a more streamlined approach. This trick is surprisingly simple and effective.
-
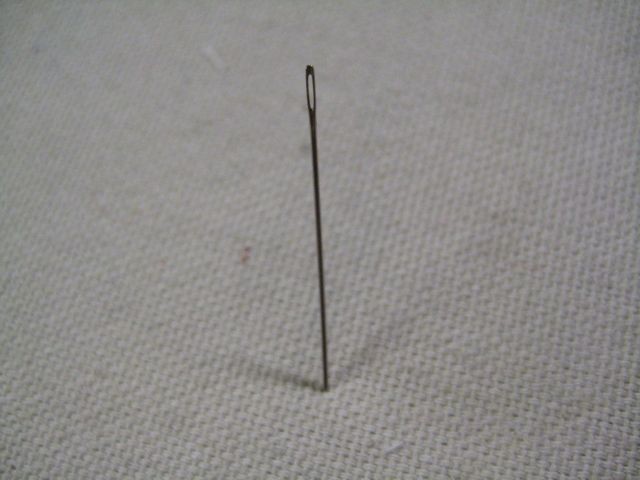
Secure the Needle: The key to this method is to stabilize the needle so you can focus on manipulating the thread with one hand. You can do this by sticking the point of the needle into a stable object. A piece of dense fabric, a pincushion, or even your clothing can work well. Make sure the eye of the needle is fully visible and accessible.
Alt text: Close-up showing how to secure a sewing needle into fabric to keep it steady for one-handed threading. -
Position the Thread: Take the end of your thread and, holding it about half an inch from the tip, position it behind the eye of the secured needle.
Alt text: Image demonstrating positioning sewing thread behind the eye of a needle for the one-handed threading technique. -
Push and Release: This is the slightly tricky part, but with a little practice, it becomes easy. Push the thread forward, towards the eye of the needle, and gently wiggle it until you feel it go through. The crucial step here is to let go of the thread immediately after you push it through. Resist the urge to pull it back!
-
Grasp and Pull: Now, reach around to the front of the needle, grasp the thread that you pushed through, and pull it further through the eye.
Alt text: Photograph illustrating using clothing to hold a needle steady while demonstrating how to thread it. -
Complete the Threading: Pull a sufficient length of thread through the needle, just as you would with the two-handed method.
Alt text: Image confirming successful needle threading using the demonstrated one-handed technique.
This one-handed technique might feel a bit awkward at first, but with a few tries, you’ll be surprised at how quickly you can thread a needle using this method. The trick is really in letting go of the thread at the right moment.
Tips for Easier Needle Threading
- Use good lighting: Make sure you are in a well-lit area. Good lighting makes it much easier to see the eye of the needle and the thread.
- Needle threaders: If you consistently struggle with threading needles, consider using a needle threader. These inexpensive tools make the process much simpler, especially for finer threads or smaller needle eyes.
- Stiffen the thread: As mentioned earlier, dampening the tip of the thread or using thread wax can help to stiffen the end and prevent fraying, making it easier to guide through the needle eye.
- Choose the right needle: Ensure you are using a needle size appropriate for your thread. A thicker thread will need a needle with a larger eye.
Conclusion
Threading a needle is a fundamental skill for anyone who sews, and it doesn’t need to be a source of frustration. Whether you choose the classic two-handed method or the convenient one-handed trick, with a little practice, you’ll be able to thread needles quickly and easily. So, take a needle and thread, and give these techniques a try. You’ll be ready to tackle any sewing project in no time!