Egg wash is a baker’s secret weapon for achieving that perfect, golden-brown sheen on pastries, breads, and pies. It’s a simple technique that elevates your baked goods from ordinary to extraordinary. While the process of making egg wash is incredibly quick – often taking just minutes – understanding the nuances, like the ideal egg-to-liquid ratio, is key to unlocking its full potential in your baking.
You might be thinking, “An entire article on How To Make Egg Wash? Really?” And yes! While it seems basic, many bakers, from beginners to seasoned pros, often have questions about creating the perfect egg wash, its uses, storage, and even substitutes. This guide is here to answer all those questions, making sure you have all the information you need in one handy place.
I frequently use egg wash in many of my recipes, from brushing it on pie crusts for a beautiful finish, to helping salt adhere to my pretzel recipe, and of course, to give my homemade burger buns that irresistible golden-brown color. Let’s dive into everything you need to know about making the perfect egg wash.
What Exactly is Egg Wash?
Egg wash is essentially a mixture of beaten egg and a liquid, most commonly water, milk, or cream. This simple mixture is brushed onto the surface of baked goods before they enter the oven. The primary purpose of egg wash is to impart a beautiful golden-brown color and a glossy shine to your baking. Whether you’re making a delicate pie crust or a rustic loaf of bread, egg wash is your secret to visual appeal. I consistently rely on this technique for my pie crusts and find it equally effective as an egg wash for bread recipes.
While the aesthetic enhancement is the most common reason to use egg wash, it also serves practical purposes. I often use it to help toppings like coarse sugar or seeds stick to pies and pastries. Additionally, egg wash acts as a sealant for pie crusts, which is particularly helpful when you’re blind baking a pie crust for recipes like lemon meringue pie.
Step-by-Step: How to Make Egg Wash
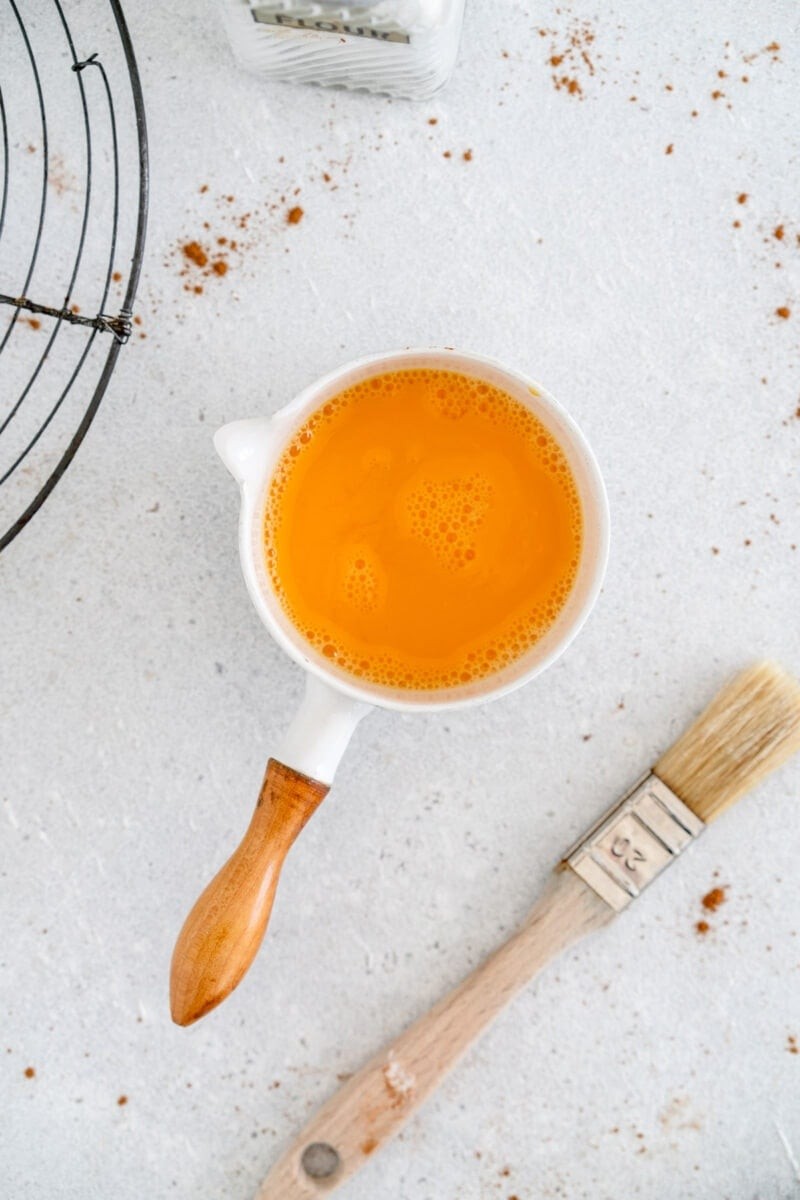
While it’s hardly a complex recipe, getting the proportions right for your egg wash is key. My go-to ratio for a standard egg wash is: one whole egg whisked with 1 tablespoon of cool water.
Here’s a simple, foolproof method:
- Gather your ingredients: You’ll need one fresh egg and 1 tablespoon of cool water. Room temperature eggs are ideal as they mix more easily, but it’s not crucial.
- Combine in a bowl: Crack the egg into a small bowl or container. A container with a lid is handy if you plan to store any leftover egg wash.
- Add water: Pour the tablespoon of cool water into the bowl with the egg.
- Whisk thoroughly: Using a fork or a whisk, mix the egg and water together until they are fully combined. The key is to whisk vigorously until the mixture is homogenous and slightly frothy. A well-combined egg wash will brush on smoothly, giving your baked goods an even finish.
- Check for stringy bits: If you notice any chalazae (those stringy white bits attached to the yolk) when you crack your egg, it’s best to remove them before whisking for the smoothest possible egg wash.
- Rest and re-whisk (optional): If your egg wash sits for a few minutes before use, give it a quick re-whisk just before brushing to ensure it’s still well combined.
Is Egg Wash Really Necessary?
Let’s be clear: egg wash is an optional step in most baking recipes. If you’re running low on eggs, or simply want to streamline your baking process, you can certainly skip it. And if you happen to have leftover egg yolks or egg whites, you can use those too, although they will yield slightly different results. Egg whites tend to provide a clearer shine, while egg yolks alone will create a richer, darker color.
My personal preference is to use a whole egg combined with water for a balanced result. However, feel free to use what you have available. Just remember that if a recipe calls for egg wash and you decide to omit it, your baked goods might brown slightly slower. Keep an eye on the baking time to prevent them from drying out.
How to Store Leftover Egg Wash
Good news – you don’t have to waste any leftover egg wash! You can store it in the refrigerator in an airtight container for up to three days. Many people with pets, especially dogs, find that leftover egg wash is a treat their furry friends enjoy. However, if you know you’ll be baking again within a couple of days, storing it in the fridge is a convenient option. If not, it’s best to compost any remaining egg wash.
When you’re ready to reuse stored egg wash, simply give it a good whisk to ensure it’s fully combined before brushing it onto your pastries or dough.
Exploring Egg Wash Substitutes
While a classic egg wash of egg and water is my standard, there are several excellent alternatives you can use, depending on your preferences or what you have on hand:
- Whole egg and milk or cream: This variation produces a very similar effect to egg and water but results in a slightly lighter golden hue on your baked goods. The added fat from milk or cream can also contribute to a softer crust.
- Whole egg only: Using just a whisked whole egg, without any added liquid, will create a richer, deeper golden-brown color. This is ideal when you want a more pronounced color and shine.
- Egg yolk only: If you have leftover egg yolks, whisking them with a tiny bit of water makes a great wash for a very dark, glossy finish. Egg yolk wash is particularly good for breads where you want a deeply colored crust.
- Egg white only: For a shiny glaze without much color, egg white is your go-to. Whisked egg white provides a clear, glossy sheen rather than a golden-brown color.
- Milk or cream: If you’re out of eggs or prefer not to use them, brushing your baking with milk or cream alone works surprisingly well. This technique is frequently used in scone recipes and imparts a soft, slightly golden top.
- Plant-based milk: For a dairy-free and egg-free option, plant-based milks can work in a pinch. While they contain less protein than egg or dairy milk, they can still provide a slight sheen. This would be my last resort, but it’s a viable option if it’s all you have available.
- Butter: Melted butter brushed on baked goods before baking will create a tender crust. However, as you can see with my garlic knots, butter results in a more matte finish compared to the glossy sheen you get from an egg wash, like in my small batch dinner roll recipe.
❤️ Did you find this guide helpful? ❤️
Let me know in the comments below! And be sure to tag me on Instagram if you use these tips in your baking!
Answers to Your Baking Questions
For more baking tips and answers to common questions, check out my frequently asked questions post!