Transferring your precious photos and videos from your iPhone to your PC is a common task for iPhone users. Whether you’re looking to free up storage space on your phone, back up your memories, or simply view and edit your photos on a larger screen, moving your iPhone photos to your Windows PC is straightforward. This guide will walk you through the most effective methods to transfer photos from your iPhone to your PC, ensuring your cherished moments are safely stored on your computer. We’ll cover using a USB cable for direct transfer and leveraging iCloud for a more seamless, cloud-based approach.
Method 1: Importing Photos from iPhone to PC Using a USB Cable
The most direct and often quickest way to transfer photos from your iPhone to your PC is by using a USB cable. This method is ideal when you want a simple, reliable connection and prefer not to use cloud services for this particular task. Here’s how to do it step-by-step:
-
Install the Apple Devices App: For Windows PCs, especially newer versions, you’ll need the Apple Devices app. If you don’t already have it, you can easily download the Apple Devices app from the Microsoft Store. This application ensures your Windows PC can communicate effectively with your iPhone for media transfer.
-
Connect Your iPhone to Your PC: Use a USB cable to connect your iPhone to your Windows PC. Ensure both devices are powered on.
-
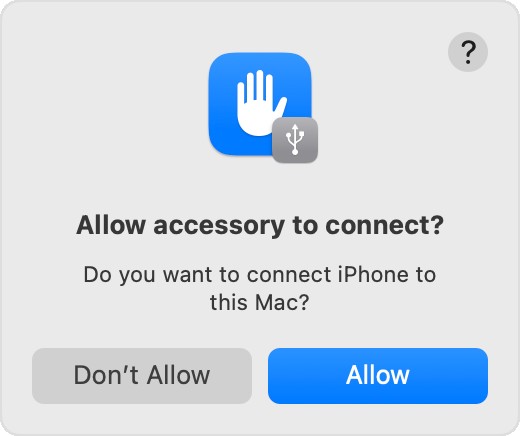
Unlock Your iPhone and Trust Your PC: Once connected, unlock your iPhone using your passcode or Face ID. You might see a prompt on your iPhone asking “Trust This Computer?”. Tap “Trust” or “Allow” to grant your PC access to your iPhone’s data. This step is crucial for your PC to recognize and access your iPhone’s photos.
-
Access Your Photos on Your PC: With your iPhone connected and trusted, you can now access your photos through the Photos app in Windows. Microsoft provides a comprehensive guide on how to import photos to the Microsoft Photos app in Windows. Usually, Windows will automatically detect your iPhone as a device. You can open the Photos app, and it should display your connected iPhone as a source for import.
-
Import Your Photos: Within the Photos app, you’ll typically see an “Import” option. Select your iPhone as the source. The app will then scan your iPhone for new photos and videos. You can choose to import all new items or select specific photos and videos you wish to transfer from your iPhone to your PC. Click “Import Selected” or “Import All New Photos” to begin the transfer process.
- Wait for the Transfer to Complete: The time it takes to transfer photos from your iPhone to your PC will depend on the number and size of the photos and videos you are moving. Once the process is complete, you can safely disconnect your iPhone from your PC.
Method 2: Using iCloud Photos to Sync Photos to Your PC
If you prefer a more automated and wireless approach, iCloud Photos is an excellent option to transfer photos from your iPhone to your PC. iCloud Photos keeps your photos and videos synced across all your Apple devices and can also make them accessible on your Windows PC.
-
Enable iCloud Photos on Your iPhone: On your iPhone, go to Settings > [Your Name] > iCloud > Photos, and toggle on “iCloud Photos”. Ensure you have enough iCloud storage to accommodate your photo library. You can check your storage usage and upgrade your iCloud storage plan if needed.
-
Install iCloud for Windows on Your PC: To access your iCloud Photos on your PC, you need to download and install iCloud for Windows from the official Apple website or the Microsoft Store.
-
Sign in to iCloud for Windows: Open iCloud for Windows on your PC and sign in with the same Apple ID you use on your iPhone.
-
Select Photos in iCloud for Windows: In the iCloud for Windows settings, make sure “Photos” is selected. You can choose the location on your PC where you want to download your iCloud Photos.
-
Access Your Photos on Your PC: Once set up, iCloud for Windows will automatically download your iCloud Photos to your PC. You can access them through File Explorer in the designated iCloud Photos folder. Any new photos you take on your iPhone will automatically sync to your PC as long as both devices are connected to the internet.
Optimizing Compatibility for Windows
Sometimes, you might encounter compatibility issues when transferring iPhone photos to your PC, especially with video formats. To ensure the best compatibility with Windows, consider these settings on your iPhone:
- Change Camera Format to Most Compatible: Go to Settings > Camera > Formats and select “Most Compatible”. This will ensure your iPhone captures photos and videos in JPEG and H.264 formats, which are universally compatible with Windows PCs.
By following these methods, you can easily transfer photos from your iPhone to your PC, whether you prefer the direct USB cable connection or the convenience of iCloud Photos. Choose the method that best suits your needs and enjoy your photos on your Windows PC!