Baking chicken breasts is a kitchen staple for many, praised for its simplicity and health benefits. However, the quest for juicy, tender chicken often ends in disappointment with dry, rubbery results. The crucial factor in achieving perfectly baked chicken lies in understanding How Long To Bake Chicken and at what temperature. This comprehensive guide will walk you through a foolproof method to ensure your chicken breasts are cooked to perfection every time, focusing on achieving optimal tenderness and flavor.
Understanding Chicken Breast Baking Time
Knowing how long to bake chicken isn’t just about setting a timer; it’s about understanding the factors that influence cooking time. Several variables come into play, including the thickness of the chicken breasts, whether they are bone-in or boneless, and the oven temperature.
Factors Affecting Baking Time
- Thickness of Chicken Breasts: Thicker chicken breasts will naturally require longer baking times. For even cooking, it’s recommended to pound thicker parts of the chicken breast to a uniform thickness of about ½ inch. This ensures consistent cooking and prevents the edges from drying out before the center is cooked through.
- Boneless vs. Bone-in Chicken Breasts: This guide primarily focuses on boneless, skinless chicken breasts, which are popular for their convenience and quicker cooking times. Bone-in chicken breasts will take longer to cook.
- Oven Temperature: The oven temperature significantly impacts how long to bake chicken. Higher temperatures cook chicken faster but can increase the risk of drying it out if not carefully monitored. Lower temperatures offer more control but require longer cooking times.
Recommended Baking Times and Temperatures
For consistently juicy baked chicken breasts, a high-heat method is often preferred. Baking chicken at 450°F (232°C) for a shorter duration helps to sear the outside, locking in juices and resulting in a tender interior.
| Chicken Breast Thickness | Oven Temperature | Baking Time | Internal Temperature |
|---|---|---|---|
| ½ inch (1.3 cm) | 450°F (232°C) | 15-18 minutes | 165°F (74°C) |
| ¾ inch (1.9 cm) | 450°F (232°C) | 18-22 minutes | 165°F (74°C) |
| 1 inch (2.5 cm) | 450°F (232°C) | 22-25 minutes | 165°F (74°C) |
Note: These times are estimates and can vary based on your oven and the exact thickness of the chicken. Always use a meat thermometer to ensure the internal temperature reaches 165°F (74°C).
The Secret to Juicy Baked Chicken: The 5-Step Method (B.B.R.R.R.)
Beyond just how long to bake chicken, the method you use plays a critical role in the final outcome. This simple 5-step method, summarized as B.B.R.R.R., guarantees flavorful and succulent baked chicken breasts.
- Brine
- Brush
- Rub
- Roast
- Rest
B – Brine: The Foundation of Juicy Chicken
Brining is non-negotiable for baking chicken breasts. It’s a simple process of soaking the chicken in a saltwater solution, which enhances moisture retention and flavor.
How to Brine:
- Dissolve ¼ cup of kosher salt in 2 cups of lukewarm water in a large bowl.
- Add 2 cups of cold water (or ice) to cool the mixture down.
- Submerge the chicken breasts in the brine for 15 to 60 minutes. For longer brining (up to 6 hours), refrigerate the bowl.
- Rinse the chicken thoroughly with cold water and pat dry with paper towels before proceeding.
Brining changes the protein structure of the chicken, allowing it to hold onto more moisture during cooking, resulting in incredibly juicy baked chicken breasts.
B – Brush: Butter or Oil for Flavor and Crust
Brushing the chicken breasts with melted butter or olive oil is the next key step. Butter adds richness and flavor, contributing to a golden-brown crust. Olive oil is a healthy alternative and also helps in achieving a crispy exterior.
Application Tips:
- Liberally brush both sides of the chicken breasts.
- This prevents sticking to the baking dish and helps seasonings adhere better.
- Use melted butter for enhanced flavor or olive oil for a lighter option.
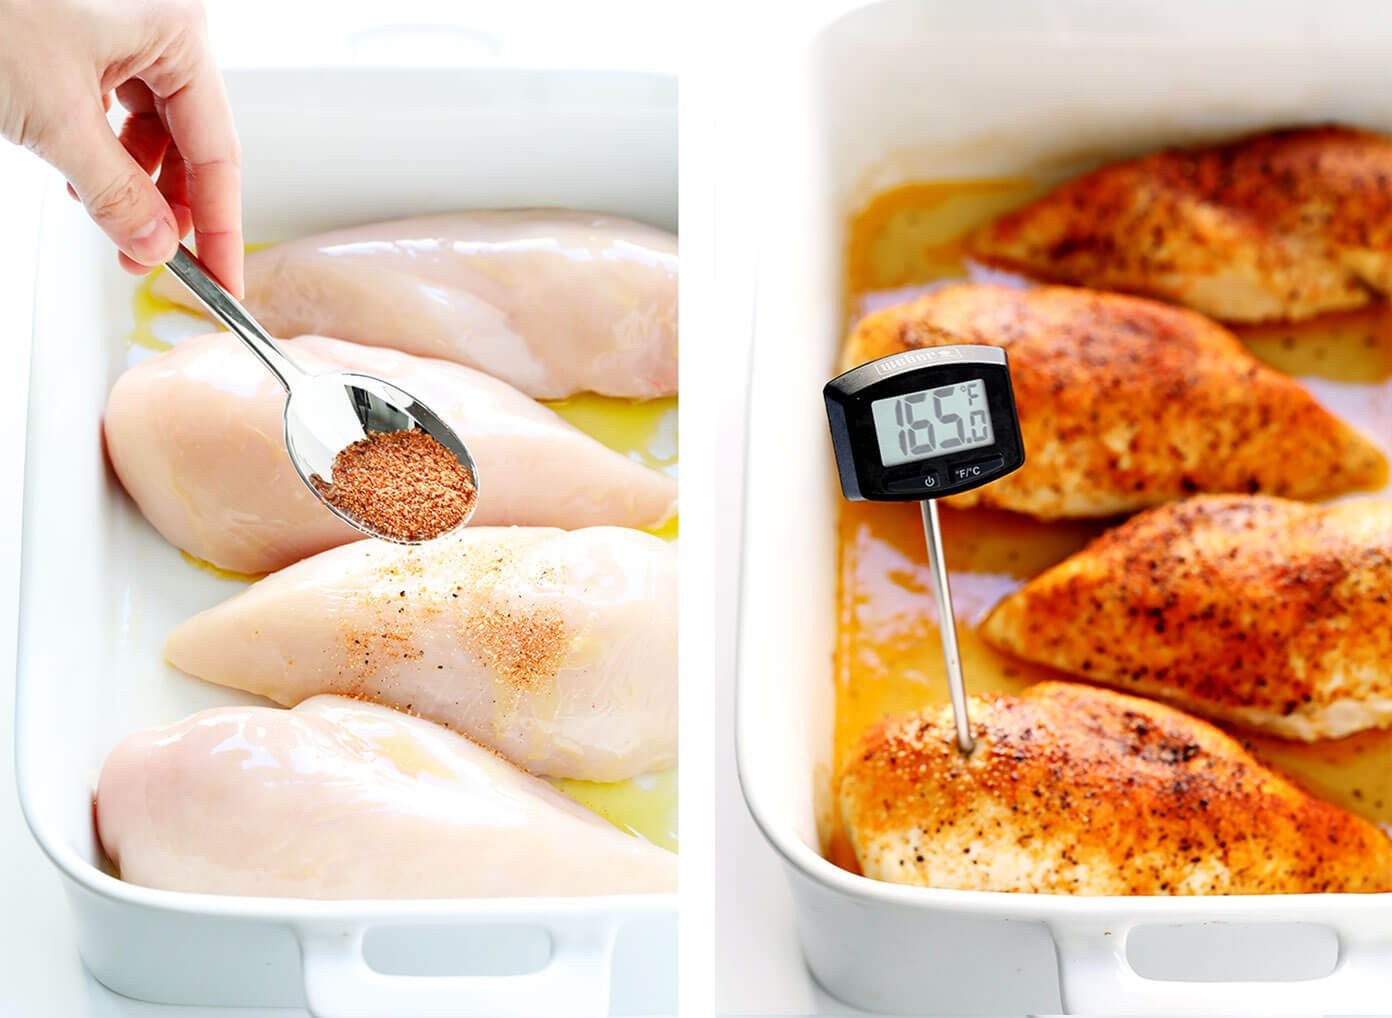
R – Rub: Seasoning for Delicious Flavor
While simple salt and pepper are acceptable, using a flavorful rub elevates your baked chicken breasts. A blend of spices can transform the taste and make your chicken more appetizing.
Recommended Seasoning Blend:
- 1 teaspoon kosher salt
- ½ teaspoon black pepper
- ½ teaspoon garlic powder
- ½ teaspoon smoked paprika
Feel free to experiment with other seasonings like Italian herbs, onion powder, chili powder, or your favorite spice blends to customize the flavor profile.
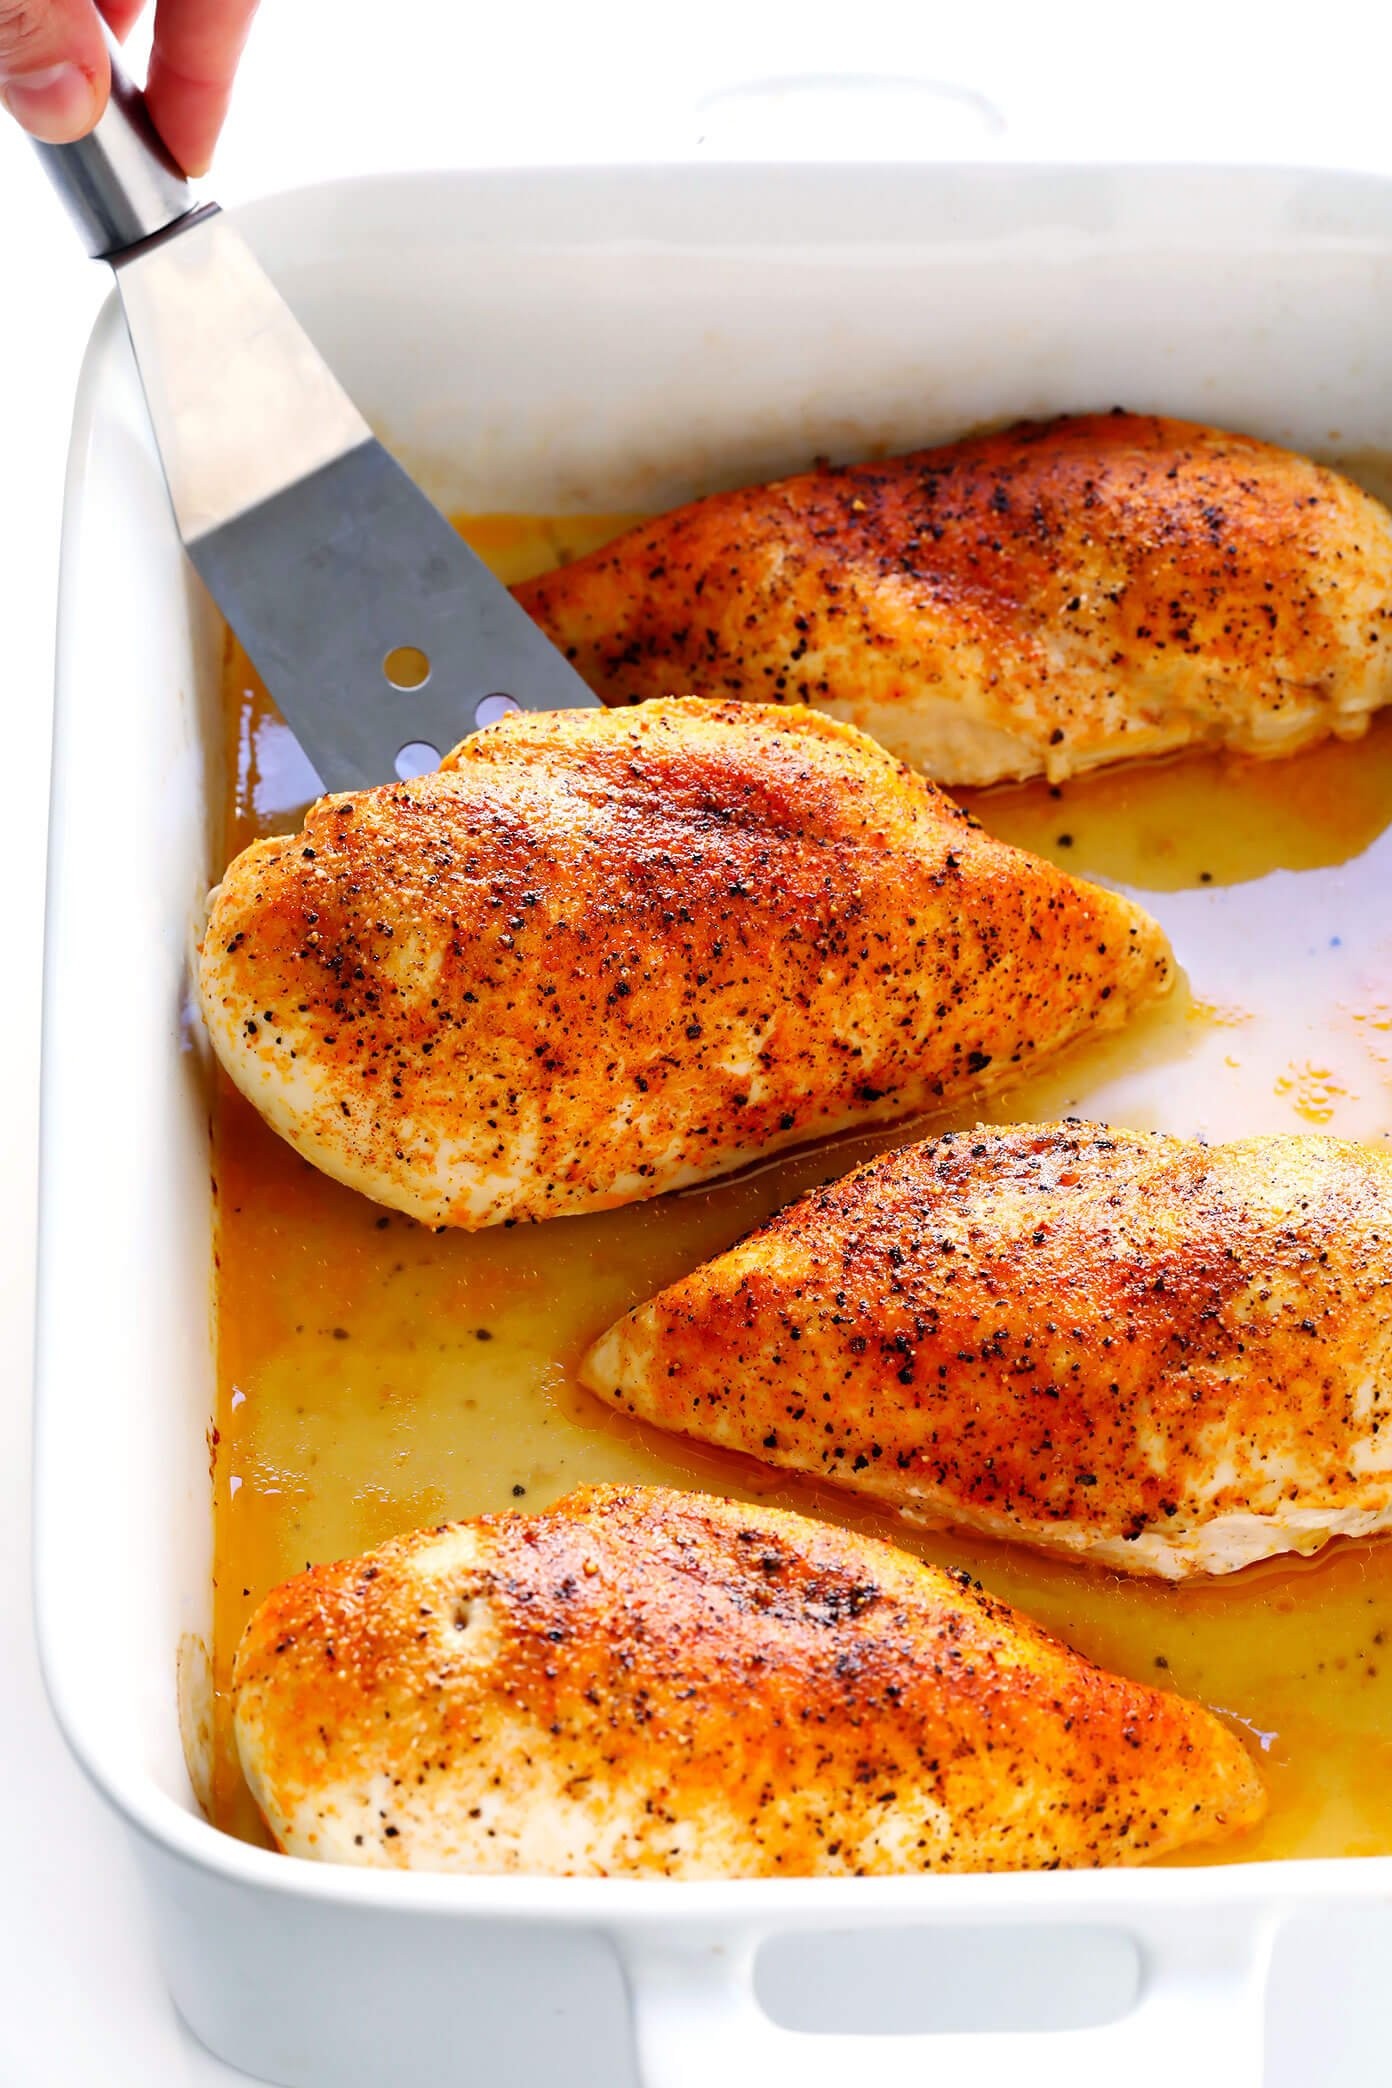
R – Roast: The Right Temperature for the Right Time
Roasting at a high temperature of 450°F (232°C) is crucial for baking chicken breasts quickly and effectively. This method sears the outside, creating a flavorful crust while keeping the inside juicy.
Roasting Guidelines:
- Preheat your oven to 450°F (232°C).
- Place seasoned chicken breasts in a baking dish, ensuring they are not overcrowded.
- Bake for 15-25 minutes, depending on thickness (refer to the time chart above).
- Always use a meat thermometer to check for an internal temperature of 165°F (74°C) in the thickest part of the breast.
Using a meat thermometer is the most accurate way to determine how long to bake chicken and ensure it’s safely cooked without over-drying.
R – Rest: Locking in Juices for Tenderness
Resting the chicken after baking is as important as how long to bake chicken in the oven. Allowing the chicken to rest for 5-10 minutes after cooking allows the juices to redistribute throughout the meat, resulting in maximum tenderness and flavor.
Resting Process:
- Remove the baked chicken from the oven and transfer it to a clean plate.
- Tent loosely with aluminum foil to keep it warm.
- Let it rest for 5-10 minutes before slicing or serving.
Skipping the resting step will result in juices escaping as soon as you cut into the chicken, leading to drier meat.
Tips for Perfect Baked Chicken Every Time
- Use a Meat Thermometer: Eliminate guesswork and ensure perfectly cooked chicken every time by using a reliable meat thermometer.
- Pound Chicken to Even Thickness: For uniform cooking, pound thicker parts of the chicken breast to ½ inch thickness.
- Don’t Overcrowd the Pan: Overcrowding can steam the chicken instead of roasting. Use a large enough baking dish or bake in batches.
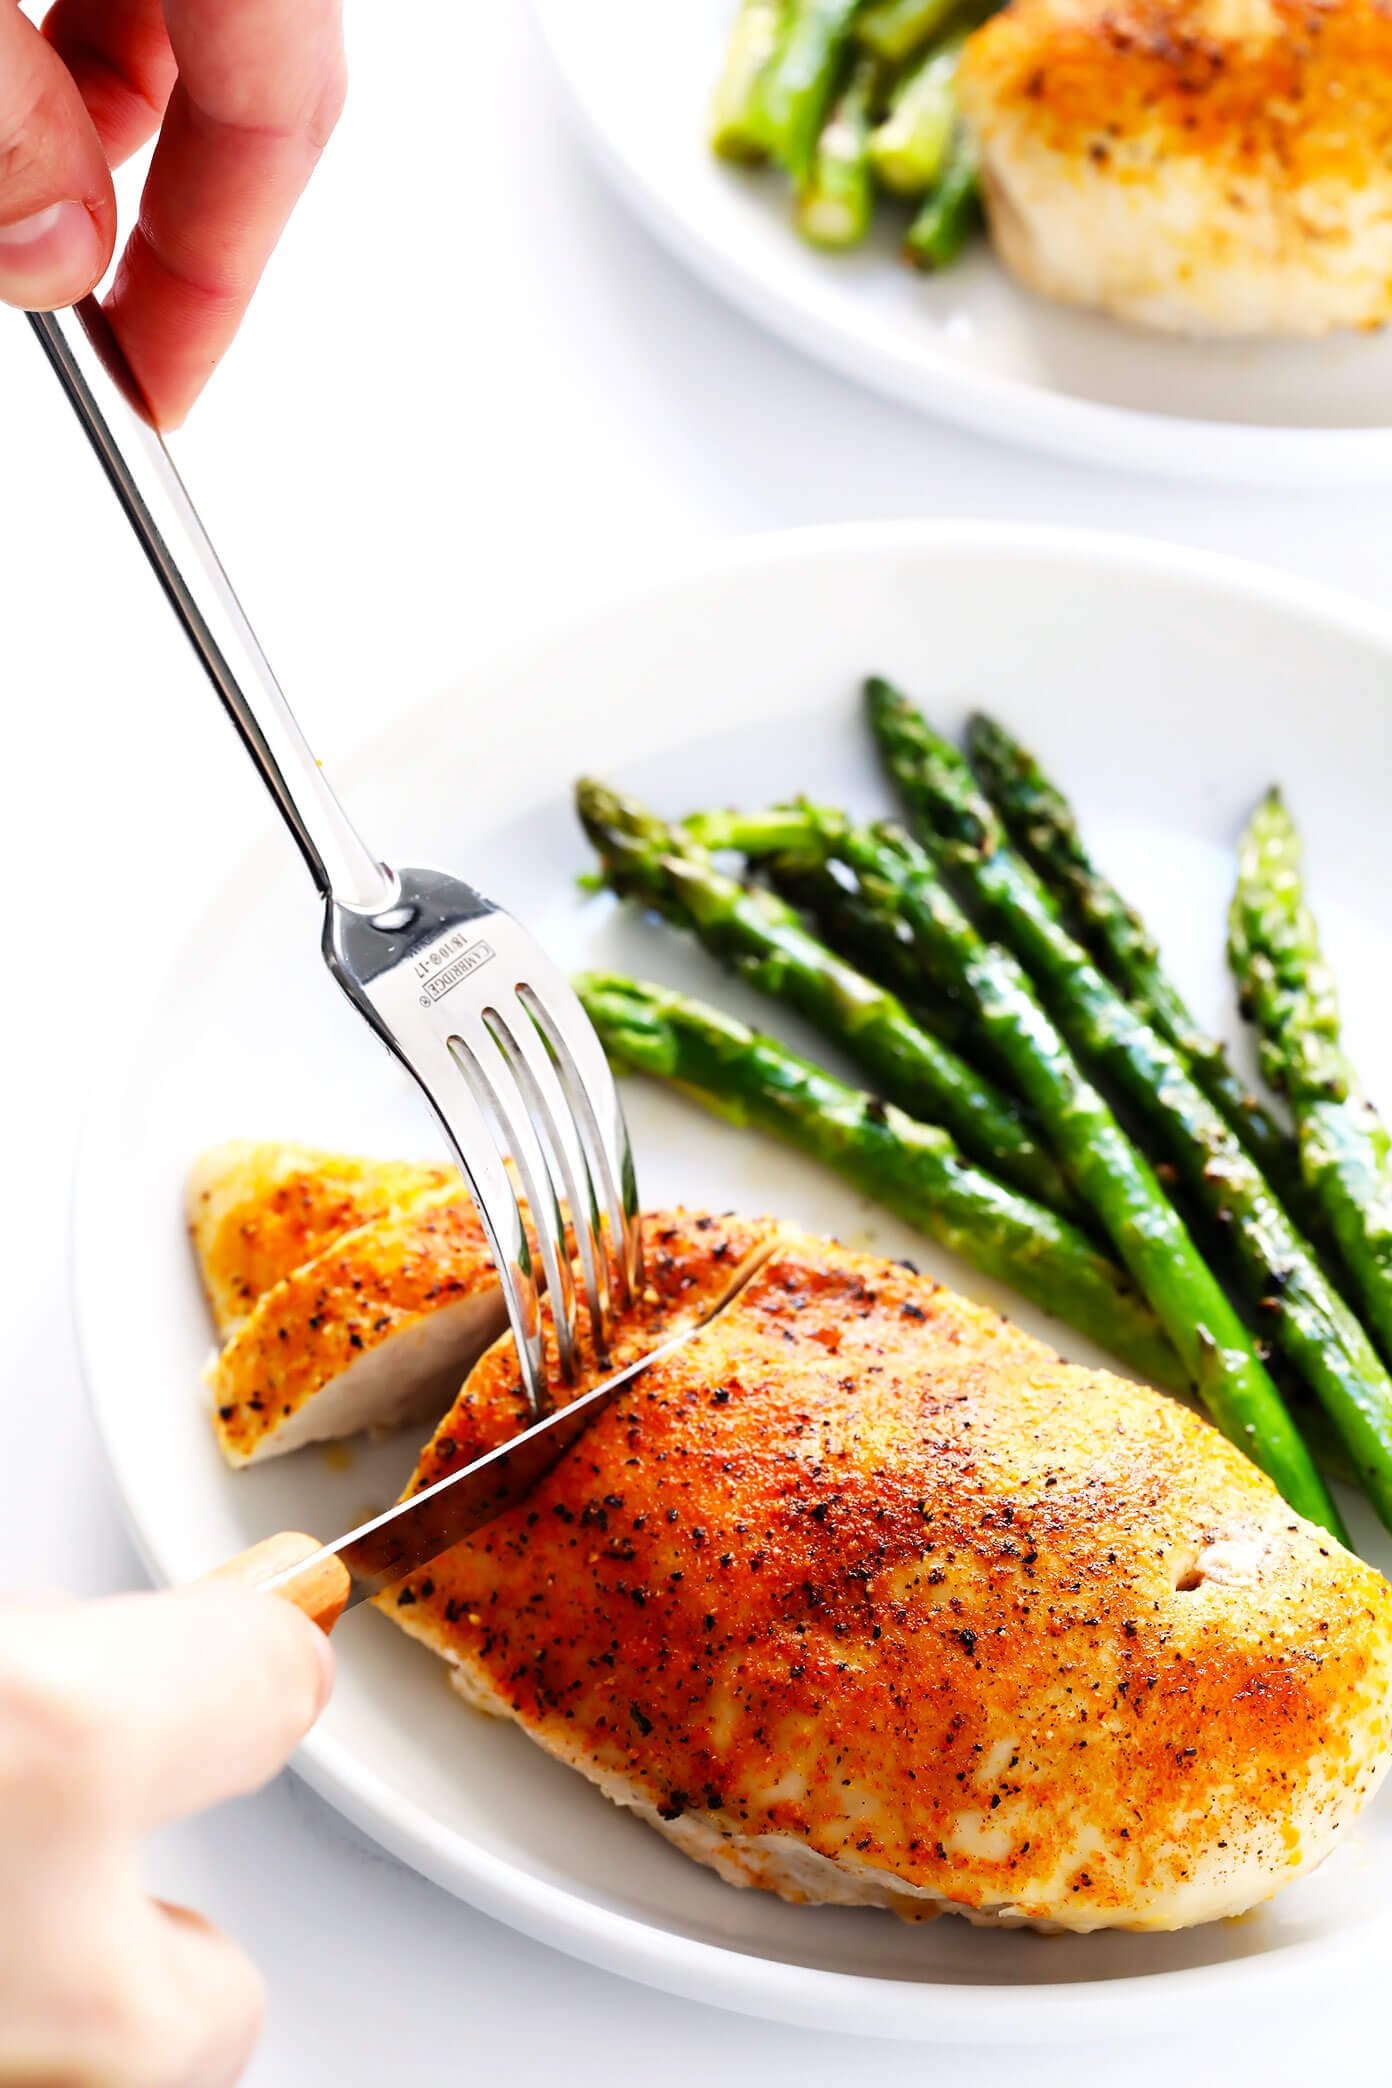
Serving Suggestions
Perfectly baked chicken breasts are incredibly versatile. Enjoy them fresh out of the oven with your favorite sides, or slice, shred, or dice them for use in other dishes.
Quick Meal Ideas:
- Serve with roasted vegetables like asparagus, broccoli, or sweet potatoes.
- Add to salads for a protein boost.
- Use in sandwiches or wraps.
Meal Prep Uses:
- Shredded chicken for tacos, enchiladas, or soups.
- Diced chicken for pasta salads or chicken salad.
- Sliced chicken for quick protein additions to meals throughout the week.
Storing Baked Chicken
Store leftover baked chicken breasts in an airtight container in the refrigerator for up to 3 days or freeze for up to 3 months. For freezing, consider slicing, shredding, or dicing the chicken for easier use later.
Conclusion
Mastering how long to bake chicken and employing the 5-step B.B.R.R.R. method will transform your chicken dinners. By brining, brushing, rubbing, roasting at the right temperature, and resting, you can consistently achieve juicy, flavorful, and perfectly cooked chicken breasts. Say goodbye to dry, disappointing chicken and hello to a new kitchen staple you can rely on. Try this method and enjoy delicious baked chicken every time!