For users seeking to expand the material compatibility of their Bambu Lab X1C beyond the default filament options, adding custom filaments is a valuable capability. This guide will walk you through the process of integrating your own filaments into the Bambu ecosystem, allowing them to be selected from both the touchscreen interface of your X1C and within Bambu Slicer. By following these steps, you can unlock the full potential of your 3D printer and experiment with a wider range of materials.
To begin adding your custom filaments, navigate to the Bambu Lab online platform. This is your central hub for managing your printer and accessing various settings, including filament profiles.
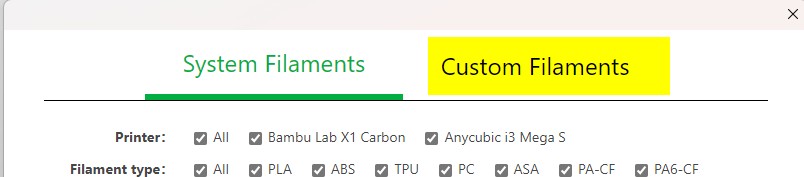
Once logged in, locate and click on the “Custom Filaments” section. This area is specifically designed for users to manage and add their own filament profiles to their Bambu Lab account.
If you are adding custom filaments for the first time, this section may be empty. Otherwise, you will see a list of your previously created custom filament profiles. To add a new filament, select the “Create new” option. This will initiate the process of defining your custom filament parameters. You will be presented with options to either copy an existing filament profile (default or custom) or create a new one based on a generic profile. For best compatibility, it is recommended to base your new custom filament on a core default profile like “Bambu” or “Generic”. This ensures a solid foundation of settings for your new material.
When creating a new profile, you’ll need to input details such as the vendor, filament type, and what Bambu Lab terms “serial” (subtype). These details are crucial as they contribute to the filament name that will be displayed in both the slicer software and on your printer’s touchscreen. For instance, if you are adding a silk PLA filament from Eryone, you might choose “PLA” as the type and “Silk” as the serial.
After saving your initial custom filament profile, it will appear in your list of custom filaments. To fully integrate the new filament and ensure it functions correctly with the Automatic Material System (AMS), flow dynamics calibration is a key step. Navigate to the calibration menu on your Bambu Lab X1C touchscreen and select “Flow Dynamics Calibration”.
During the flow dynamics calibration process, you will be prompted to select the filament present in the AMS. It is crucial at this stage to choose your newly created custom filament from the list. This links the calibration process directly to your custom filament profile.
Run the automatic flow dynamics calibration. This process allows the printer to optimize settings like pressure advance for your specific custom filament, ensuring optimal print quality. Once the calibration is complete, your custom filament should be fully integrated into your Bambu Lab X1C ecosystem. It will now be selectable from the filament lists in Bambu Slicer, allowing you to assign it to objects and print jobs, and also accessible on the device page for AMS selection.
By following these steps, you can successfully add and utilize custom filaments on your Bambu Lab X1C, expanding your 3D printing capabilities and material options. Remember to experiment and fine-tune your custom filament profiles for the best printing results with each unique material.