Brining chicken is a simple yet transformative technique that elevates your poultry dishes from ordinary to extraordinary. If you’ve ever struggled with dry, flavorless chicken, brining is the game-changer you need. This straightforward process, involving a saltwater solution, unlocks a level of moisture, tenderness, and flavor that you simply can’t achieve with other cooking methods alone. Let’s dive into the world of chicken brining and discover how easy it is to make every bite of your chicken perfectly delicious.
Why Brine Chicken? Unlocking Moisture, Flavor, and Tenderness
Imagine biting into a chicken breast that’s juicy, flavorful, and melts in your mouth. This isn’t just wishful thinking; it’s the magic of brining. Brining isn’t just about salt; it’s a science-backed method that fundamentally changes the texture and taste of your chicken. Here’s a closer look at the remarkable benefits of brining:
Moisture Retention: Say Goodbye to Dry Chicken
One of the biggest challenges in cooking chicken, especially lean cuts like chicken breasts, is preventing dryness. Brining tackles this issue head-on. The science behind it is fascinating: salt in the brine solution causes the muscle fibers in the chicken to relax and unravel. This structural change allows the chicken to absorb and retain significantly more liquid during the brining process. Think of it like a sponge expanding as it soaks up water. When you cook brined chicken, this extra moisture stays put, resulting in incredibly juicy and succulent meat, even if you accidentally overcook it slightly.
Enhanced Flavor: Seasoning from the Inside Out
Brining isn’t just about moisture; it’s also a powerful flavor enhancer. The salty brine permeates the chicken from the inside out, seasoning it far more effectively than simply sprinkling salt on the surface. The salt draws the natural flavors of the chicken to the forefront, making it taste more intensely “chicken-y.” Furthermore, the addition of sugar in a typical brine recipe balances the saltiness and adds a subtle sweetness that complements the savory notes of the chicken, creating a more complex and delicious flavor profile.
Improved Tenderness: A More Pleasant Texture
Beyond moisture and flavor, brining also improves the texture of chicken, making it more tender. Salt partially breaks down muscle proteins in the chicken. This process, known as protein denaturation, tenderizes the meat by disrupting the tough protein structures. The result is chicken that is noticeably more tender and less chewy, offering a more enjoyable eating experience. Whether you’re grilling, roasting, or pan-frying, brined chicken will have a superior texture that will impress your family and guests.
Simple Ingredients for a Basic Chicken Brine
The beauty of a chicken brine is its simplicity. You don’t need a long list of fancy ingredients to achieve amazing results. A basic and highly effective brine uses just three key components:
-
Kosher Salt: Salt is the star ingredient in any brine. Kosher salt is preferred by many cooks because of its large, flaky crystals, which are easier to measure and dissolve. It also doesn’t contain iodine or anti-caking agents that can sometimes impart an off-flavor. If you only have table salt, you can use it, but you’ll need to use a smaller amount as it’s more concentrated than kosher salt.
-
Granulated Sugar: Sugar balances the saltiness and adds a subtle sweetness to the chicken. Granulated sugar is the most common choice, but you can experiment with brown sugar for a hint of molasses flavor, or honey for a floral sweetness.
-
Water: Water acts as the solvent, carrying the salt and sugar into the chicken. While tap water is generally fine, using filtered water can be beneficial, especially if your tap water has a strong chlorine taste.
-
Chicken: This basic brine works wonders on all cuts of chicken, from boneless, skinless breasts and thighs to whole chickens and chicken pieces. Adjust brining times based on the size and type of chicken.
Step-by-Step Guide: How to Make a Chicken Brine
Making a chicken brine is incredibly easy. Follow these simple steps for perfectly brined chicken every time:
-
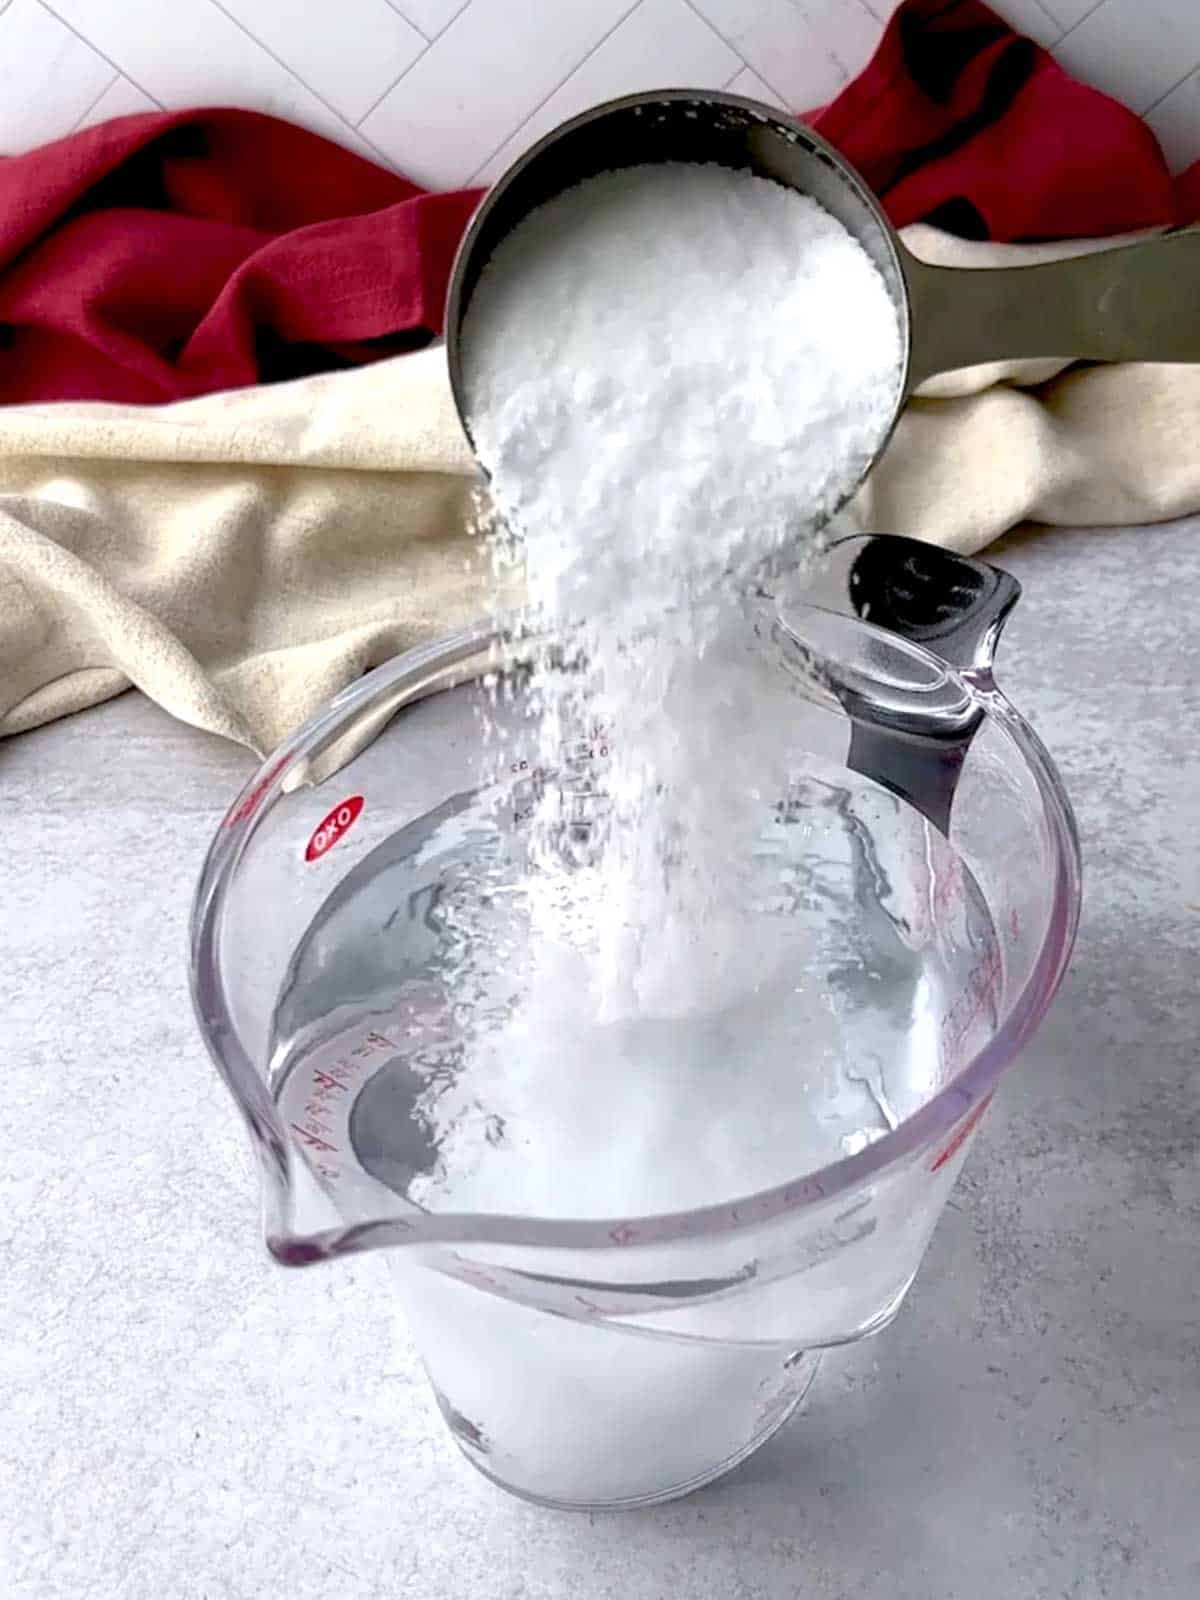
Combine Salt, Sugar, and Water: In a large bowl or container, pour in the water. Add the kosher salt and granulated sugar to the water.
-
Dissolve the Brine: Whisk the mixture vigorously until both the salt and sugar are completely dissolved. You shouldn’t see any granules at the bottom of the bowl. This ensures the brine is properly balanced and ready to work its magic.
- Submerge the Chicken: Place the chicken pieces in a bowl or container deep enough to hold both the chicken and the brine solution. Pour the brine over the chicken, ensuring that all pieces are fully submerged. If necessary, use a plate or weight to keep the chicken submerged.
-
Refrigerate and Brine: Cover the bowl or container tightly with plastic wrap or a lid. Refrigerate the chicken in the brine for the appropriate time. For chicken breasts and thighs, brine for at least 1 hour and up to 4 hours. For a whole chicken, you can brine for up to 6-8 hours, or even overnight for larger birds, ensuring it stays refrigerated the entire time. Do not brine for longer than recommended as it can make the chicken too salty and alter its texture negatively.
-
Rinse and Pat Dry: After brining, remove the chicken from the brine and discard the brine solution. Rinse the chicken thoroughly under cold water to remove excess salt. Pat the chicken completely dry with paper towels before cooking. This step is crucial for achieving crispy skin if you are roasting or pan-frying, as excess moisture will hinder browning.
Expert Tips for Brining Success
To ensure your chicken brining experience is a resounding success, consider these expert tips:
-
Don’t Over-Brine: Brining for too long can result in overly salty chicken with a mushy texture. Stick to the recommended brining times. For boneless chicken breasts or thighs, 1-4 hours is usually sufficient. Whole chickens can benefit from longer brining, but don’t exceed 8 hours unless using a very diluted brine.
-
Salt to Water Ratio Matters: Using the correct ratio of salt to water is crucial for effective brining without making the chicken too salty. The standard ratio is about ½ cup of kosher salt per 4 cups of water. Adjust proportionally for larger or smaller quantities of brine.
-
Always Refrigerate: It’s essential to brine chicken in the refrigerator to prevent bacterial growth. Never brine chicken at room temperature.
-
Experiment with Flavorings: While a basic salt and sugar brine is fantastic, feel free to experiment with additional flavorings. Add herbs like thyme, rosemary, or bay leaves to the brine. Citrus peels (lemon, orange) or garlic cloves can also add wonderful aromas. Spices like peppercorns, bay leaves, or even a touch of chili flakes can elevate the flavor profile.
-
Brining Time for Different Cuts: Adjust brining times based on the chicken cut. Smaller pieces like chicken breasts and thighs require less brining time than a whole chicken. Bone-in chicken can generally handle slightly longer brining times than boneless.
Cooking with Brined Chicken
Once you’ve brined your chicken, you’ll notice a significant improvement in your cooked dishes. Brined chicken is incredibly versatile and works well with various cooking methods. Try grilling brined chicken breasts for juicy and flavorful BBQ. Roast a whole brined chicken for a Sunday dinner centerpiece that’s moist and tender throughout. Pan-fry brined chicken thighs for crispy skin and succulent meat. No matter how you choose to cook it, brined chicken will deliver exceptional results.
Conclusion: Unlock Juicier, More Flavorful Chicken
Brining chicken is a simple technique with a huge payoff. By taking just a few extra minutes to prepare a basic brine, you can transform ordinary chicken into a culinary delight. Say goodbye to dry, bland chicken and hello to consistently juicy, flavorful, and tender poultry. Try this how-to guide for your next chicken dish and taste the difference brining makes – you’ll be amazed at the results!
Ready to experience the magic of brined chicken? Scroll down for the basic chicken brine recipe and start making every chicken meal a flavorful success!
Basic Chicken Brine Recipe
Yields: 4 servings
Prep time: 5 minutes
Brining time: 1-4 hours (for chicken breasts/thighs), up to 8 hours (for whole chicken)
Ingredients:
- ½ cup kosher salt (or ⅓ cup table salt)
- ¼ cup granulated sugar
- 4 cups water
- 4 boneless, skinless chicken breasts (about 6-8 ounces each)
Equipment:
- Large bowl or container
- Whisk
- Plastic wrap or lid
Instructions
- Prepare the brine: In a large bowl, combine water, kosher salt, and granulated sugar. Whisk until salt and sugar are completely dissolved.
- Brine the chicken: Place chicken breasts in the brine, ensuring they are fully submerged. Cover and refrigerate for 1-4 hours (or longer for other cuts, as recommended above).
- Rinse and dry: Remove chicken from brine, discard brine. Rinse chicken thoroughly under cold water and pat dry with paper towels.
- Cook as desired: Proceed with your favorite chicken recipe. Cooking time may be slightly reduced due to the moisture retention from brining.
Tips:
- For extra flavor, add herbs, spices, or citrus peels to the brine.
- Never reuse brine.
- Always refrigerate chicken while brining.
Enjoy your perfectly brined and delicious chicken!