Mold can unfortunately grow on your CDs, DVDs, or Blu-ray discs, especially if they are stored in humid conditions. Luckily, cleaning mold from discs is a straightforward process that can often be done with household items. This guide will show you how to safely and effectively clean mold using dish soap and water, a gentle yet powerful cleaning solution.
Step 1: Identify Mold on the Disc
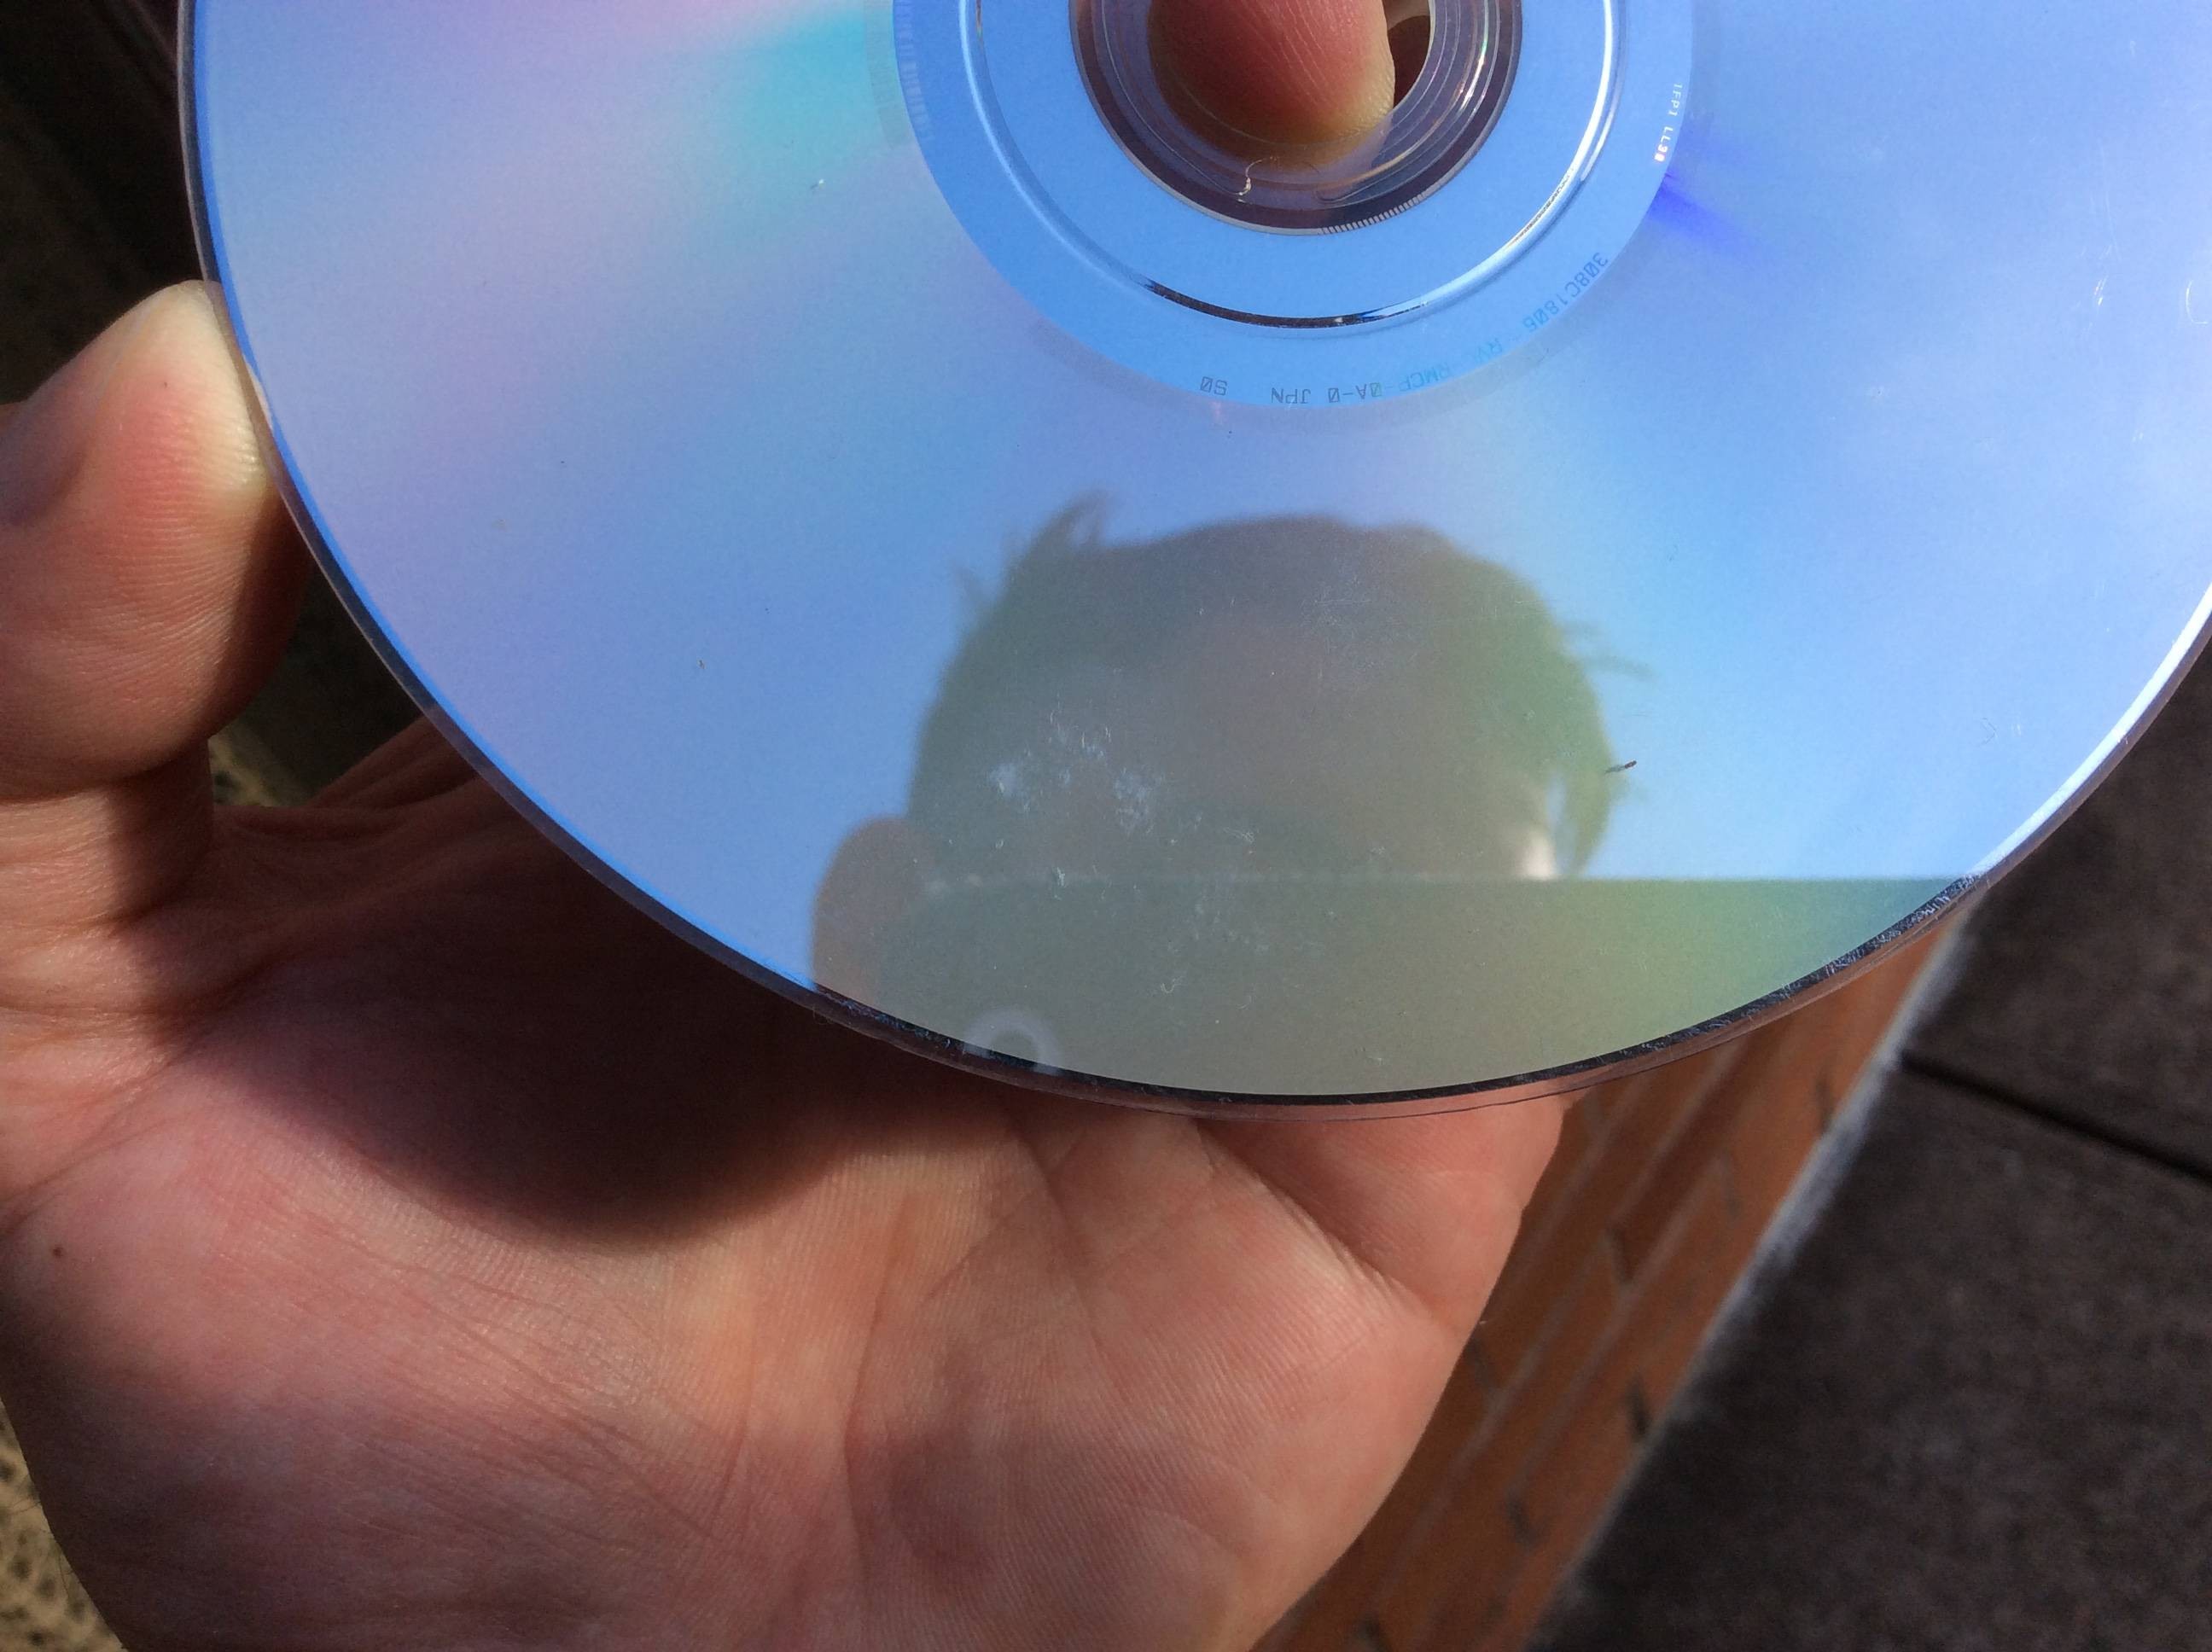
Carefully examine your disc, particularly the data side (the non-label side). Mold typically appears as fuzzy or powdery spots, often white, grey, or greenish in color. Look closely under good lighting to identify any mold growth.
Step 2: Prepare Your Hands
Before handling the disc, wash your hands thoroughly with soap and water. This removes any oils, dirt, or particles that could potentially scratch the delicate surface of the disc during the cleaning process.
Step 3: Set Up Your Cleaning Area
Prepare a clean workspace near a sink. You’ll need access to running water and a flat surface. Consider placing an old, clean towel on the counter to provide a soft surface to rest the discs on while you’re working. Gather your dishwashing liquid; a small amount is all you need.
Step 4: Apply Dish Soap Solution
Hold the disc data side up under a slow stream of running water. The water will bead on the surface. Apply one or two small drops of dishwashing liquid onto one of these water beads.
Step 5: Gently Clean the Disc Surface
Using your fingertip, gently spread the dish soap across the disc surface. Add a tiny bit more water if needed to help distribute the soap. With your thumb(s), lightly rub the disc in an outward circular motion for about 5 to 15 seconds. Rotate the disc as you clean to ensure even coverage. Repeat this process on the label side of the disc as well.
Step 6: Rinse and Inspect
Rinse the disc thoroughly under running water, holding it between your thumb and forefinger. Make sure to remove all traces of soap. Flick off excess water and carefully inspect the disc to see if the mold has been removed. If mold remains, repeat the cleaning process. Shake off as much water as possible after rinsing.
Step 7: Dry the Disc Properly
Prepare several pieces of clean, lint-free paper towel. Fold two pieces of paper towel for each drying phase. Create three drying phases in sequence, plus a final resting piece. Place the disc data side down on the first phase of paper towels. Use an additional piece of paper towel to gently press down on the disc. Move the disc to the second and third drying phases, repeating the press-and-move action. If you still see tiny water droplets, rotate the disc in the air (without touching the paper towel) and repeat the drying process. Finally, place the disc on the resting piece of paper towel to air dry completely. Double-check to ensure all mold is gone and the disc is clean and dry.
By following these simple steps, you can effectively clean mold from your discs and help ensure they remain playable for years to come. Regular inspection and proper storage in a dry environment can help prevent mold from returning.