Chicken breast is a staple in many kitchens – it’s lean, versatile, and a fantastic source of protein. However, it’s also notorious for being tricky to cook perfectly. Too often, home cooks end up with dry, rubbery, and bland chicken breasts. But fear not! With the right technique, you can consistently create juicy, tender, and flavorful chicken breasts that will elevate your meals. This guide will walk you through a foolproof 5-step method to master cooking chicken breasts in the oven, ensuring delicious results every time.
Understanding Chicken Breast for Optimal Cooking
Before diving into the cooking process, let’s understand why chicken breast can be challenging and how to set yourself up for success.
Choosing the Right Chicken Breast
- Fresh vs. Frozen: Fresh chicken breasts are generally preferred for their texture and moisture. If using frozen chicken, ensure it’s completely thawed before cooking. Thawing it in the refrigerator overnight is the safest and best method.
- Thickness Matters: Chicken breasts often vary in thickness, which can lead to uneven cooking. Thicker parts might be undercooked while thinner ends become dry. To remedy this, consider pounding thicker breasts to an even thickness of about ½ inch. This ensures consistent cooking throughout.
- Pre-Brined Chicken: Some chicken breasts are sold pre-brined, meaning they are already soaked in a salt solution. Check the packaging – if your chicken is pre-brined, you can skip the brining step in this recipe.
Why Brining is Crucial for Juicy Chicken
The secret to incredibly juicy baked chicken breast lies in a simple yet powerful technique: brining. Brining involves soaking the chicken in a saltwater solution. This process has several benefits:
- Moisture Retention: Salt helps the chicken muscle fibers relax and retain more moisture during cooking, preventing dryness.
- Enhanced Flavor: Brining seasons the chicken from the inside out, resulting in more flavorful meat, not just surface seasoning.
- Tender Texture: Brining contributes to a more tender and less chewy texture, even if you accidentally overcook the chicken slightly.
The 5-Step Method: Your Guide to Perfect Chicken Breast
This method, summarized by the acronym B.B.R.R.R., is your roadmap to consistently delicious baked chicken breasts.
Step 1: Brine – The Foundation of Juiciness
Brining is non-negotiable for baking chicken breasts. It’s incredibly easy and only requires about 15 minutes to significantly improve the outcome.
How to Brine:
- Prepare the Brine: In a large bowl, combine 2 cups of lukewarm water with ¼ cup of kosher salt. Stir until the salt is mostly dissolved.
- Cool the Brine: Add 2 cups of cold water or a handful of ice cubes to lower the water temperature. The brine should be cool to the touch before adding the chicken.
- Soak the Chicken: Submerge the chicken breasts in the saltwater brine. Ensure they are fully immersed.
- Brine Time: Let the chicken brine for at least 15 minutes and up to 6 hours in the refrigerator. Avoid brining for longer than 6 hours as it can make the chicken too salty or change its texture negatively.
- Rinse and Dry: After brining, remove the chicken from the solution and rinse it thoroughly with cold water to wash off excess salt. Pat the chicken breasts completely dry with paper towels. Drying is important for better browning in the oven.
Step 2: Brush – Flavor and Browning Booster
Brushing the chicken with butter or olive oil is the next key step.
Why Brush?
- Flavor: Butter adds a rich, savory flavor, while olive oil provides a lighter, fruity note. Choose based on your preference or the overall flavor profile of your dish.
- Browning: Fat helps the chicken brown beautifully in the oven, creating a more appealing color and slightly crispy exterior.
- Seasoning Adhesion: The oil or melted butter acts as a binder, helping the seasonings adhere evenly to the chicken breasts.
- Prevent Sticking: Brushing the baking dish lightly and coating the chicken helps prevent sticking to the pan.
How to Brush:
- Melt Butter (Optional): If using butter, melt it in the microwave or a small saucepan. Olive oil can be used as is.
- Brush Liberally: Using a pastry brush, generously brush melted butter or olive oil on both sides of the brined and dried chicken breasts.
- Place in Baking Dish: Arrange the brushed chicken breasts in a large baking dish or roasting pan, ensuring they are in a single layer to promote even cooking.
Step 3: Rub – Seasoning for Deliciousness
This is where you infuse your chicken with flavor. While simple salt and pepper are acceptable, a flavorful rub elevates baked chicken breast from basic to fantastic.
Seasoning Suggestions:
- Simple & Savory: Combine 1 teaspoon kosher salt, ½ teaspoon black pepper, ½ teaspoon garlic powder, and ½ teaspoon smoked paprika (as suggested in the original recipe). This versatile blend complements almost any dish.
- Italian Herb: Mix dried oregano, basil, thyme, rosemary, garlic powder, and red pepper flakes for an Italian-inspired flavor.
- Lemon Pepper: Use lemon zest, black pepper, garlic powder, and a pinch of salt for a zesty and bright taste.
- Spicy Southwestern: Combine chili powder, cumin, coriander, smoked paprika, cayenne pepper, garlic powder, and onion powder for a warm and spicy kick.
How to Rub:
- Prepare Seasoning Blend: In a small bowl, whisk together your chosen spices and herbs.
- Season Generously: Sprinkle the seasoning mixture evenly over both sides of the buttered or oiled chicken breasts. Gently rub the seasoning into the chicken to ensure it adheres well.
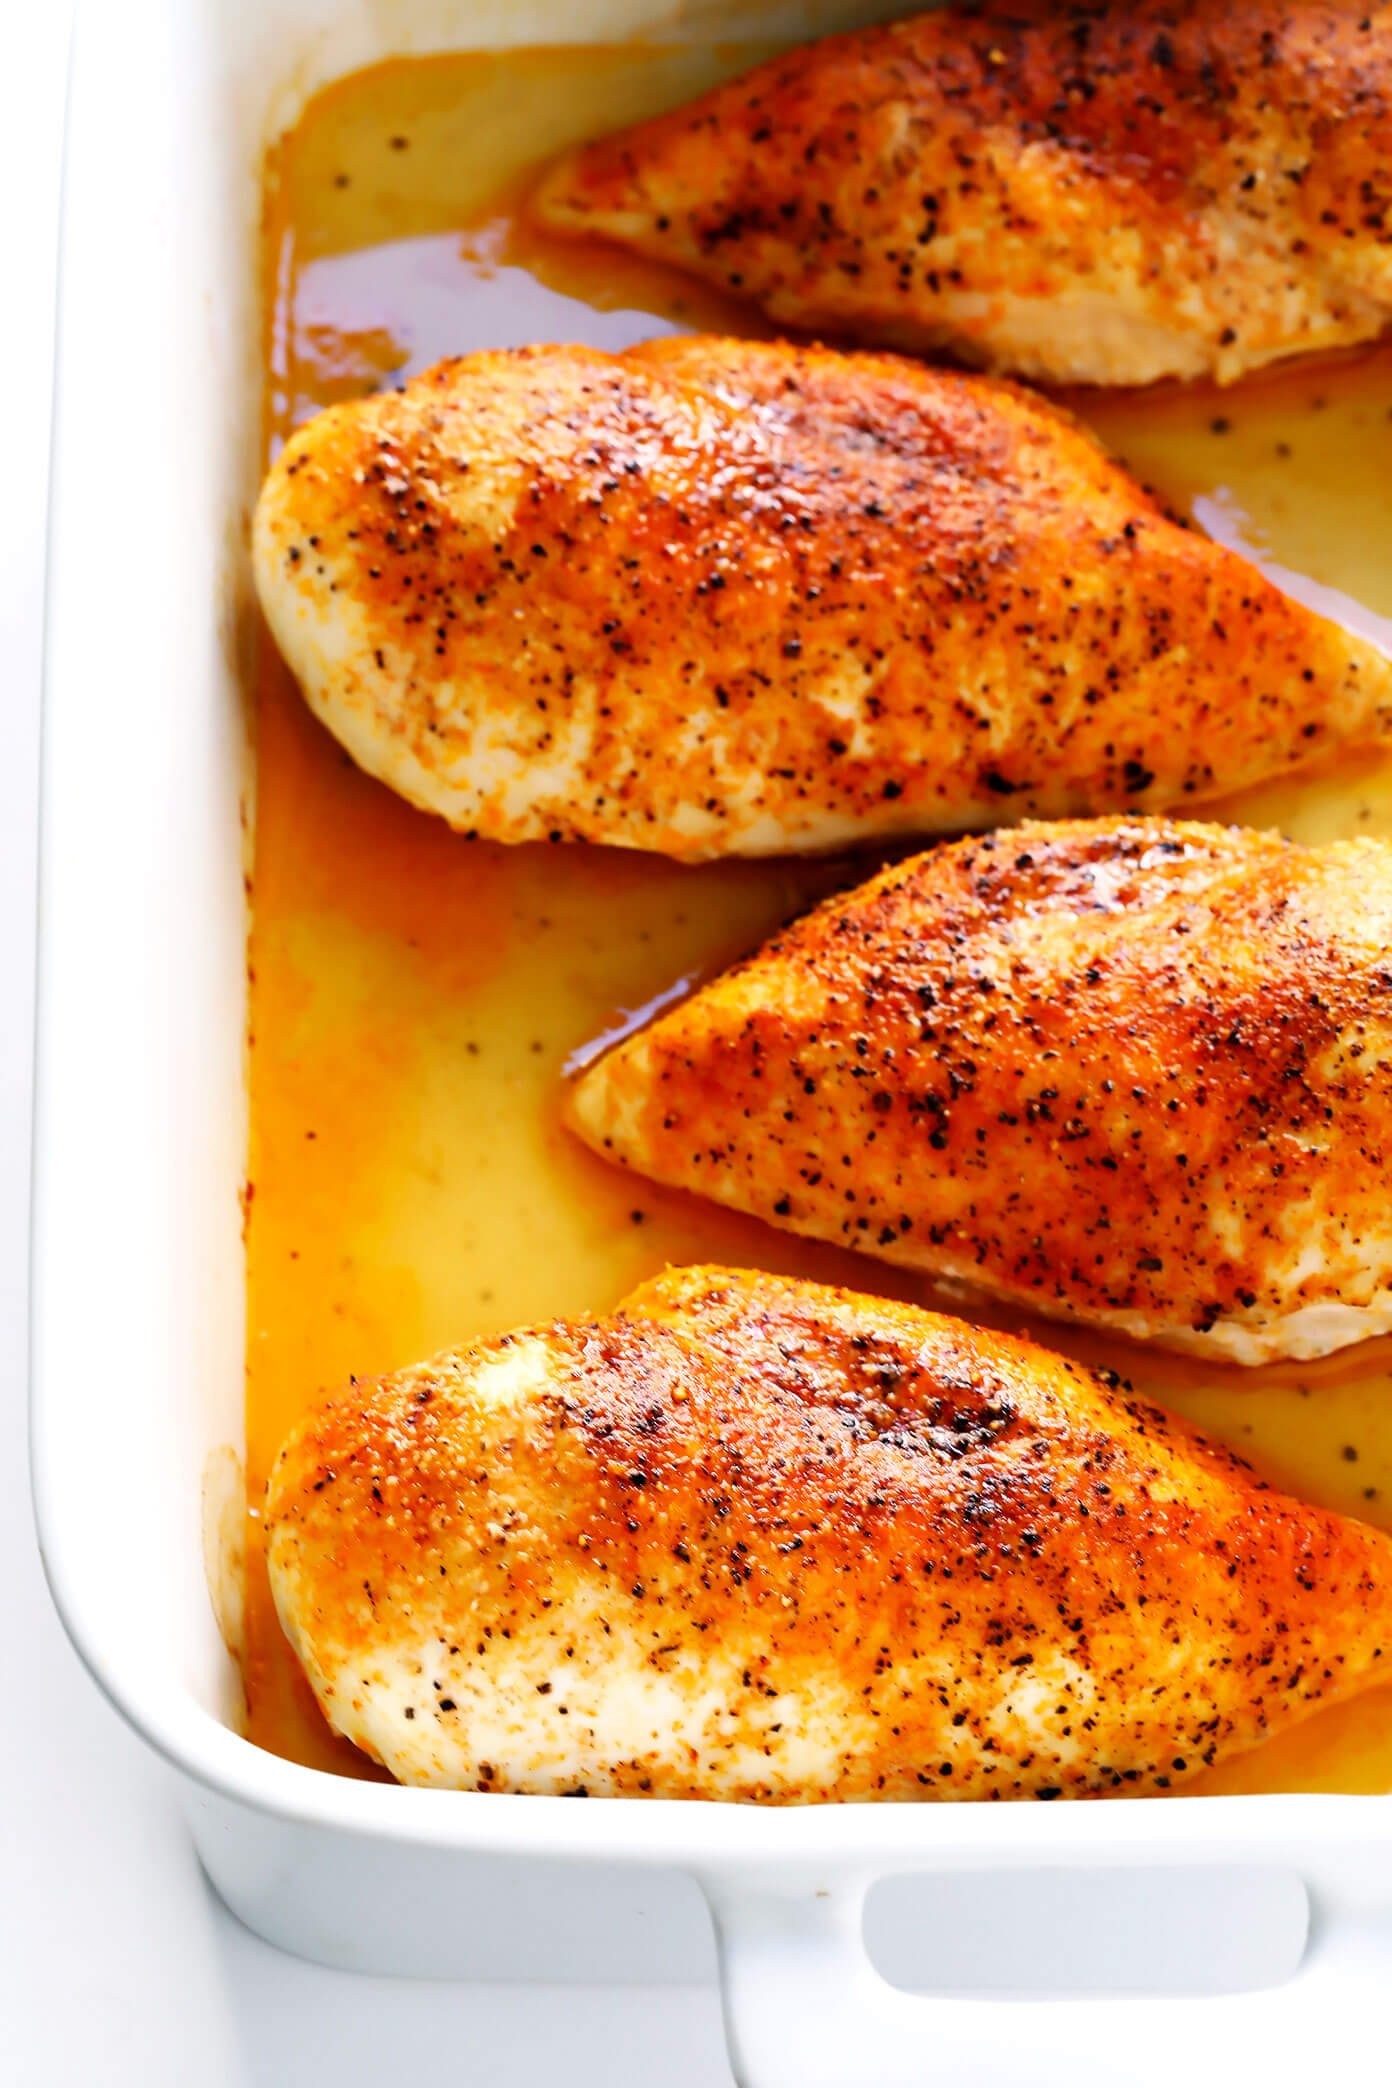
Step 4: Roast – High Heat for Juicy Results
The roasting step is crucial for achieving the perfect texture. High heat and a relatively short cooking time are key to juicy chicken breast.
Roasting Temperature and Time:
- High Heat: Preheat your oven to 450°F (232°C). This high temperature sears the outside of the chicken, creating a flavorful crust and locking in juices.
- Cooking Time: Bake for 15-18 minutes, depending on the thickness of your chicken breasts. Thinner breasts will cook faster.
The Importance of a Meat Thermometer:
- Accuracy is Key: The most reliable way to determine if chicken is cooked through is by using a meat thermometer. Visual cues alone can be deceiving.
- Safe Internal Temperature: The FDA recommends cooking chicken to an internal temperature of 165°F (74°C) to ensure it is safe to eat.
- How to Check: Insert the meat thermometer into the thickest part of the chicken breast, avoiding the bone if there is one.
Troubleshooting Common Issues:
- Chicken is Dry: Overcooking is the primary culprit. Use a meat thermometer to avoid overbaking. Brining also significantly reduces the risk of dryness.
- Chicken is Undercooked: Ensure the internal temperature reaches 165°F. If it’s not reached after 18 minutes, continue baking in 2-3 minute increments, checking the temperature each time.
- Chicken is Burning: While high heat is important, if your chicken is browning too quickly, you can loosely tent it with aluminum foil during the last few minutes of cooking to prevent burning while ensuring it cooks through.
Step 5: Rest – The Final Touch for Tenderness
Resting is often overlooked but is essential for achieving the juiciest and most tender chicken breast.
Why Rest?
- Juice Redistribution: During cooking, the juices in the chicken are pushed towards the center due to the heat. Resting allows these juices to redistribute evenly throughout the meat.
- Tenderization: Resting allows the muscle fibers to relax, resulting in a more tender texture.
- Preventing Dryness: If you cut into chicken immediately after cooking, you’ll lose a significant amount of juices, leading to drier meat. Resting helps retain those precious juices.
How to Rest:
- Remove from Oven: Once the chicken reaches 165°F, remove the baking dish from the oven.
- Transfer Chicken: Transfer the chicken breasts from the hot baking dish to a clean plate to stop the cooking process.
- Tent with Foil: Loosely tent the plate with aluminum foil. This helps keep the chicken warm while it rests and allows for gentle carryover cooking.
- Resting Time: Let the chicken rest for 5-10 minutes before slicing or serving.
Seasoning Variations to Elevate Your Chicken Breast
Experiment with different seasoning blends to customize your baked chicken breast and match various cuisines and dishes. Here are a few more ideas:
- Mediterranean: Lemon zest, dried oregano, garlic powder, salt, pepper, and a touch of dried mint.
- Blackened: Paprika, cayenne pepper, onion powder, garlic powder, thyme, oregano, black pepper, and salt for a smoky and spicy flavor.
- Herbs de Provence: A classic French blend of thyme, rosemary, savory, marjoram, oregano, and lavender for an aromatic and elegant taste.
- Asian Inspired: Ginger powder, garlic powder, white pepper, onion powder, and a pinch of five-spice powder for an umami-rich flavor.
Serving Suggestions for Baked Chicken Breast
Perfectly baked chicken breasts are incredibly versatile. Here are some ways to enjoy them:
- Main Course: Serve whole or sliced chicken breasts with roasted vegetables, mashed potatoes, rice, or quinoa for a complete and healthy meal.
- Salads: Slice or dice baked chicken breast and add it to your favorite salads for a protein boost. Caesar salad, Cobb salad, or a simple garden salad are all great options.
- Sandwiches and Wraps: Use sliced chicken breast in sandwiches, wraps, or paninis. Add your favorite toppings, sauces, and vegetables.
- Pasta Dishes: Shred or dice chicken breast and add it to pasta sauces, casseroles, or creamy pasta salads.
- Tacos and Quesadillas: Shredded chicken breast is a fantastic filling for tacos, quesadillas, and burritos.
- Meal Prep: Baked chicken breasts are excellent for meal prepping. Cook a batch at the beginning of the week and use them in various dishes throughout the week.
Storing and Reheating Chicken Breast
- Storing: Store leftover baked chicken breast in an airtight container in the refrigerator for up to 3 days. For longer storage, you can freeze it for up to 3 months. It’s best to slice, shred, or dice the chicken before freezing for easier use later.
- Reheating: Reheat leftover chicken breast gently to prevent it from drying out. You can reheat it in the microwave, oven (at a lower temperature like 325°F covered with foil), or in a skillet with a little bit of broth or water to add moisture.
Mastering How To Cook Chicken Breast is a fundamental skill for any home cook. By following this 5-step B.B.R.R.R method – Brine, Brush, Rub, Roast, Rest – you’ll be able to consistently create juicy, tender, and flavorful chicken breasts that are perfect for any occasion. Say goodbye to dry chicken forever and enjoy the deliciousness of perfectly cooked chicken breast!