Cooking ham can seem daunting, especially when you’re aiming for that perfect centerpiece for a holiday feast or a special gathering. Many recipes overcomplicate the process with unnecessary steps like scoring and clove studding. This guide simplifies everything, focusing on a straightforward method to achieve a ham that’s incredibly juicy, tender, and bursting with flavor. We’ll walk you through How To Cook Ham using a moist heat technique followed by a high-heat finish to create a beautifully caramelized exterior. Forget complicated techniques – this recipe ensures a delicious, crowd-pleasing ham every time.
Choosing the Right Ham for Cooking
Before diving into the cooking process, selecting the right ham is crucial. The quality of your ham significantly impacts the final taste and texture. Here’s what to consider:
Bone-In vs. Boneless Ham
- Bone-in Ham: Bone-in hams are often favored for their richer flavor and moisture retention during cooking. The bone helps distribute heat evenly and adds depth to the ham’s taste. They can be slightly more challenging to carve but are generally considered more flavorful.
- Boneless Ham: Boneless hams are incredibly convenient and easy to slice. They are made by removing the bone and then reshaping the ham. While they might be slightly less flavorful than bone-in options, they are a great choice for ease of carving and serving, especially in sandwiches or smaller gatherings.
Whole Ham vs. Half Ham
- Whole Ham: A whole ham is perfect for large gatherings and can feed a crowd. They typically weigh between 10-15 pounds. If you’re hosting a big holiday dinner, a whole ham makes a stunning centerpiece and provides plenty of leftovers.
- Half Ham: For smaller families or gatherings, a half ham is an excellent choice. They are easier to manage and cook, usually weighing between 5-7 pounds. A half ham still offers generous servings and is perfect for a family dinner.
Cooked Ham is Key
Regardless of the type you choose, ensure you are starting with a cooked ham. Most hams sold in supermarkets are pre-cooked and cured. We are essentially reheating the ham and enhancing its flavor and texture. Avoid raw or fresh hams for this recipe, as they require a completely different cooking approach. The focus here is on bringing out the best in a pre-cooked ham with a simple baking method.
Simple Steps to Cooking a Delicious Ham
This method emphasizes moist heat and a high-heat finish to ensure your ham is cooked perfectly. Here’s a step-by-step guide:
-
Preheat Your Oven: Start by preheating your oven to 325°F (160°C). This moderate temperature is ideal for gently heating the ham and keeping it moist.
-
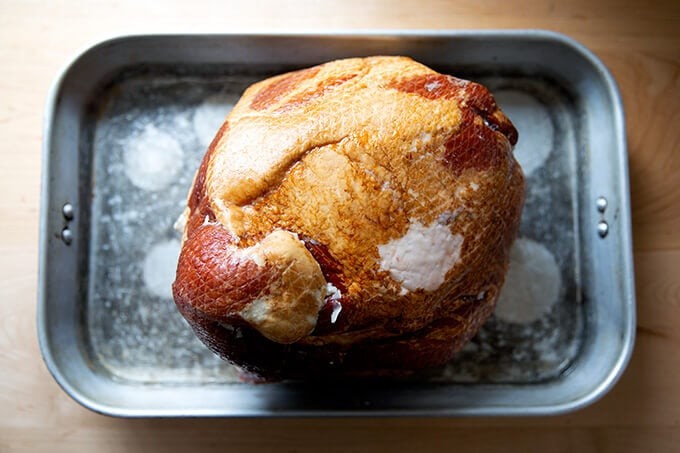
Prepare the Ham for Baking: Place your ham fat-side up in a large roasting pan. Using a roasting pan with sides is important to contain the juices and water we’ll add.
-
Add Water for Moisture: Pour about 2 cups of water into the roasting pan. The water should reach approximately ½ inch up the sides of the pan. This creates steam in the oven, which is crucial for moist heat cooking and prevents the ham from drying out.
-
Cover Tightly with Foil: Cover the roasting pan tightly with heavy-duty aluminum foil. Ensure the foil is sealed well around the edges of the pan to trap the steam inside. This step is vital for the first part of the cooking process, allowing the ham to gently steam and retain its moisture.
-
Calculate Cooking Time: The general rule is to cook ham for 10 minutes per pound at 325°F (160°C). Calculate the total cooking time based on the weight of your ham. For example, a 12-pound ham will cook for approximately 2 hours. Subtract 30 minutes from this total time; this is the duration for the initial moist heat cooking phase. The final 30 minutes will be at a higher temperature and without foil to caramelize the glaze.
- Example: For a 13.5 lb ham, total cook time is 135 minutes (13.5 lbs x 10 minutes/lb). Initial cook time under foil is 1 hour 45 minutes (135 minutes – 30 minutes).
-
Bake Under Foil: Place the covered roasting pan in the preheated oven and bake for the calculated initial cook time.
-
Prepare the Ham Glaze (While Ham is Baking): While the ham is baking, prepare your glaze. A simple and delicious glaze can be made with brown sugar, maple syrup, and orange juice.
-
Simple Brown Sugar Maple Glaze Recipe:
- ¼ cup brown sugar
- ¼ cup maple syrup
- ¼ cup freshly squeezed orange juice
-
Whisk together all ingredients in a small bowl until well combined. You can also gently heat the mixture in a saucepan over low heat to help the sugar dissolve completely, but this is optional.
-
-
Increase Oven Temperature and Glaze: After the initial cooking time, remove the ham from the oven. Increase the oven temperature to 425°F (220°C). Carefully remove the foil from the roasting pan.
-
Apply the First Glaze: Generously brush the ham all over with the prepared glaze.
-
Bake and Glaze Again: Return the ham to the oven, uncovered, and bake for 15 minutes. Remove from the oven again and apply a second generous coat of glaze. Bake for another 15 minutes. If you have any remaining glaze, you can drizzle it over the ham during the last 5 minutes of baking for extra flavor and caramelization.
-
Rest Before Carving: Remove the baked ham from the oven.
Transfer the ham to a cutting board and let it rest for at least 20 minutes before carving. Resting allows the juices to redistribute throughout the meat, resulting in a more tender and flavorful ham. Do not skip this step!
-
Carve and Serve: After resting, the ham is ready to carve.
Slice and serve your beautifully cooked ham. Don’t forget to save the bone for making flavorful soups!
Tips for a Perfect Cooked Ham Every Time
- Quality Ham Matters: Start with a good quality ham. The better the ham, the better the final result will be. Look for reputable brands or local butchers for high-quality options.
- Don’t Overcook: Overcooking ham can dry it out. Stick to the recommended cooking times and use a meat thermometer if you are unsure. The internal temperature should reach 140°F (60°C) for a cooked ham to be heated through.
- Resting is Essential: Allowing the ham to rest is as crucial as the cooking process itself. It ensures a juicy and tender final product.
- Customize Your Glaze: Feel free to experiment with your glaze. Honey, Dijon mustard, pineapple juice, or even cola can be added to create unique and delicious glazes.
- Save the Bone: Don’t discard the ham bone! It’s packed with flavor and perfect for making hearty soups like split pea and ham soup.
Serving and Storing Your Cooked Ham
Serving Suggestions
Baked ham is incredibly versatile and can be served in numerous ways.
- Classic Holiday Dinner: Serve as the centerpiece of your holiday meal with sides like mashed potatoes, green bean casserole, roasted vegetables, and dinner rolls.
- Elegant Brunch: Ham is also fantastic for brunch. Serve slices with eggs benedict, quiche, or alongside a breakfast casserole.
- Sandwiches and Leftovers: Cold ham slices are perfect for sandwiches, wraps, and salads. Use leftover ham in omelets, frittatas, or diced in pasta dishes.
Storing Leftover Ham
Store leftover cooked ham in an airtight container in the refrigerator for up to 3-4 days. For longer storage, you can freeze cooked ham for up to 2-3 months. Wrap it tightly in freezer wrap or place it in a freezer-safe bag to prevent freezer burn.
Conclusion
Cooking ham doesn’t have to be complicated. This simple method of moist heat baking followed by a high-heat glaze finish ensures a juicy, flavorful, and beautifully caramelized ham every time. By following these easy steps and tips, you’ll be able to confidently cook a delicious ham that will impress your family and guests. Enjoy the process and the delicious results!
And don’t forget to serve your ham with a delicious sauce, like a classic mustard sauce, to elevate the flavors even further! Enjoy your perfectly cooked ham!