Capturing screenshots on your Mac is a handy way to save information, share visuals, or create tutorials. But sometimes, you only need a portion of your screen, and that’s where cropping comes in. Knowing how to crop a screenshot on your Mac efficiently can save you time and ensure you’re only sharing exactly what you need. This guide will walk you through several easy methods to crop screenshots on your macOS device, making sure you master this essential skill.
Method 1: Cropping Screenshots Immediately After Capture Using Markup Preview
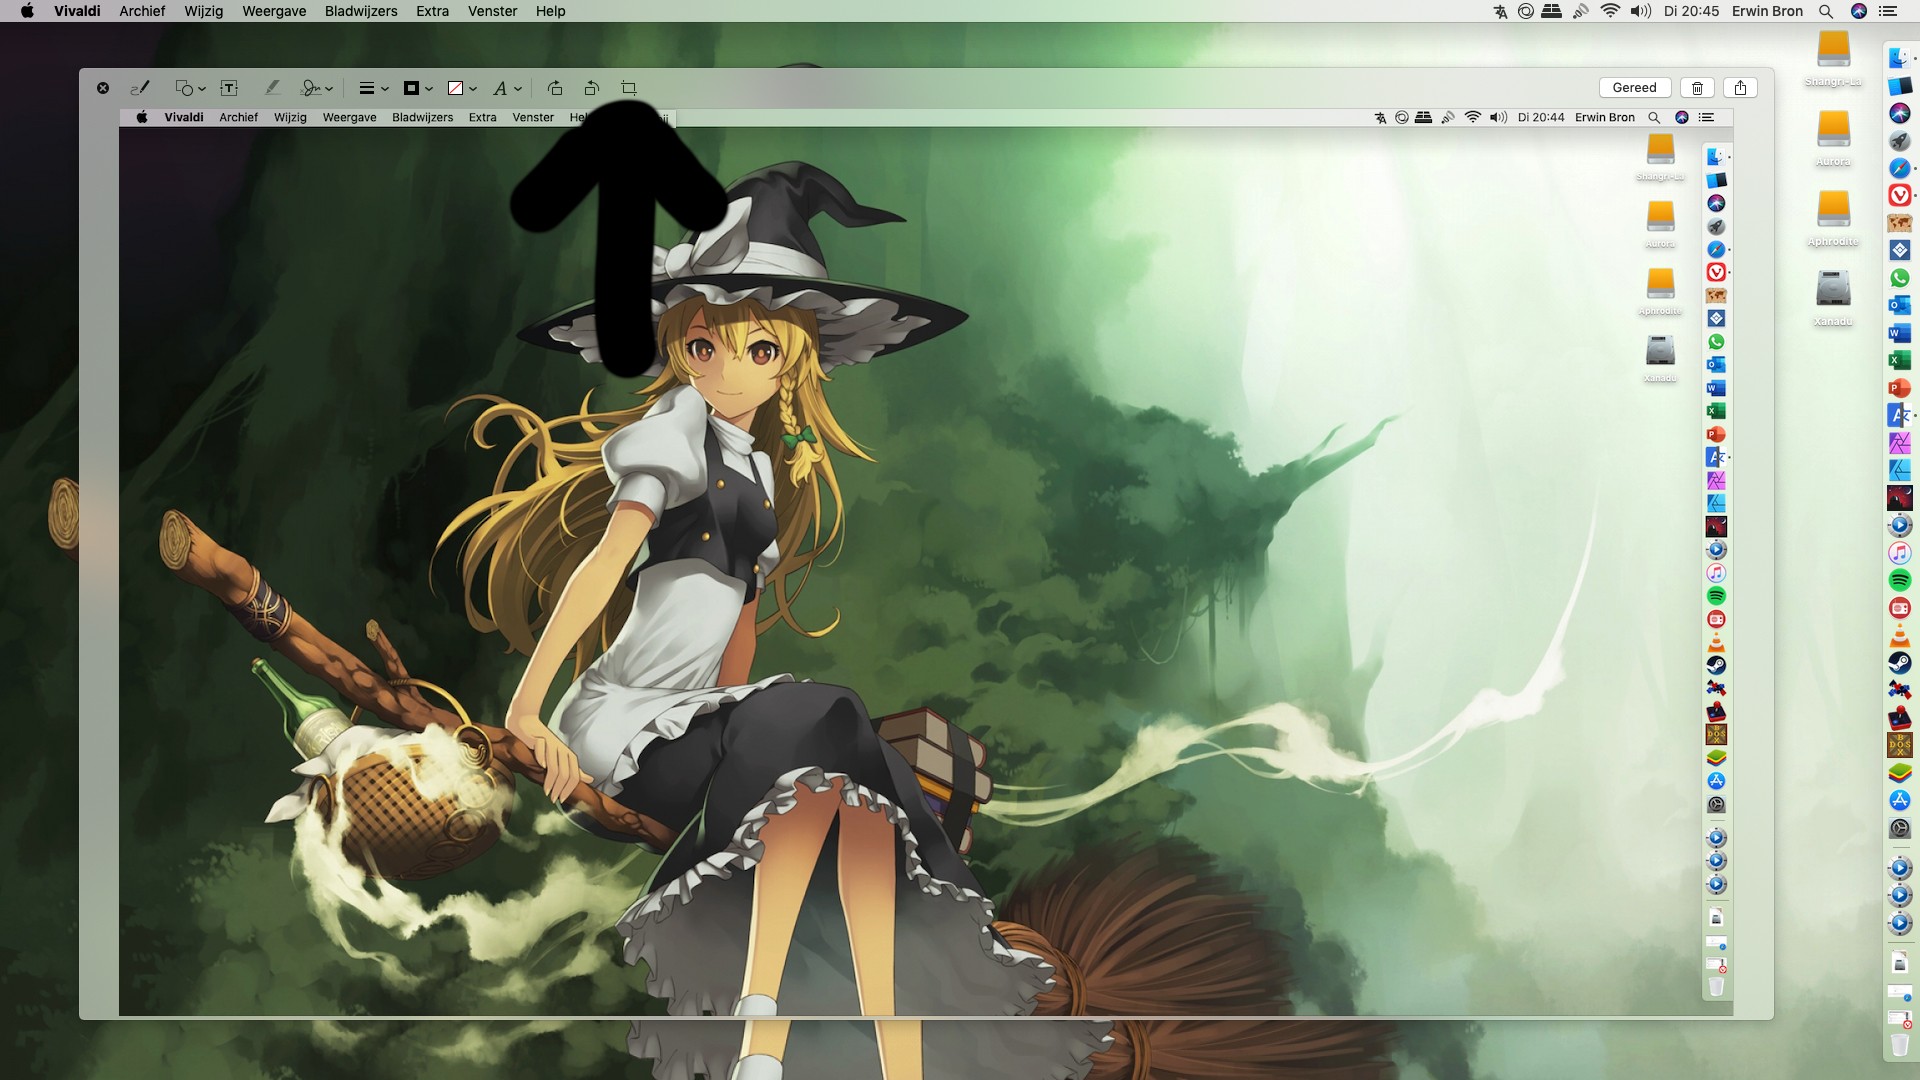
macOS offers a convenient way to quickly crop your screenshots right after you take them. When you capture a screenshot using Shift-Command-3 (full screen) or Shift-Command-4 (selected area), a thumbnail preview briefly appears in the bottom-right corner of your screen. Clicking on this thumbnail opens it in Markup Preview, a powerful tool that allows for quick edits, including cropping.
Here’s how to crop a screenshot instantly after capturing it:
-
Take your screenshot: Press Shift-Command-3 for a full screen capture or Shift-Command-4 to select a specific area.
-
Click the Thumbnail: As soon as you take the screenshot, a small preview will pop up in the lower right corner of your display. Click on this preview before it disappears.
-
Access the Crop Tool: Once the Markup Preview opens, you’ll see a toolbar at the top. The crop tool is typically located on the right side of this toolbar. It’s represented by an icon that looks like a rectangle being trimmed.
-
Crop Your Screenshot: Click the crop tool icon. Selection handles will appear around your screenshot. Drag these handles inwards to define the area you want to keep. A rectangular selection box will visualize the cropped area.
-
Finalize Cropping: After adjusting the crop area to your liking, click the Done button in the top right corner of the Markup Preview window. Your cropped screenshot is now saved.
This method is incredibly efficient for quickly cropping screenshots immediately after you capture them, without needing to open any additional applications.
Method 2: Cropping During Screenshot Capture Using Keyboard Shortcuts
For even more control, macOS lets you crop your screenshot while you are taking it. This is done using the Shift-Command-4 shortcut, which allows you to select a specific portion of your screen to capture.
Here’s how to take a cropped screenshot directly:
-
Press Shift-Command-4: Press and hold these three keys simultaneously. Your cursor will change to a crosshair, indicating you are in selection mode.
-
Select the Area: Click and drag your mouse to select the rectangular area you want to capture. As you drag, you’ll see a selection box forming. This box represents the area that will be included in your screenshot.
-
Release to Capture: Once you have selected the desired area, release the mouse button. macOS will automatically capture a screenshot of the area you selected, effectively cropping out anything outside of this rectangle.
This method is ideal when you know exactly what portion of the screen you need to capture, eliminating the need for post-capture cropping.
Method 3: Cropping Existing Screenshots with Preview App
If you have already saved a screenshot and need to crop it later, the Preview app on macOS is your go-to tool. Preview is the default image viewer and editor on macOS and comes pre-installed.
Follow these steps to crop an existing screenshot using Preview:
-
Open your Screenshot in Preview: Locate the screenshot file on your Mac and double-click it. It will automatically open in the Preview app. Alternatively, you can open Preview first and then go to File > Open to select your screenshot.
-
Show the Markup Toolbar: If the Markup toolbar is not visible, click the “Show Markup Toolbar” button. This button is typically located to the right of the search bar in the Preview window and looks like a pen tip inside a circle.
-
Select the Rectangular Selection Tool: In the Markup toolbar, the leftmost icon is the “Rectangular Selection” tool. Click on this icon to activate it.
-
Select the Area to Keep: Drag your cursor over the area of the screenshot you want to keep. A dashed rectangular selection will appear.
-
Crop the Image: Once you’ve made your selection, click the Crop button in the Markup toolbar. This button is usually located next to the selection tools. Preview will then crop your screenshot to the selected area.
-
Save Your Cropped Screenshot: Go to File > Save (or Command-S) to save the cropped image. You can also choose File > Export to save it as a different file format or with a new name.
Preview provides a robust yet simple way to crop any existing image file, including screenshots, on your Mac.
Method 4: Using Other Image Editing Applications
While macOS built-in tools are sufficient for most cropping needs, you can also use other image editing applications for more advanced cropping or editing options. Applications like Adobe Photoshop, GIMP (a free, open-source alternative), Pixelmator Pro, and many others offer powerful cropping tools along with a wide array of image manipulation features.
These applications usually offer more precise control over cropping, such as:
- Fixed Aspect Ratio Cropping: Crop to specific dimensions or aspect ratios (e.g., 16:9, 1:1).
- Non-Destructive Cropping: Crop without permanently deleting the uncropped parts of the image, allowing for adjustments later.
- Advanced Editing Tools: Combine cropping with other edits like resizing, color correction, and adding annotations.
For simple cropping tasks, the built-in macOS methods are generally the quickest and easiest. However, for professional or more complex image editing, dedicated image editing software can provide greater flexibility and control.
Conclusion
Cropping screenshots on a Mac is a straightforward process with multiple efficient methods available. Whether you prefer to crop immediately after capture, during capture, or edit existing files, macOS provides the tools you need. From the quick Markup Preview to the versatile Preview app, and even advanced image editors, you can easily tailor your screenshots to perfection. Experiment with these methods to find the workflow that best suits your needs and enhance your screenshotting efficiency on your Mac.