As the weather warms up, the dutch braid, also known as an inside-out braid, becomes a go-to hairstyle for many. It’s stylish, practical, and perfect for keeping your hair neat and elegant, whether you’re facing a hot summer day or just want a chic everyday look. This tutorial will guide you through the process of creating a beautiful dutch braid, even if you’re a complete beginner.
Many find the dutch braid easier to master than a traditional French braid once they understand the technique. It’s a versatile hairstyle that can be dressed up or down, making it suitable for various occasions. Whether you’re heading to the gym, going to work, or attending a casual gathering, dutch braids offer a blend of style and functionality.
If you’re new to dutch braiding, don’t worry! This simple tutorial is designed for beginners.
Related: Explore more Easy Hair Tutorials for Any Occasion
While hair extensions are optional, they can add volume and length to your braids. If you use extensions, they can be easily concealed within the braid, enhancing the overall look.
To start with extensions, part your hair where you want the braid to begin and clip in a long extension track along that part. This method ensures the extension blends seamlessly into the braid, adding fullness and length while staying hidden. After braiding, double-check that the extension clips aren’t visible at the braid’s end. If they are, simply adjust them by unclipping the last clip, pushing it slightly upwards, and re-clipping to hide it. For those interested in extensions, this brand is a popular choice. Consulting with a hair stylist can help you choose the perfect color and type to match your hair.
Let’s dive into the steps of creating a dutch braid. First, brush your hair thoroughly to remove any knots or tangles. Apply a smoothing spray or a smoothing creme to the top of your head to tame flyaways and ensure a sleek finish. Begin by separating a 3-inch section of hair at the front of your head, and divide this section into three equal strands, just like you would for a regular braid.
Start the braid by taking the right strand and passing it under the middle strand. Now, the right strand becomes the middle strand, and the middle strand becomes the right. Next, take the left strand and pass it under the new middle strand, so the left strand is now in the middle.
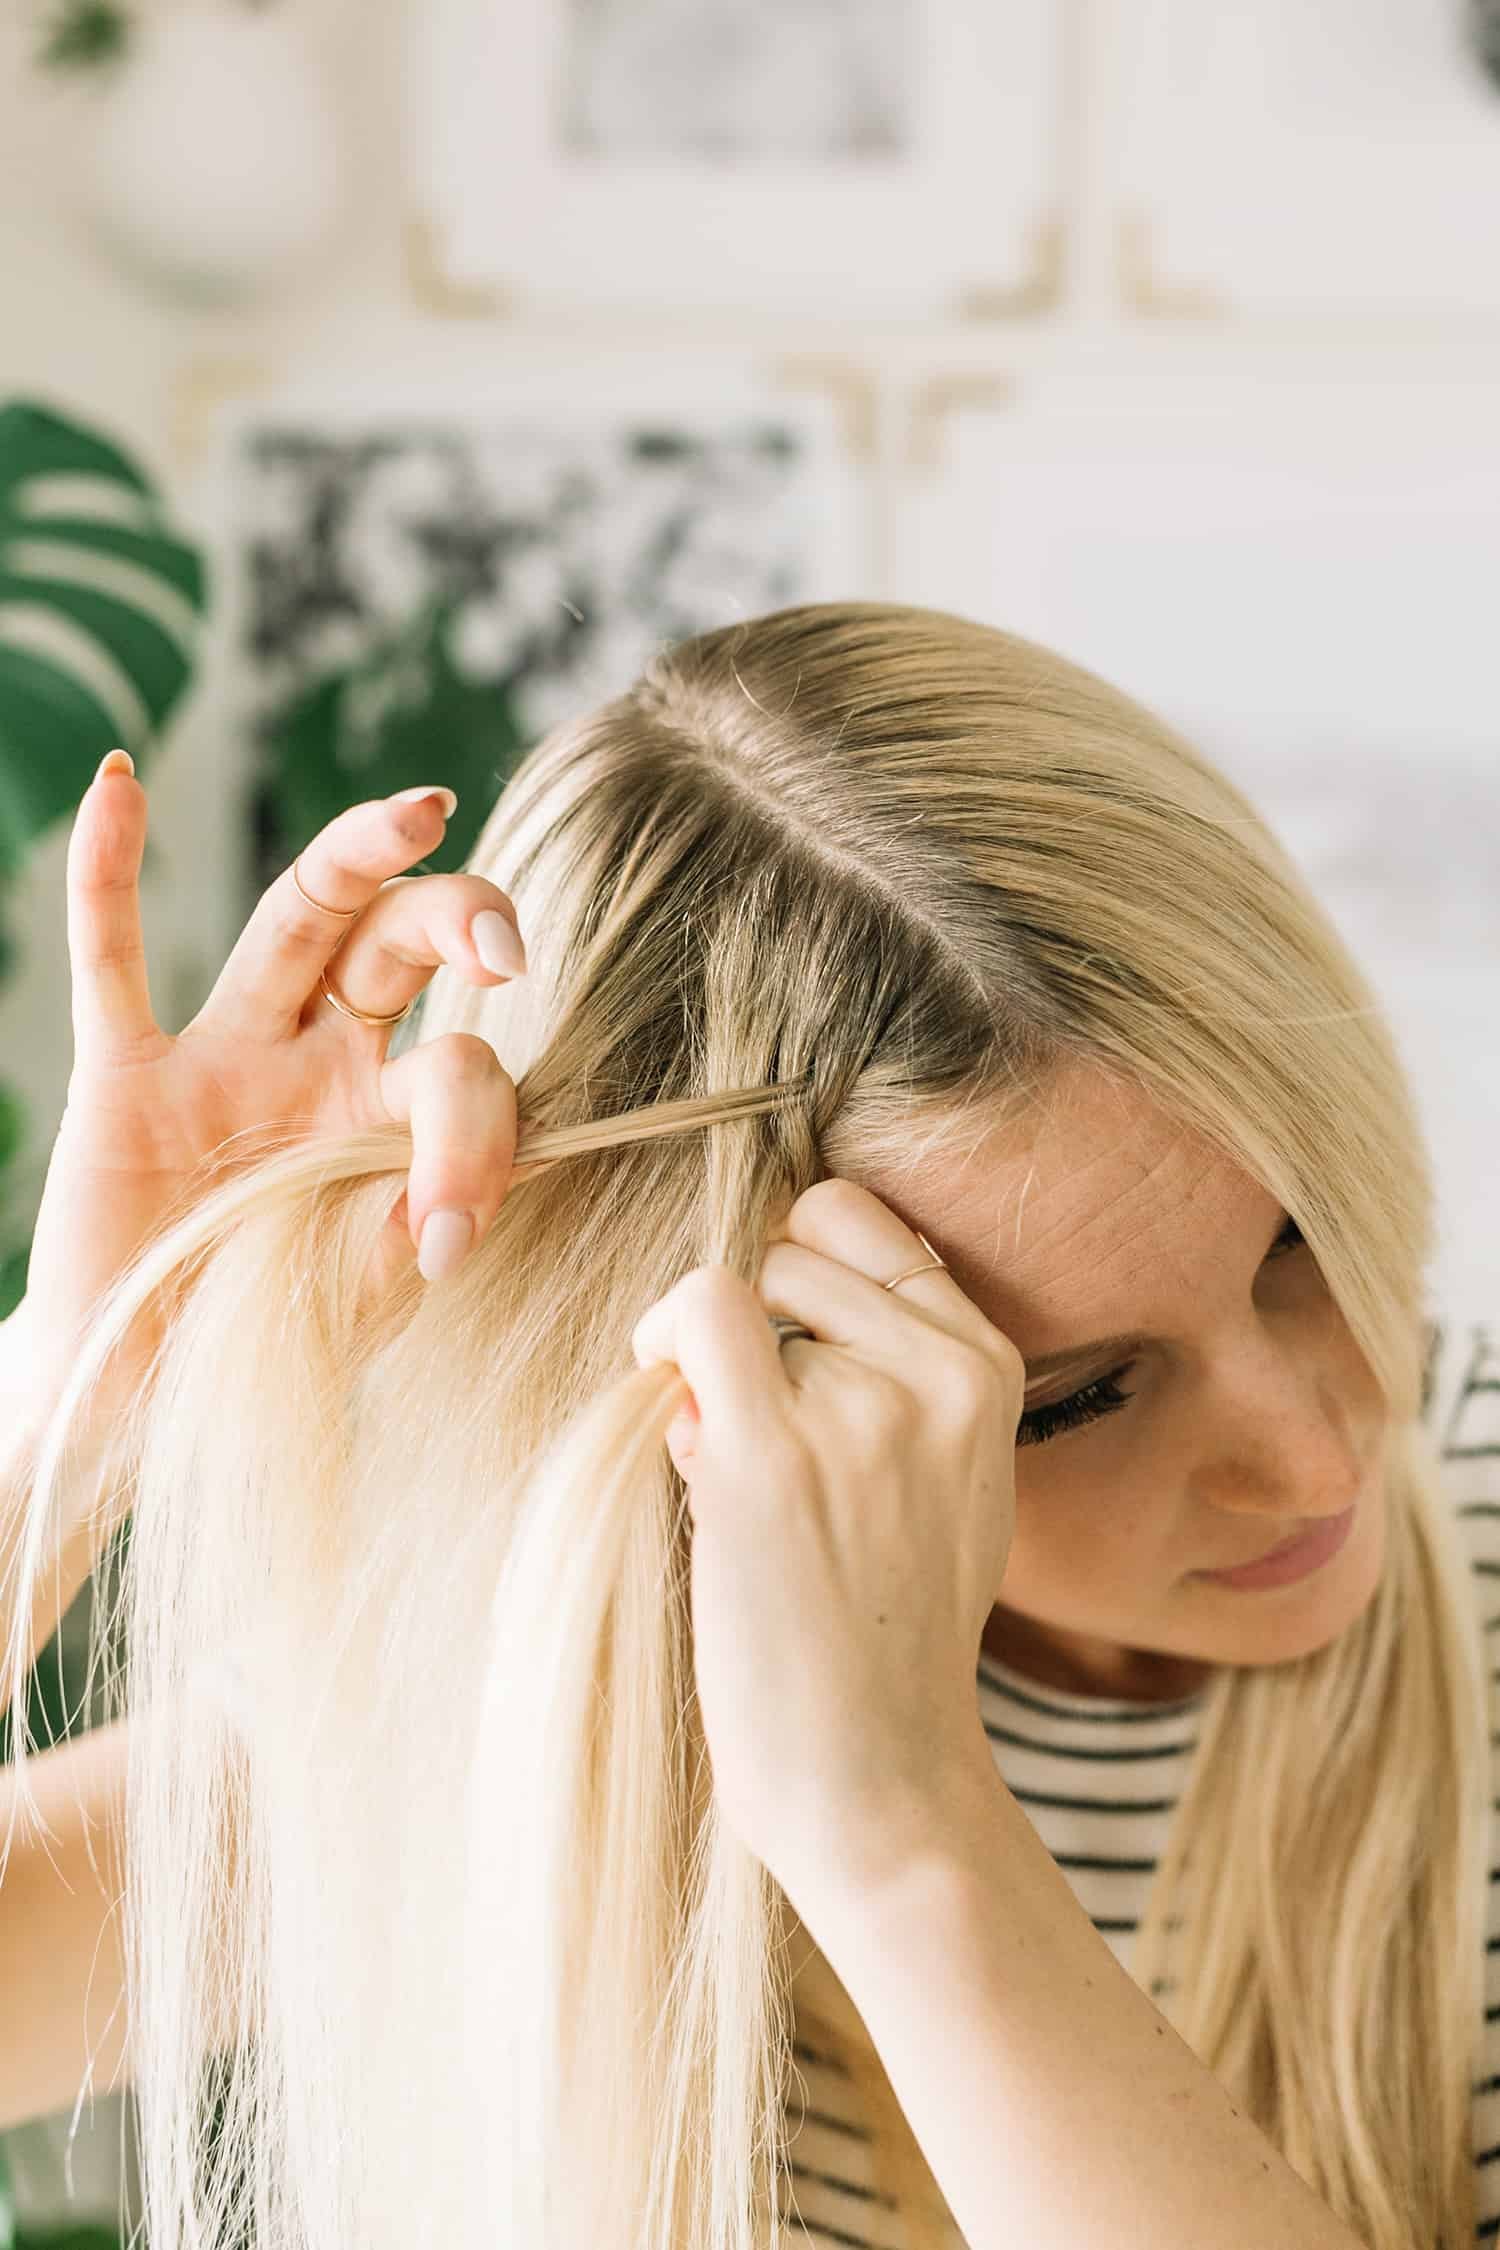
With your thumb, pick up a small section of hair from the right side of your head, near your initial front section, and add it to the right strand. Pass this combined strand under the middle strand.
Repeat this process on the left side. Grab a small section of hair from the left side of your head and add it to the left strand. Pass this combined strand under the middle strand again.
Maintain tension by keeping each section as tight as possible. Pull the braid tighter as you move sections around. Holding two sections taut allows you to readjust or grab more hair without the braid loosening.
Continue this process of adding hair to the right and left strands and passing them under the middle strand as you braid down the side of your head, working your way behind your ear.
Once you’ve incorporated all the hair from the sides of your head, continue braiding the remaining hair in a regular three-strand braid all the way to the ends. Secure the end of the braid with a clear hairband. Repeat the entire braiding process on the other side of your head if you desire double dutch braids.
To add volume and a more relaxed look to your braids, slide the hairband down about an inch. Sprinkle some plumping powder along the braids from the bottom up. Gently pull on the edges of each braided section to loosen and widen the braid, making it appear thicker and fuller. Finish with a light spray of hairspray for hold and to tame any remaining flyaways.
Dutch braids are not only stylish but also practical, especially in humid weather. Applying smoothing creme throughout your hair helps maintain the braid’s neatness throughout the day, even in humid conditions.
An added benefit of wearing braids is the beautiful waves your hair will have when you undo them. This provides another lovely hairstyle option after you’ve enjoyed your braids.
If you don’t succeed in creating perfect dutch braids on your first try, keep practicing! Remember, dutch braiding is essentially the reverse of French braiding. If you’re accustomed to French braids, it might take a little concentration initially. Many find it helpful to practice a few times to get the hang of it. Persistence pays off, and soon you’ll be creating beautiful dutch braids effortlessly! xo. Laura
Love this tutorial? Sign up for our newsletter for more creative ideas!
Get inspired with recipes, crafts, home decor tips, and more delivered right to your inbox!
Supplies
- Hairbrush
- Smoothing spray or creme
- Clear hairbands
- Optional: Hair extensions
- Optional: Plumping powder
- Optional: Hairspray
Instructions
- Brush your hair to remove tangles. Apply smoothing product to reduce flyaways.
- Section off a 3-inch section at the front and divide into three strands.
- Braid by passing right strand under middle, then left strand under middle.
- Add hair to the right strand and pass under middle. Repeat on the left.
- Continue adding hair and braiding until behind the ear.
- Finish with a regular braid to the ends and secure with a hairband.
- Repeat on the other side for double braids.
- Optional: Volumize braid by pulling sections and using plumping powder and hairspray.
© Author Laura Gummerman