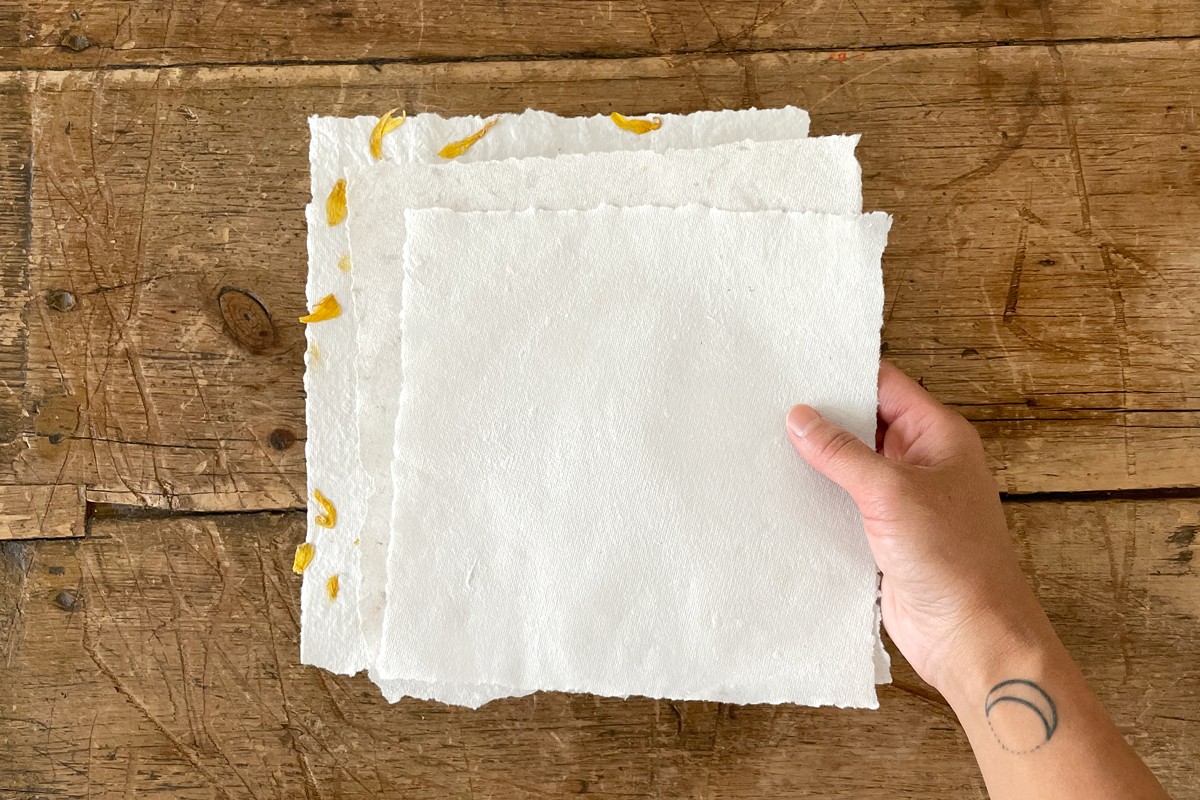
Creating your own paper at home is not only a fantastic way to repurpose your paper waste but also a wonderfully engaging activity for individuals and families alike. Homemade paper adds a unique, personal touch to drawings, handwritten notes, and custom greeting cards. Embrace sustainability and creativity by learning how to transform everyday scrap paper, such as grocery bags, newspapers, worksheets, and junk mail, into beautiful, handcrafted paper. You can even personalize your creations further by incorporating dried flower petals like calendula or red rose for a touch of natural elegance. To embark on this paper-making journey, you’ll need a fine mesh screen. A kitchen splatter screen works perfectly, offering ease and convenience. Let’s dive into the simple steps to make your own paper.
Materials You’ll Need:
- Scrap Paper: Gather any recyclable paper materials you have on hand. Newspaper, junk mail, kraft paper, and used printer paper are all excellent choices.
- Blender or Food Processor: Essential for breaking down the paper into a pulp.
- Fine Mesh Screen: A splatter screen from your kitchen is ideal for beginners. Alternatively, you can use window screening or create your own frame with mesh fabric and an old picture frame.
- Large Bowl: For soaking the paper scraps.
- Large Shallow Tub: To hold water and paper pulp mixture for paper forming.
- Fine Weave or Microfiber Towels: For pressing and removing excess water from the newly formed paper.
- Absorbent Towels: Larger towels to protect your work surface and absorb moisture.
Step-by-Step Instructions for Making Handmade Paper
Step 1: Preparing the Paper Pulp
The foundation of your handmade paper lies in the paper pulp. This process breaks down the old paper fibers, preparing them to be reformed into new sheets.
- Tear the Scrap Paper: Begin by tearing your collected scrap paper into small, manageable pieces. The smaller the pieces, the easier they will break down in the next steps.
- Soak the Paper: Place the torn paper pieces into the large bowl. Cover them with water, ensuring all paper is fully submerged. Let the paper soak for at least one to two hours, or even overnight. Soaking softens the paper and makes it easier to pulp.
- Blend into Pulp: After soaking, transfer the softened paper into your blender or food processor. Add enough fresh water to just cover the paper. Blend the mixture until it transforms into a smooth, consistent pulp. The consistency should be similar to a thick smoothie, with no large paper chunks remaining. If the mixture is too thick, add a little more water to achieve the right consistency.
Step 2: Forming Your Paper Sheets
This is where the magic happens – transforming the paper pulp into individual sheets of paper.
-
Prepare the Water Bath: Fill your large shallow tub with a few inches of water. This will be your paper-making vat.
-
Mix in the Pulp: Pour the blended paper pulp into the water-filled tub. Stir well to evenly disperse the pulp throughout the water, creating a milky mixture.
-
Form the Paper Sheet: Submerge your fine mesh screen into the water, underneath the pulp mixture. Gently and slowly lift the screen upwards through the pulp. As you lift, the paper fibers will settle onto the screen, forming a layer of paper. Ensure the pulp layer is even and covers the entire screen surface. A thicker layer will result in sturdier paper, but it will also take longer to dry. If the layer is too thin, it may be fragile and prone to tearing.
(Optional) Adding Dried Flowers: For paper with floral inclusions, you have two options. You can mix dried flower petals directly into the pulp mixture in the tub for a dispersed floral look. Alternatively, for a more defined placement, you can press the petals onto the pulp layer immediately after lifting the screen from the water. Press them gently to embed them into the paper surface. Adding flowers on top often results in some petals falling off after drying, but many prefer this method for its aesthetic.
Important Note: Once you’re finished with the water used for paper making, do not pour it down the drain. Paper pulp can cause significant clogs in your plumbing. Instead, this water, free from toxic dyes or finishes, is excellent for watering your garden plants. The remaining paper bits can be safely mixed into your garden soil, adding organic material.
Step 3: Removing Excess Water
Removing water is crucial for the paper to dry properly and maintain its form.
- Blotting the Paper: Place a large absorbent towel on a flat surface. Carefully place the screen with the newly formed paper sheet on top of the towel.
- Press Out Water: Take a fine weave or microfiber towel and gently press down on the paper through the screen. Apply even pressure to absorb the excess water. Repeat this blotting process with dry towels until you’ve removed as much water as possible. It’s important to press straight down and avoid shifting or sliding the towel, as this can distort the paper and create unwanted holes.
Step 4: Drying and Finishing Your Handmade Paper
The final step is to release the paper from the screen and allow it to dry completely.
- Release from Screen: Place a clean, fine weave towel on your work surface. Flip the screen over so the paper is facing down onto the towel. Starting from one corner, gently and slowly peel the paper away from the screen. If your paper is of adequate thickness and not overly wet, it should release relatively easily. If you encounter resistance, the paper might be too thin or still too damp.
- Drying: Allow the paper to air dry completely at room temperature. Choose a warm, well-ventilated area to speed up the drying process. Drying time will vary depending on the thickness of your paper and the ambient humidity, but it generally takes several hours or overnight.