Making pie crust from scratch can feel like a daunting task, but with the right guidance, you can achieve a flaky, buttery crust that will elevate any pie recipe. This comprehensive guide will walk you through every step of making the perfect homemade pie crust, whether you prefer the traditional hand-method or the speed of a food processor. Get ready to impress yourself and your guests with pie crust perfection!
If you’re venturing into holiday baking or simply craving a delicious homemade pie, mastering the pie crust is key. While pre-made crusts are convenient, nothing compares to the taste and texture of a homemade version. This guide will break down the process, offering tips and tricks to ensure your pie crust is consistently delicious and beautifully flaky. Let’s dive into the world of pie crust making!
For those who have felt intimidated by the idea of making pie crust from scratch, rest assured, it’s much simpler than you might think. With just five basic ingredients – flour, butter, salt, sugar (optional), and ice water – and a little time, you can create a truly exceptional pie crust. Whether you choose to make it entirely by hand, which takes about 15 minutes of active preparation, or utilize a food processor for an even quicker method (under 10 minutes prep time), the process is straightforward. The result? A golden, buttery, and incredibly flaky homemade pie crust ready to be baked to perfection.
This recipe is a revisit to a classic pie crust guide initially shared years ago. Now, with years of pie-making experience, this updated guide includes enhanced tips, troubleshooting advice, and detailed step-by-step photos illustrating both the hand-mixing and food processor methods. Whether you’re a beginner or an experienced baker, this guide aims to provide valuable insights and techniques to refine your pie crust skills and make your baking endeavors even more successful and enjoyable.
So, gather your ingredients and tools, and let’s embark on this journey to create the perfect homemade pie crust!
Mastering Pie Crust: Hand Method vs. Food Processor
There are two primary methods for making pie crust: by hand with a pastry cutter and using a food processor. Both methods are effective, each with its own advantages. The hand method offers more control and is ideal for bakers who enjoy a tactile approach. The food processor method is quicker and ensures the butter stays cold, which is crucial for flakiness. Let’s explore both.
Essential Ingredients for Perfect Pie Crust
Let’s begin by gathering the essential ingredients. High-quality ingredients are the foundation of a great pie crust. Here’s what you’ll need:
- All-Purpose Flour: Using all-purpose flour provides the right balance of gluten development for a tender yet sturdy crust. For accuracy, especially in baking, a kitchen scale is highly recommended for measuring flour. If you’re using measuring cups, be sure to spoon the flour into the cup and level it off with a knife to avoid using too much flour, which can result in a dry crust.
- Sugar (Optional): A touch of sugar, about a tablespoon, enhances the flavor and adds a subtle sweetness to the crust. This is optional and can be omitted for savory pies if preferred.
- Salt: Salt is crucial for flavor development, balancing the richness of the butter and preventing the crust from tasting bland.
- Cold Unsalted Butter: Cold butter is the key to a flaky pie crust. It should be unsalted to control the overall salt content. Dice the butter into small, 1/4-inch cubes to make it easier to incorporate into the flour mixture. Ensure the butter is thoroughly chilled right up until it’s used; work quickly to prevent it from warming up.
- Ice Water: Just like cold butter, ice water is essential for keeping the dough cold. The cold temperature prevents the gluten in the flour from overdeveloping, which leads to a tough crust. Prepare ice water in advance and measure it out just before adding it to the dough to ensure it’s as cold as possible. Some bakers use a mix of ice water and vodka (50/50) for an even colder liquid component, as vodka has a lower freezing point than water and inhibits gluten development. While this can be beneficial, ice water alone works wonderfully for a flaky crust.
Essential Equipment for Making Pie Crust
Having the right tools makes the pie crust making process smoother and more efficient. Here’s a list of equipment you’ll need:
- Mixing Bowl: A large mixing bowl is necessary for combining the dry ingredients and cutting in the butter when making pie crust by hand.
- Food Processor (Optional but Recommended): A food processor significantly simplifies and speeds up the process of cutting butter into the flour. It’s especially helpful for keeping the butter cold.
- Pastry Cutter or Forks: If making pie crust by hand, a pastry cutter or two forks are needed to cut the cold butter into the flour.
- Measuring Cups and Spoons: Accurate measuring is important in baking. Use measuring cups for dry and liquid ingredients and measuring spoons for smaller quantities like salt and sugar.
- Kitchen Scale (Recommended): For the most accurate measurements, especially for flour and butter, a kitchen scale is highly recommended.
- Plastic Wrap: Plastic wrap is used to wrap the pie dough disk for chilling in the refrigerator.
- Rolling Pin: A rolling pin is essential for rolling out the chilled pie dough into a circle to fit your pie dish.
- Pie Dish: A 9-inch pie dish is standard for most pie recipes. Glass, ceramic, or metal dishes can be used.
Step-by-Step Guide to Making Homemade Pie Crust
Whether you choose to make your pie crust by hand or with a food processor, the fundamental steps are similar. Here’s a detailed breakdown:
- Mix the Dry Ingredients:
- By Hand: In a large mixing bowl, whisk together the all-purpose flour, sugar (if using), and salt until well combined.
- Food Processor: In the food processor bowl, pulse the flour, sugar (if using), and salt a few times until mixed.
- Cut in the Cold Butter: This step is crucial for creating a flaky crust.
- By Hand: Sprinkle the diced, cold butter evenly over the dry ingredients in the mixing bowl. Use a pastry cutter or two forks to cut the butter into the flour mixture. Press down and twist the pastry cutter or use the forks in a crisscross motion to break the butter into smaller pieces. Continue until the mixture resembles coarse crumbs with some pea-sized clumps of butter remaining. These butter clumps are essential for creating flaky layers.
- Food Processor: Add the diced, cold butter to the food processor bowl with the dry ingredients. Pulse 5 to 7 times, or until the mixture resembles coarse crumbs and small pea-sized butter pieces are visible. Be careful not to over-process; you want chunks of butter, not a smooth paste. Transfer the mixture to a large mixing bowl after processing.
- Add Ice Water: Gradually add ice water to bring the dough together.
- Sprinkle about half of the ice water over the flour-butter mixture. Use a spatula or your hands to gently mix it in. Continue adding ice water, a tablespoon at a time, mixing after each addition, until the dough just begins to come together into moist clumps. The amount of water can vary slightly depending on humidity and flour. You want the dough to be moist enough to hold together but not sticky. If the dough seems too dry, add an extra tablespoon of ice water at a time.
- Be careful not to overmix at this stage. Overmixing develops gluten, which can make the crust tough. Mix just until the dough starts to clump.
- Form the Dough Ball and Chill:
- Turn the dough out onto a lightly floured surface. Gently gather the dough together with your hands and form it into a ball, as if you’re packing a snowball. Be quick and handle the dough as little as possible to keep the butter cold.
- Flatten the dough ball into a disk about 3/4-inch thick. This helps the dough chill evenly and makes it easier to roll out later.
- Wrap the dough disk tightly in plastic wrap.
- Refrigerate the dough for at least 1 hour, or preferably 2 hours, and up to 3 days. Chilling is crucial as it allows the gluten to relax, making the dough easier to roll out and preventing shrinkage during baking. Cold butter also helps create flakiness.
Key Tips for Pie Crust Success
Achieving a perfect pie crust involves more than just following the recipe. Here are crucial tips to ensure your pie crust is a success every time:
- Keep Everything Cold: This is the golden rule for pie crust. Cold ingredients prevent the butter from melting into the flour, which is essential for creating flaky layers. Use ice water, chilled butter straight from the refrigerator, and work in a cool environment if possible.
- Measure Ingredients Accurately: Baking is a science, and accuracy matters, especially with pie crust. Use measuring cups and spoons properly, or ideally, use a kitchen scale for the most precise measurements, particularly for flour and butter.
- Don’t Overwork the Dough: Overmixing develops gluten, leading to a tough crust. Mix the dough just until it comes together. In the food processor, pulse briefly. When adding water, mix gently with a spatula or your hands until just combined. Handle the dough lightly when forming the disk and rolling it out.
- Rest and Chill the Dough: Chilling the dough is not just a step; it’s a necessity. It allows the gluten to relax, making the dough easier to roll out and preventing shrinkage in the oven. Don’t rush the chilling process.
- Don’t Stretch the Dough: When rolling out and transferring the dough to the pie plate, avoid stretching it. Stretching can cause the dough to shrink back during baking. Gently lift and place the dough into the pie dish, and lightly press it into place. If you have excess dough, trim it rather than stretching it to fit.
- Blind Baking for a Crisp Bottom Crust: For pies with wet fillings like pumpkin or custard, blind baking the crust is essential to prevent a soggy bottom. To blind bake, prick the bottom of the chilled pie crust with a fork, line it with parchment paper or aluminum foil, fill with pie weights or dried beans, and bake. Remove the weights and paper for the last part of baking to allow the crust to fully cook and brown.
Elevate Your Pie Crust: Finishing Touches
Once you’ve mastered the basic pie crust, you can explore ways to enhance its appearance and flavor:
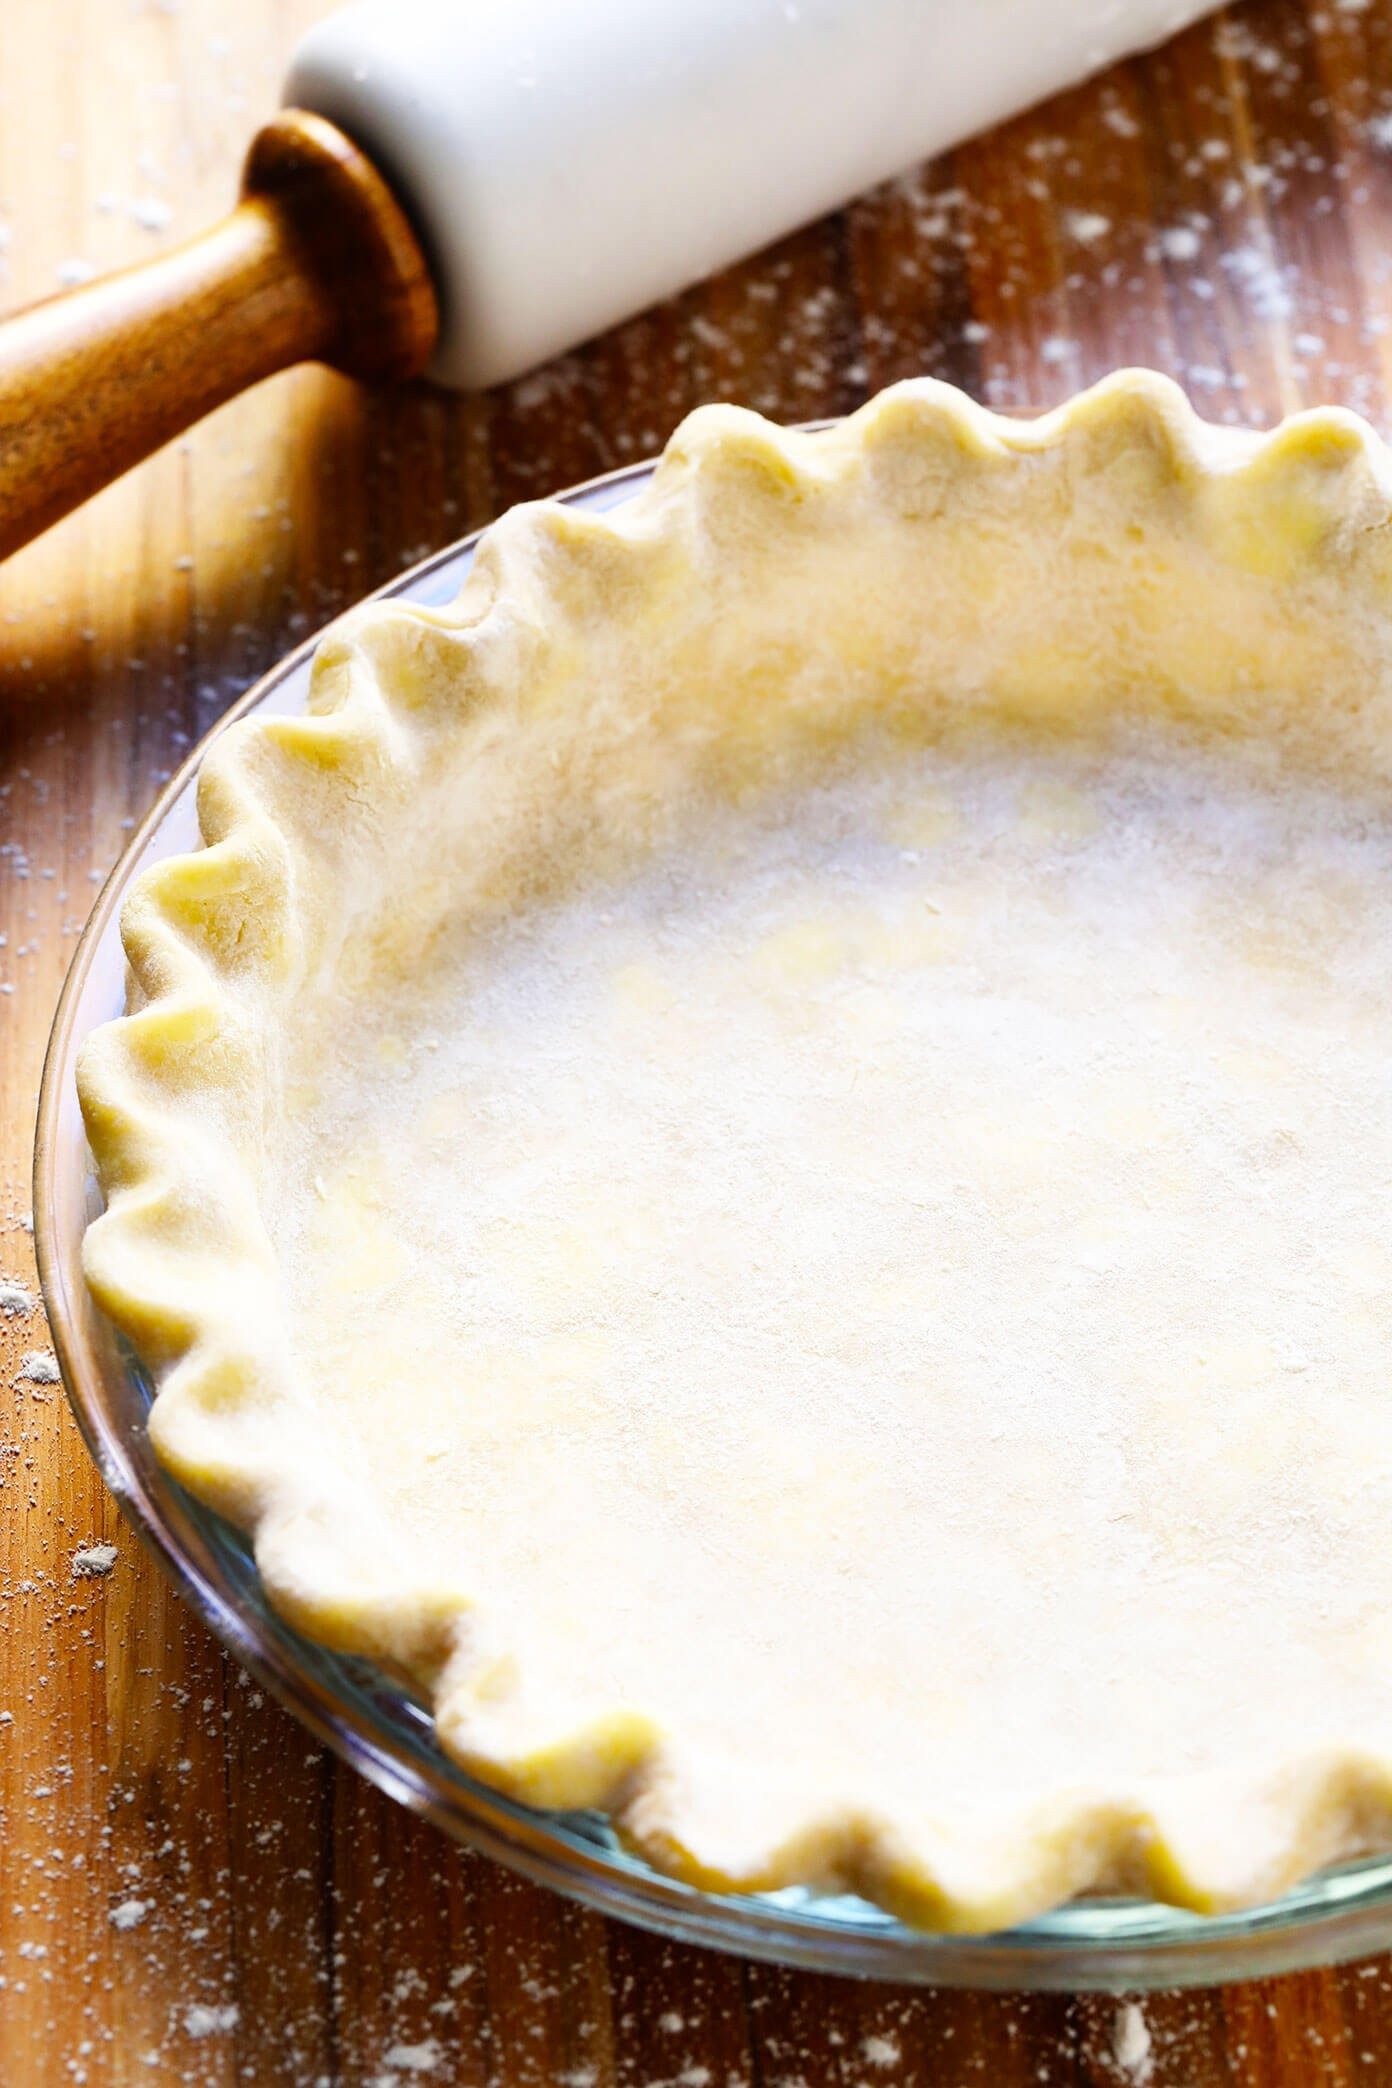
- Decorative Edges: Crimp the edges of your pie crust using your fingers or a fork for a classic look. For a scalloped edge, use your fingers to create a decorative pattern.
- Egg Wash and Sugar: For a golden, glossy crust, brush the top with an egg wash (egg beaten with a little water or milk) before baking. Sprinkle with coarse sugar for added sweetness and sparkle.
- Lattice Crust: For a visually stunning pie, create a lattice crust. This involves weaving strips of pie dough over the filling. It’s a beautiful way to top fruit pies.
Ready to Bake Pies!
With your perfectly made pie crust, you’re ready to bake a variety of pies. Stay tuned for delicious pie recipes to fill your homemade crust! In the meantime, explore these popular pie options:
This guide provides you with all the essential knowledge and techniques to make perfect pie crust every time. Whether you’re a beginner or an experienced baker, these tips will help you achieve flaky, flavorful pie crusts that will impress everyone. Happy baking!
