Minecraft, a universe teeming with mythical creatures and magical dimensions, allows players to tap into the arcane arts. Among these, potion brewing stands out as a vital skill. Potions in Minecraft offer incredible buffs, from super strength and enhanced speed to invisibility and fire resistance, significantly improving your survival and combat capabilities.
Whether you’re aiming to conquer a Pillager Outpost, dominate in player-versus-player battles, or simply explore the depths of the Minecraft world, potions are indispensable. They can empower you and, conversely, be used to hinder your foes. With a few tweaks, you can even transform these concoctions into throwable splash potions or lingering clouds of effects.
This comprehensive guide will walk you through everything you need to know about How To Make Potions In Minecraft, covering all potion types and brewing techniques.
Gathering Your Brewing Essentials
Before diving into potion recipes, you need to set up your brewing station. Here’s what you’ll need:
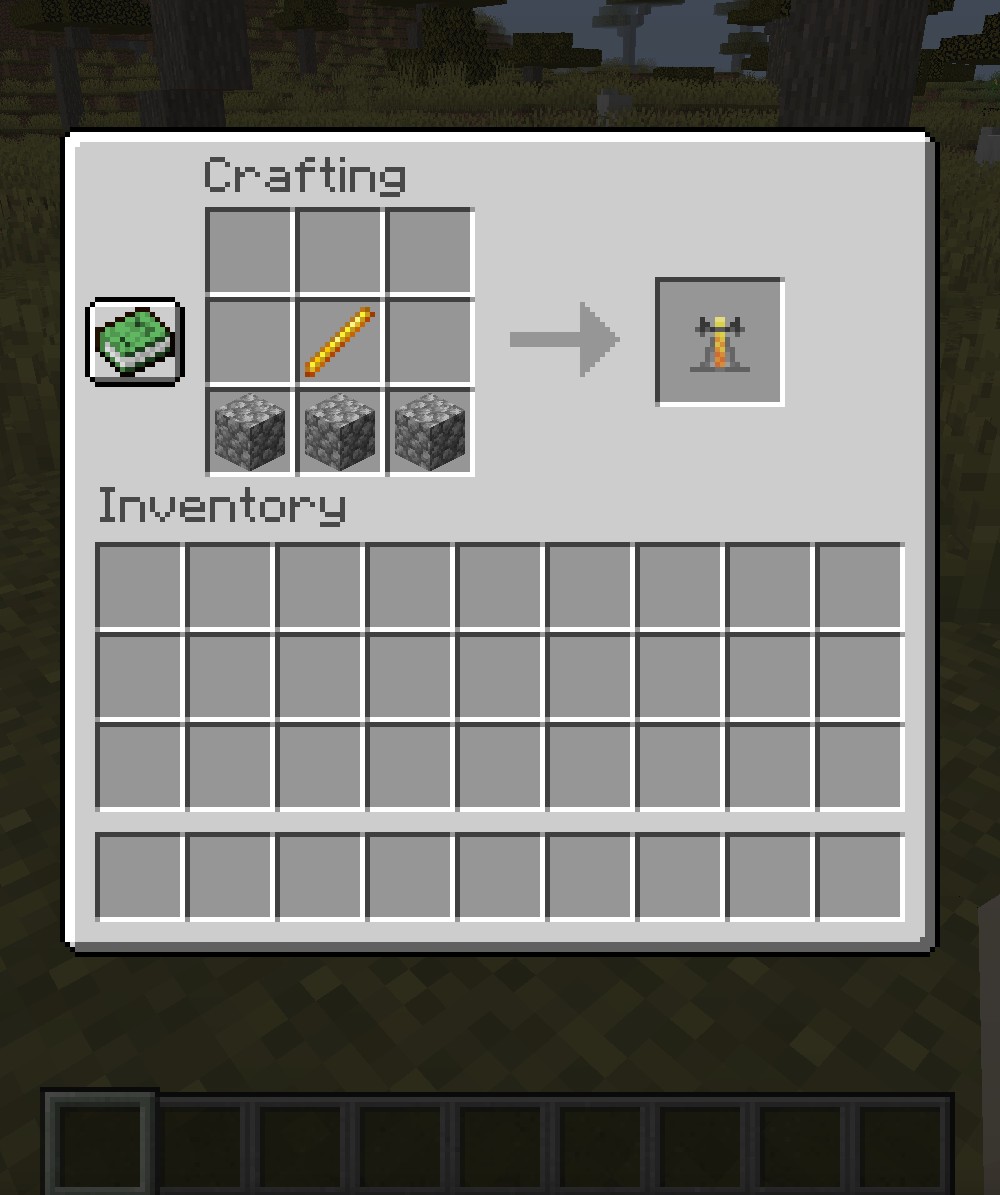
- Brewing Stand: This is your central workstation for potion making. You can craft a Brewing Stand using one Blaze Rod and three Cobblestone blocks. Place the Blaze Rod in the center slot of the crafting table, and surround it with Cobblestone in the bottom row. Blaze Rods are obtained by defeating Blazes, fiery entities found in the Nether.
Alt Text: Crafting a Brewing Stand in Minecraft using a Blaze Rod and Cobblestone for potion creation.
While crafting is straightforward, Brewing Stands can also be found in village churches, igloos, and end ships. However, crafting is generally the quicker and more reliable method.-
Blaze Powder: This acts as fuel for your Brewing Stand. A single Blaze Rod, when placed in the crafting grid, yields two Blaze Powder. Each unit of Blaze Powder fuels approximately 10 brewing processes, so stocking up is advisable for extended potion crafting sessions.
-
Water Bottles: These are your potion vessels. Craft bottles from three glass blocks, acquire them from witches upon defeat, or occasionally find them while fishing. Once you have a bottle, interact with any water source block to fill it.
-
Nether Wart: This crucial ingredient is exclusively found in Nether Fortresses. Nether Wart is the base ingredient that transforms ordinary Water Bottles into Awkward Potions, the foundation for almost all other potion types.
With these essentials in hand, you’re ready to embark on your potion-making journey.
Step-by-Step Guide to Brewing Potions
The initial step in potion creation involves converting a simple Water Bottle into an “Awkward Potion.” This neutral potion serves as the base for most beneficial potions.
-
Set up your Brewing Stand: Place your Brewing Stand in a convenient location and access its interface. Add Blaze Powder into the fuel slot located at the top-left.
-
Prepare for Awkward Potions: Place Nether Wart in the top ingredient slot and Water Bottles in the bottom slots (you can brew up to three potions simultaneously).
Alt Text: Brewing process in Minecraft showing Nether Wart being used to create Awkward Potions from Water Bottles.
- Wait for Brewing: The brewing process will start automatically. Observe the arrow icon beside the slots gradually filling white. Once completed, you’ll have Awkward Potions, ready for further refinement.
Awkward Potions themselves have no effect. They are intermediate stages, essential for crafting a wide array of useful potions.
Now that you have your Awkward Potions, you can transform them into specific potions by adding secondary ingredients. Here’s a breakdown of positive effect potions:
| Potion Type | Effect | Ingredient | Source/Crafting