After years of crafting homemade yogurt, I’m excited to share all my essential tips and tricks with you. This guide will focus on dairy-based yogurt making. If you’re interested in non-dairy alternatives, you’ll need to explore other resources.
Once you’ve mastered homemade yogurt, the possibilities are endless. It’s delicious topped with granola or müesli for a healthy breakfast or snack. I personally love blending it into smoothies, using it in overnight oats, or adding it to my favorite waffle or pancake recipes for extra tang and moisture. A batch of tangy yogurt also serves as a fantastic substitute for sour cream in many dishes.
Why Make Your Own Yogurt?
Like many people who venture into homemade foods, my yogurt-making journey began with a desire to save money. The primary expense is simply the milk itself. While making yogurt does require some time, the process is mostly about timing and planning. The majority of the steps are hands-off, involving waiting for nature to take its course.
Beyond cost savings, making yogurt at home gives you complete control over the ingredients. My homemade yogurt is packed with beneficial bacteria and probiotics, which isn’t always guaranteed in store-bought versions. We’ll delve into that in more detail later.
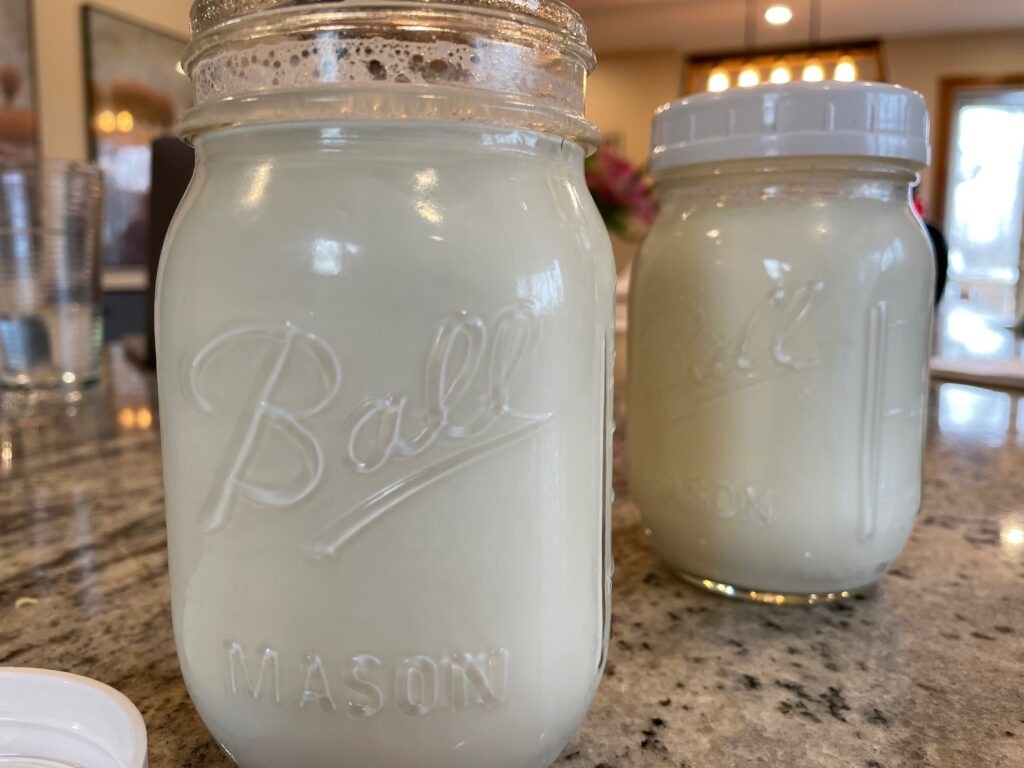
Homemade yogurt in a glass jar, showcasing its creamy texture and healthy appeal.
The Basic Process of Yogurt Making
The fundamental steps for making yogurt at home are surprisingly straightforward:
- Start with quality milk and a yogurt starter. You’ll need milk and a small amount of yogurt to kickstart the process.
- Heat the milk slowly to 180°F (82°C) and hold for 2 minutes. This crucial step ensures the right texture.
- Cool the milk down to 110°F (43°C). This is the ideal temperature for the yogurt cultures to thrive.
- Incorporate the yogurt starter into the warm milk. Gently mix them together.
- Incubate the mixture in a warm place for 12-24 hours. This allows fermentation to occur.
- Refrigerate the yogurt for at least 4 hours before enjoying. Chilling is essential for the final texture and flavor.
And that’s the essence of homemade yogurt!
You might come across recipes that skip the heating step, but I’ve found that heating the milk results in a significantly thicker and creamier yogurt. Heating the milk is essentially a form of pasteurization, eliminating any unwanted bacteria that could compete with the beneficial yogurt cultures. This process also denatures and coagulates whey proteins, which are key to achieving that desirable yogurt viscosity and texture. Some recipes even suggest maintaining the 180°F temperature for 10-20 minutes for an even thicker consistency. However, in my experience, extending the heating time beyond 2 minutes isn’t necessary.
Maintaining the 110°F temperature is vital because it’s the optimal environment for yogurt fermentation. If the milk accidentally cools below 110°F, simply allow it to ferment for a longer duration to compensate for the time it takes for the mixture to warm back up to the ideal temperature within your yogurt maker or chosen warm spot.
The fermentation time is a matter of personal preference. While some prefer a shorter fermentation of around 8 hours, I find that a longer fermentation yields a thicker yogurt with a more pronounced tangy flavor that I love.
Do I Need a Yogurt Maker?
The short answer is no, you absolutely don’t need a dedicated yogurt maker. A yogurt maker, or a yogurt setting on an electric pressure cooker, simply provides a controlled environment to maintain the ideal 110°F temperature for fermentation. I used a basic $20 yogurt maker for over a decade, and it served me well. However, if you’re just starting out or prefer to avoid purchasing single-purpose appliances, there are several effective alternatives:
-
Electric Pressure Cooker with Yogurt Setting: Many modern electric pressure cookers come equipped with a yogurt setting, which is incredibly convenient. If you own one, definitely utilize this feature.
-
Oven with Light On: If you don’t have a yogurt maker or a yogurt setting, you can create a warm environment using your oven. Wrap your pot of warm milk and yogurt starter in a thick towel and place it in your oven with only the oven light turned on. The gentle heat from the light bulb is often sufficient to maintain a warm temperature. You can use an instant-read thermometer to monitor the air temperature inside the oven or cooler for greater accuracy, but it generally works well without this extra step.
-
Cooler Method: Similar to the oven method, you can wrap the towel-covered pot and place it inside a cooler. This insulates the pot and helps retain warmth.
-
Warm Spot in Your Kitchen: Alternatively, you can simply place the towel-wrapped pot in a warm area of your kitchen, such as on top of your refrigerator.
-
Heating Pad: For added warmth, you can place the towel-wrapped pot on a heating pad set to a low setting.
Regardless of your chosen method, it’s a good idea to check the yogurt after about 8-12 hours to ensure it’s thickening properly and the fermentation process is underway.
Do I Need an Instant Read Thermometer?
Again, the answer is no, a thermometer isn’t strictly essential, but it can certainly enhance your yogurt-making precision. Just like a yogurt setting on an instant pot, a good thermometer can make the difference between good and great yogurt. I currently use an instant-read thermometer with a clip that remains in my milk throughout the heating and cooling process. It even has an alarm that signals when the milk reaches 180°F, preventing scorching.
Before I upgraded to my current thermometer, I successfully used a candy thermometer for many years. So, any thermometer you have available can be helpful. If you don’t have a thermometer at all, don’t worry. Simply follow the temperature cues described in the recipe, and you should still achieve excellent results. Look for visual cues like steaming milk and small bubbles forming around the edges to indicate the milk is properly heated.
What Type of Milk is Best?
When it comes to milk for yogurt, quality matters. Since this recipe only has two primary ingredients, using the best milk you can access and afford will significantly impact the final yogurt’s flavor and texture.
Whole milk consistently produces the thickest and creamiest yogurt, and it’s my preferred choice. If you opt for lower-fat milk, you can still achieve a thicker yogurt by incorporating ¼ cup of dry powdered milk when you stir in the yogurt starter. This added milk solids boost the yogurt’s body and texture.
What If My Yogurt is Too Thin?
Occasionally, despite your best efforts, you might end up with yogurt that’s thinner than desired. Don’t worry, there’s a simple solution: transform it into Greek yogurt! Greek yogurt is simply yogurt with some of the whey strained out, resulting in a thicker, richer consistency.
To make Greek yogurt, line a colander with a couple of coffee filters or cheesecloth and place it over a bowl. Pour the yogurt into the lined colander and let it drain in the refrigerator for a few hours, or until it reaches your preferred thickness. You can control the thickness by adjusting the draining time – drain for less time for a slightly thicker yogurt, and longer for a very thick, almost cheese-like consistency. If it becomes too thick, you can whisk back in a bit of the drained whey to reach your ideal texture.
What About Yogurt Starter?
When you’re embarking on your homemade yogurt journey for the first time, I recommend using a plain, unflavored whole milk yogurt from a reputable grocery store as your starter. You’ll only need about 2-4 tablespoons of store-bought yogurt to culture two quarts of homemade yogurt.
Don’t discard the remaining store-bought yogurt container! You’ve just created your own yogurt starter source. To preserve your homemade starter for future batches, simply freeze it. Fill an ice cube tray with the yogurt and freeze until solid. Once frozen, transfer the yogurt cubes to a zip-lock bag and store them in the freezer until your next yogurt-making session. Use one or two cubes per new batch – add them to a bowl when you begin heating the milk, and they’ll be thawed and ready by the time the milk cools to 110°F.
You can also reserve some of your fresh homemade yogurt to use as a starter for subsequent batches. However, it’s important to note that this continuous culturing method isn’t indefinite. Store-bought yogurt typically contains a blend of active cultures, usually around 4-5 different strains. These cultures are selected for their flavor-enhancing properties and their ability to facilitate consistent yogurt production on a large scale. Over time, when you repeatedly re-culture yogurt from previous batches, these cultures can become less potent and may become contaminated with other microorganisms, leading to a slightly “off” flavor in your yogurt. After approximately 5-10 generations of re-culturing, you might notice a decline in yogurt quality. At this point, the yogurt culture is considered “weak,” and it’s time to restart with a fresh container of store-bought yogurt or explore heritage yogurt cultures.
If you become passionate about yogurt making – or simply crave exceptional yogurt flavor – delving into heritage yogurt cultures is highly recommended. These are the traditional European and Middle Eastern yogurt cultures that often evoke rave reviews from travelers. I personally use a Bulgarian yogurt culture, and the flavor is truly outstanding. Heritage yogurts offer a wider spectrum of flavors and textures, adding an element of exciting experimentation to your yogurt making.
Close-up of creamy homemade yogurt, highlighting its smooth texture and appealing appearance.
Homemade Yogurt – With or Without the Instant Pot Recipe
Here’s my tried-and-true method for making delicious homemade yogurt. I love this recipe because it’s economical and contains only wholesome milk and yogurt cultures.
Yields: 8 servings (1 cup each)
Prep time: 40 minutes
Cook time: 12 hours
Chill time: 4 hours
Ingredients:
- 8 cups whole dairy milk (lower fat milk can be used, but whole milk yields the creamiest results. See notes for using lower fat milk)
- 3-4 tablespoons plain, whole milk yogurt (for starter)
Equipment:
- Yogurt maker or pressure cooker with yogurt setting (alternatively, see notes for other methods)
- Medium to large saucepan
- Instant read thermometer (optional, but helpful. See notes for thermometer alternatives)
- Whisk
- Optional: 4 (2-cup) mason jars for individual servings
Instructions
- Heat the Milk: In a large saucepan, slowly heat the milk over low heat to 180°F (82°C). Heat until the milk is steaming and barely simmering, with small bubbles forming around the edges, but not boiling. Stir occasionally as it heats to prevent scorching. Remove from heat.
- Cool the Milk: Allow the milk to cool down to 110°F (43°C) or lower. It should feel warm but not hot to the touch. A good test is if you can comfortably keep your finger in the milk for 10 seconds. To speed up cooling, you can use an ice bath, transfer the milk to a cooler bowl, or stir frequently.
- Prepare Yogurt Starter: In a small bowl, transfer ½ cup of the cooled warm milk and whisk in the yogurt starter until thoroughly combined and smooth.
- Incorporate Starter: Pour the yogurt-milk mixture back into the saucepan with the rest of the milk and whisk gently to ensure it is well incorporated.
- Incubate: Transfer the milk and yogurt mixture to your yogurt maker or chosen incubation method (see notes). Set the timer for 8-24 hours, or until the yogurt has thickened to your desired consistency and tanginess.
- Chill: Once fermented, transfer the pot to the refrigerator and chill for at least 4 hours. The yogurt will continue to thicken as it cools.
- Enjoy! Serve chilled and enjoy your homemade yogurt.
Recipe Notes:
- Milk Fat: Higher milk fat content results in creamier and thicker yogurt.
- Lower Fat Milk: If using skim milk, whisk in ½ cup of dry milk powder or 1 teaspoon of gelatin in step 3 to enhance thickness.
- Slow Heating: Heat the milk slowly in step 1 to prevent scorching and ensure proper protein denaturation.
- Cooling Quickly: You can expedite the cooling process in step 2 using an ice bath or by transferring the milk to a cool bowl.
- Fermentation Time: Longer fermentation leads to tangier yogurt.
- Greek Yogurt: To make Greek yogurt, line a colander or sieve with cheesecloth or coffee filters. Pour the finished yogurt into the colander and let it drain in the refrigerator for 4-6 hours, or until desired thickness is reached. Whey can be reserved for smoothies, soups, or baking.
- Starter Yogurt: The flavor of your starter yogurt will influence the final yogurt flavor, so choose a starter yogurt you enjoy.
- Saving Starter: Reserve a few tablespoons of your finished homemade yogurt to freeze in ice cube trays for future starter.
- Heirloom Cultures: For more complex flavors and potentially enhanced probiotic benefits, explore heirloom yogurt starter cultures online or at health food stores. Follow package directions to activate powdered cultures.
Keywords: Homemade yogurt, yogurt recipe, How To Make Yogurt, healthy breakfast, yogurt starter, creamy yogurt, greek yogurt, DIY yogurt, instant pot yogurt.
[