The Apple Pencil is an indispensable tool for iPad users, enhancing creativity and productivity for tasks ranging from note-taking to professional illustration. However, getting started often involves the initial pairing process, which can sometimes be less than seamless. This guide provides a detailed walkthrough on how to pair your Apple Pencil with your iPad, ensuring a smooth and successful connection so you can unleash the full potential of your devices.
Before diving into the pairing steps, it’s crucial to understand which Apple Pencil version you have and if it’s compatible with your iPad model. Apple offers different generations of Apple Pencil, each with specific pairing methods and iPad compatibility.
- Apple Pencil Pro and Apple Pencil (2nd generation): These models are designed to magnetically attach and pair with compatible iPad Pro, iPad Air, and iPad mini models. They also support wireless charging directly from the iPad.
- Apple Pencil (1st generation): This original Apple Pencil pairs via a Lightning connector and is compatible with earlier iPad models and the iPad (10th generation) with the use of a USB-C adapter.
Identifying your Apple Pencil and iPad model is the first step to a successful pairing experience. Once you’ve confirmed compatibility, follow the appropriate steps below to connect your devices.
Pairing Your Apple Pencil: Step-by-Step Instructions
The pairing process varies slightly depending on your Apple Pencil and iPad generation. Here’s a breakdown for each scenario:
Pairing Apple Pencil Pro or Apple Pencil (2nd generation)
This is the most straightforward pairing method, leveraging magnetic attachment for both pairing and charging:
- Locate the magnetic connector on your iPad: This is typically on the side of your iPad, often the right side when in portrait orientation or the top when in landscape.
- Attach your Apple Pencil: Simply place your Apple Pencil on the magnetic connector. You should feel it snap into place.
- Automatic Pairing: A “Pair” button should appear on your iPad screen within a few seconds.
- Tap “Pair”: Tap the “Pair” button to confirm the connection.
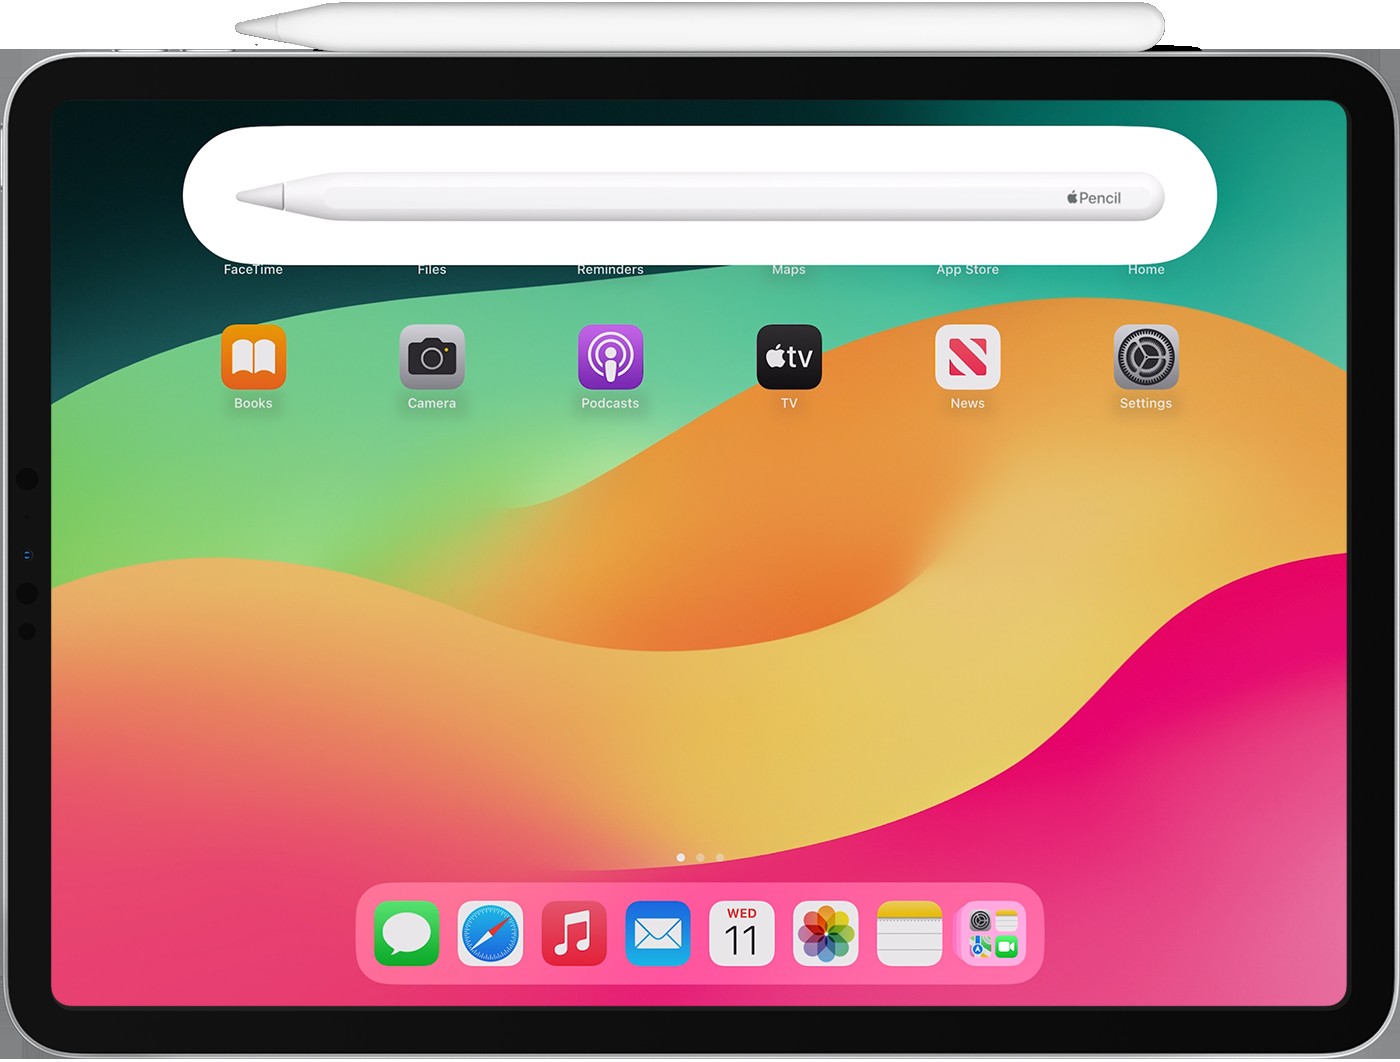 Apple iPad Pro displaying home screen with Apple Pencil 2 magnetically attached for pairing and charging
Once paired, your Apple Pencil Pro or Apple Pencil (2nd generation) will remain connected to your iPad until you restart your iPad, turn off Bluetooth, or pair it with another iPad.
Pairing Apple Pencil (1st generation) with iPad (6th through 9th generations)
For older iPad models with a Lightning port and the original Apple Pencil, the process is still quite simple:
- Remove the Cap: Take off the cap at the end of your Apple Pencil to reveal the Lightning connector.
- Plug into Lightning Port: Plug the Lightning connector of your Apple Pencil directly into the Lightning port on your iPad.
- Automatic Pairing: A “Pair” button will appear on your iPad screen.
- Tap “Pair”: Tap the “Pair” button to establish the connection.
Pairing Apple Pencil (1st generation) with iPad (10th generation)
Pairing the 1st generation Apple Pencil with the 10th generation iPad requires an additional adapter due to the iPad 10th generation using a USB-C port instead of Lightning:
- Gather Necessary Accessories: Ensure you have the USB-C to Apple Pencil Adapter and a USB-C charging cable.
- Connect Adapter to Apple Pencil: Plug the Lightning end of the USB-C to Apple Pencil Adapter into your Apple Pencil after removing the cap.
- Connect USB-C Cable to Adapter and iPad: Connect one end of your USB-C cable into the USB-C port of the adapter, and the other end into the USB-C port of your iPad.
- Automatic Pairing: A “Pair” button should appear on your iPad’s display.
- Tap “Pair”: Tap the “Pair” button to complete the pairing process.
Troubleshooting Unsuccessful Pairing
If you encounter issues pairing your Apple Pencil, here are several troubleshooting steps to resolve common problems:
-
Ensure Bluetooth is Enabled: Go to Settings > Bluetooth on your iPad and verify that Bluetooth is turned on.
-
Restart Your iPad: A simple restart can often resolve temporary software glitches. Restart your iPad while keeping the Apple Pencil connected.
-
Forget Existing Apple Pencil Connection: Navigate to Settings > Bluetooth. Under “My Devices,” locate your Apple Pencil. If it’s listed, tap the “i” icon next to it, and then select “Forget This Device.” After forgetting, attempt the pairing process again.
-
Check for Physical Obstructions (for Magnetic Pairing): If using Apple Pencil Pro or Apple Pencil (2nd generation), remove any iPad cases or covers that might be interfering with the magnetic connection.
-
Charge Your Apple Pencil: If the “Pair” button doesn’t appear, let your Apple Pencil charge for at least one minute while connected to your iPad. A depleted battery can prevent pairing.
-
Seek Professional Support: If you’ve tried all troubleshooting steps and still cannot pair your Apple Pencil, you may need to contact Apple Support or visit an authorized service provider for further assistance. There might be a hardware issue with your Apple Pencil or iPad that requires professional attention.
By following these detailed steps and troubleshooting tips, you should be able to successfully pair your Apple Pencil with your iPad and start enjoying all the creative and productive possibilities it offers. Remember to always check compatibility and ensure you are using the correct pairing method for your specific Apple Pencil and iPad models.