In today’s digital age, securing your sensitive documents is more important than ever. PDFs are a popular format for sharing documents, but sometimes you need to ensure that only authorized individuals can access them. If you’re a Mac user, you’re in luck! Preview, the built-in macOS application, offers a straightforward way to password protect your PDFs. This guide will walk you through the simple steps to add password protection to your PDF files, safeguarding your information from unwanted access.
To get started securing your PDFs, follow these easy steps within the Preview application on your Mac.
Password Protecting PDFs in Preview
Preview makes it easy to set passwords for different levels of security, whether you want to control who can open the document or restrict certain actions like printing and copying. Here’s how to implement password protection for your PDF files:
Setting a Password to Open a PDF
This method ensures that only individuals with the correct password can view the content of your PDF.
-
Open with Preview: Begin by opening your PDF document using the Preview application on your Mac. Simply locate the PDF file and double-click it, or right-click and choose “Open with” > “Preview.”
-
Export Function: Once your PDF is open in Preview, navigate to the menu bar at the top of your screen and click on “File.” From the dropdown menu, select “Export.”
-
Choose a New Name (Optional): If you wish to keep the original PDF without password protection and create a separate, secured copy, enter a new name for the PDF in the “Export As” field. This step is optional but recommended if you need both a protected and unprotected version.
-
Access Permissions: In the Export dialog box, you’ll find a button labeled “Permissions.” Click on this button to access the password settings.
-
Require Password to Open: Within the Permissions options, check the box next to “Require Password To Open Document.” This action will activate the password protection for opening the PDF.
-
Set and Verify Password: Enter your desired password in the “Password” field. For verification, re-enter the same password in the “Verify” field. Choose a strong password that you can remember but is difficult for others to guess.
-
Set Owner Password (for Permissions): In the “Owner Password” section, you will be prompted to set another password. This password is crucial for managing permissions like printing or editing. You can use the same password as the opening password or a different one for enhanced security control. Enter and verify your owner password.
-
Apply and Save: Click the “Apply” button to confirm your password settings, and then click “Save” to export and save the password-protected PDF.
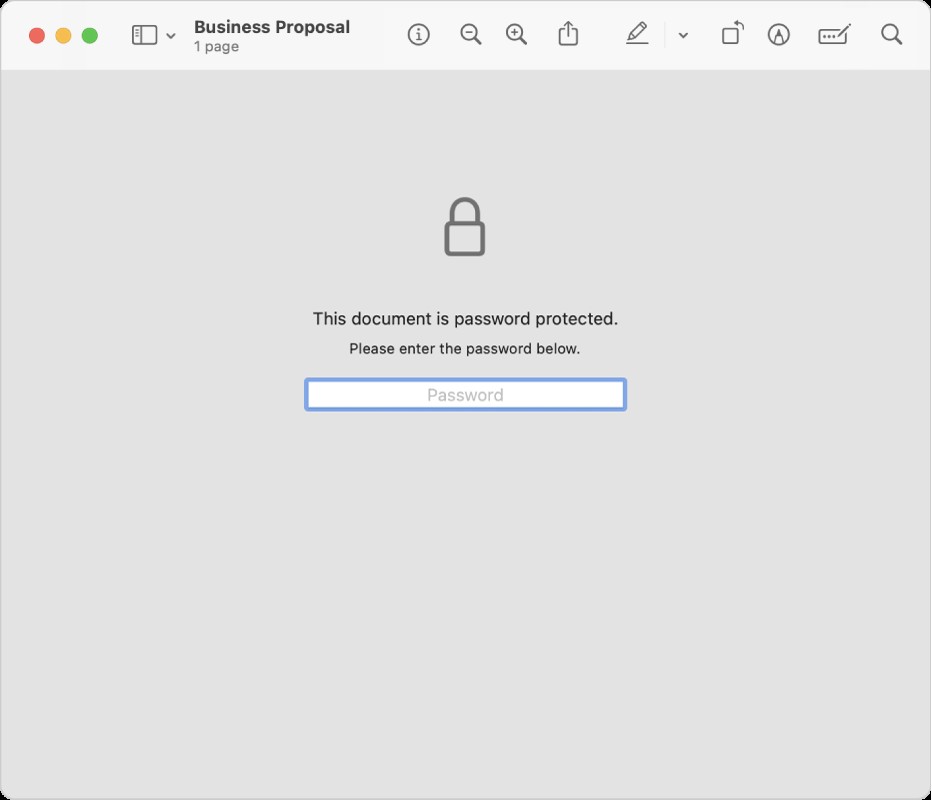 Password Protected PDF Icon: Enter Password to Open Secure Document
Your PDF is now password protected. The next time you or anyone else attempts to open the PDF, a password will be required to access its contents.
Managing PDF Permissions
Beyond just opening protection, Preview also allows you to manage permissions for actions like printing and modifying the PDF after you’ve set an owner password. Here’s how to adjust these settings:
- Open in Preview: Open the password-protected PDF in Preview. You may need to enter the opening password if you set one.
- Edit Permissions: Go to “File” in the menu bar, and this time select “Edit Permissions.” This option is available because you’ve already set an owner password.
- Adjust Opening Password (If Needed): In the Edit Permissions dialog, you can again select “Require Password To Open Document” to ensure an opening password is in place or change it.
- Control Feature Access: Below the opening password option, you will see checkboxes next to actions like printing and changing the document.
- To require the owner password for printing or changes: Deselect the checkbox next to the specific action. This means that only someone with the owner password can perform these actions.
- To allow printing or changes without the owner password: Ensure the checkbox is selected. This option allows these actions without needing the owner password once the document is opened (if an opening password is set and entered).
- Change Owner Password (Optional): If you need to update the owner password, enter a new password in the “Owner Password” section and verify it.
- Apply Changes: Click “Apply” to save your updated permission settings.
These changes will be active the next time the PDF is opened, ensuring your document remains secure and permissions are managed according to your preferences.
Conclusion
Password protecting your PDFs using Preview on Mac is a simple yet effective way to enhance your document security. Whether you’re safeguarding sensitive information or simply controlling access to your files, Preview offers the tools you need. By following these steps, you can confidently share your PDFs knowing that they are protected from unauthorized access and modifications. Start using these features today to keep your digital documents secure.