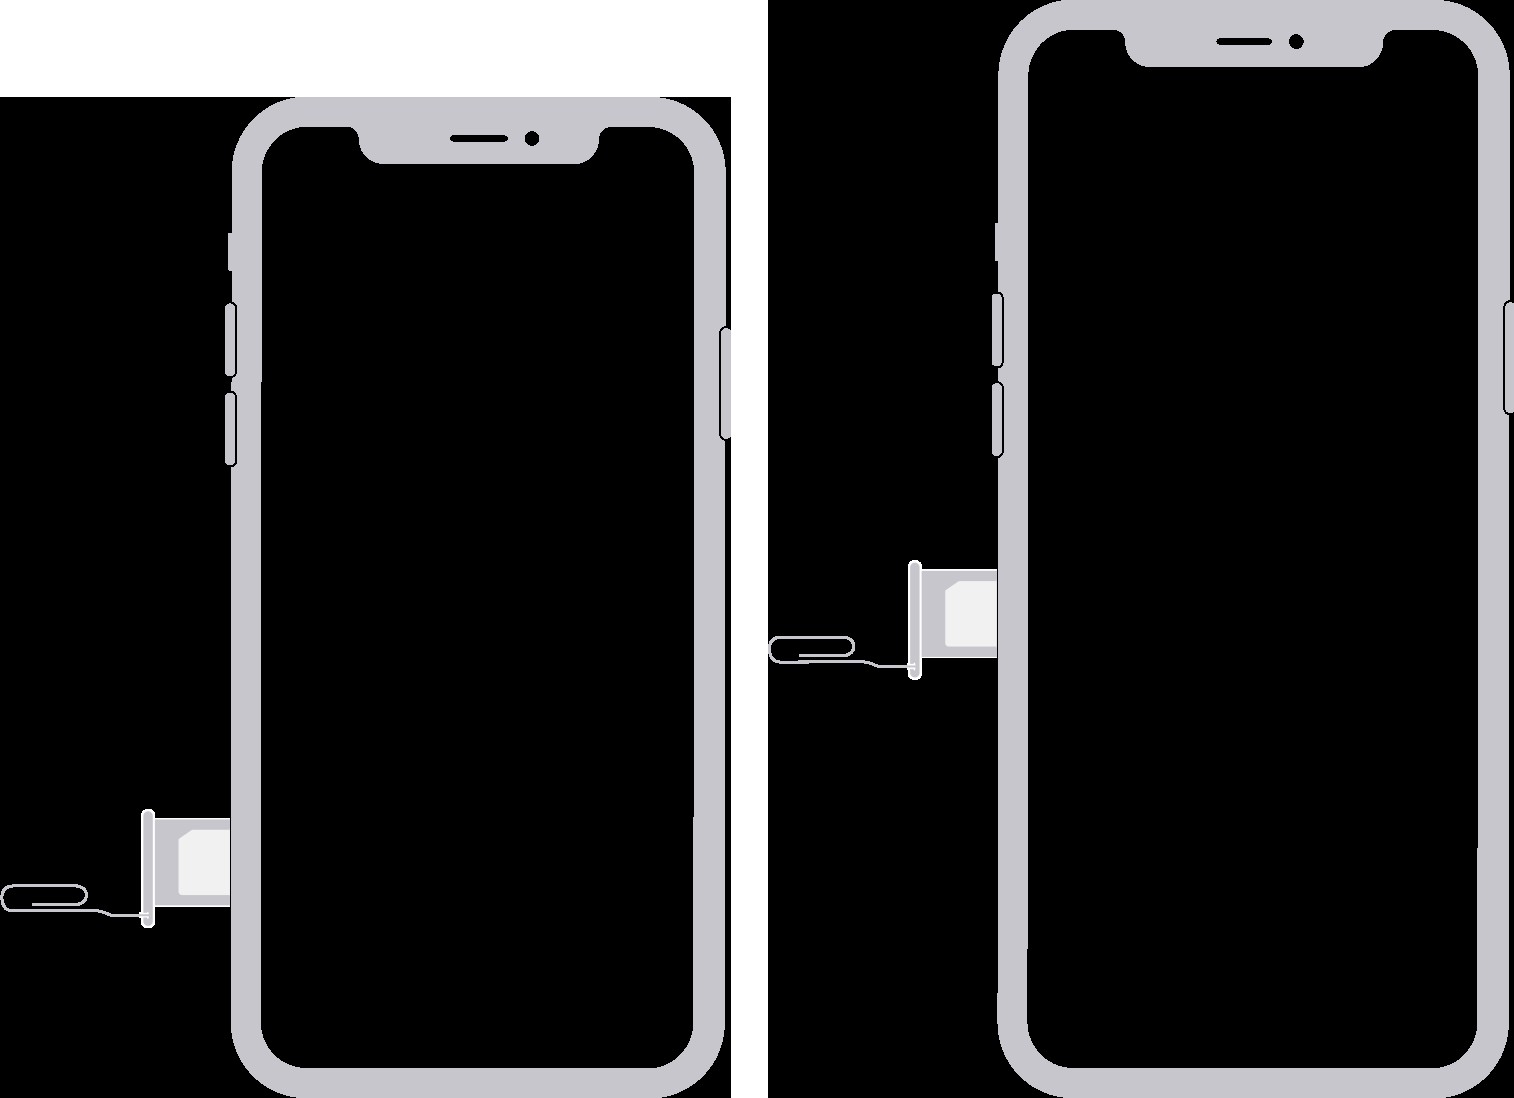
Removing or switching the SIM card in your iPhone is a straightforward process, whether you’re upgrading your device, changing carriers, or troubleshooting connectivity issues. This guide will walk you through the steps on how to safely eject and remove your SIM card from various iPhone models. It’s important to use only the SIM tray designed for your specific iPhone model, as trays from different models are not interchangeable.
For users with iPhone 14 models and later purchased in the United States, please note that these models do not have a physical SIM tray and instead utilize eSIM technology. If you have one of these models, you should learn how to set up an eSIM.
Let’s explore how to remove the SIM card from your iPhone based on the SIM tray location on your device.
Identifying Your iPhone SIM Tray Location
The location of the SIM tray varies depending on your iPhone model. Locate your iPhone model in the lists below to determine where to find your SIM tray. You’ll need a paper clip or a SIM-eject tool to open the tray. Insert the tool into the small hole beside the tray and gently push inwards towards your iPhone. Avoid applying excessive force. If you encounter difficulty ejecting the tray, it’s best to seek assistance from your carrier or an Apple Store.
After removing your SIM card, take a moment to note the notch on one corner of your SIM. When inserting a new SIM, align this notch correctly. The SIM card and tray are designed to fit in only one orientation.
SIM Tray on the Left Side
These iPhone models have the SIM tray located on the left side of the device:
- iPhone 16 Pro Max*
- iPhone 16 Pro*
- iPhone 16 Plus*
- iPhone 16*
- iPhone 15 Pro Max*
- iPhone 15 Pro*
- iPhone 15 Plus*
- iPhone 15*
- iPhone 14 Pro Max*
- iPhone 14 Pro*
- iPhone 14 Plus*
- iPhone 14*
- iPhone 13 Pro Max
- iPhone 13 Pro
- iPhone 13
- iPhone 13 mini
- iPhone 12 Pro Max
- iPhone 12 Pro
- iPhone 12
- iPhone 12 mini
* Note for US Purchases: iPhones 14 and later models purchased in the United States do not include a physical SIM card tray and use eSIM exclusively.
For users in China mainland: The SIM tray on iPhone 16 Pro Max, iPhone 16 Pro, iPhone 16 Plus, iPhone 16, iPhone 15 Pro Max, iPhone 15 Pro, iPhone 15 Plus, iPhone 15, iPhone 14 Pro Max, iPhone 14 Pro, iPhone 14 Plus, iPhone 14, iPhone 13 Pro Max, iPhone 13 Pro, iPhone 13, iPhone 12 Pro Max, iPhone 12 Pro, and iPhone 12 models sold in China mainland are designed to accommodate two nano-SIM cards.
SIM Tray on the Right Side
The following iPhone models feature a SIM tray on the right side:
- iPhone 11 Pro Max
- iPhone 11 Pro
- iPhone 11
- iPhone XS Max
- iPhone XS
- iPhone XR
- iPhone X
- iPhone SE (1st, 2nd, and 3rd generation)
- iPhone 8 Plus
- iPhone 8
- iPhone 7 Plus
- iPhone 7
- iPhone 6s Plus
- iPhone 6s
- iPhone 6 Plus
- iPhone 6
- iPhone 5s
- iPhone 5c
- iPhone 5
- iPhone 4s
- iPhone 4 (GSM model)
For users in China mainland: The SIM tray on iPhone 11 Pro Max, iPhone 11 Pro, iPhone 11, iPhone XS Max, and iPhone XR models in China mainland supports dual nano-SIM cards.
SIM Tray on the Top
These older iPhone models have their SIM tray located on the top edge of the device:
- iPhone 3GS
- iPhone 3G
- Original iPhone
Steps to Remove Your SIM Card
- Power off your iPhone: It’s always a good practice to power off your iPhone before removing or inserting a SIM card. This prevents any potential data corruption or issues.
- Locate the SIM tray: Refer to the sections above to find the SIM tray location for your specific iPhone model (left, right, or top).
- Insert the SIM eject tool or paper clip: Straighten a paper clip or use a SIM eject tool (often included with new iPhones or available from phone retailers). Insert the tool into the small hole on the SIM tray.
- Gently push to eject the tray: Apply gentle but firm pressure until the SIM tray pops out slightly. Avoid forcing it.
- Remove the SIM tray: Carefully pull the SIM tray out of the iPhone.
- Take out the SIM card: The nano-SIM card will be sitting in the tray. You can now remove it.
Steps to Insert a SIM Card
- Place the SIM card in the tray: Position your new nano-SIM card into the SIM tray. It will only fit in one orientation due to the notch in the corner. Ensure it sits flush in the tray.
- Insert the SIM tray back into the iPhone: Align the SIM tray with the slot and gently slide it back into your iPhone until it is fully inserted and flush with the device’s edge. Again, it will only fit in one direction.
- Power on your iPhone: Turn your iPhone back on. It should now recognize the new SIM card.
Learn More About SIM Cards and eSIM
For more detailed information about SIM cards, including what to do if you lose your SIM card or need to transfer data, you can learn more about SIM cards here. And if you are using a newer iPhone model that supports eSIM, explore the benefits and setup process of eSIM.

