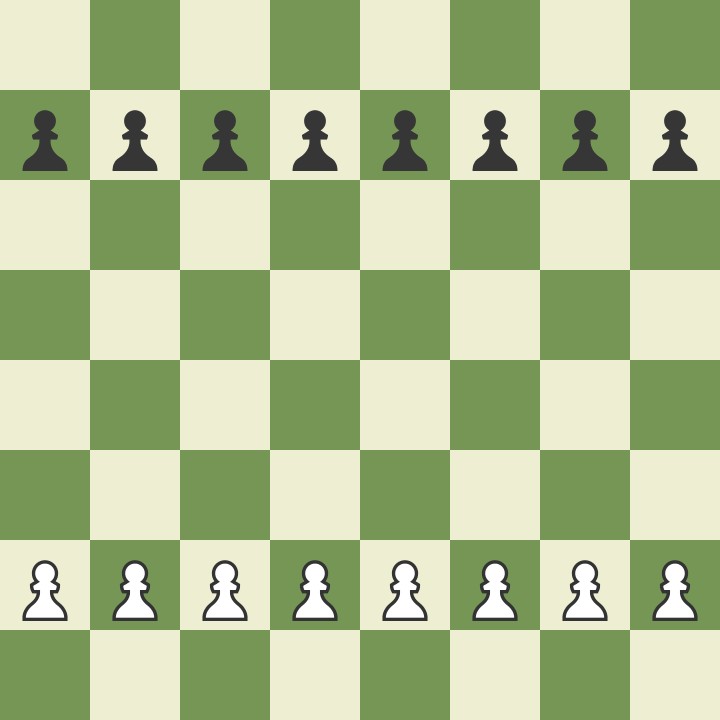
Setting up a chess board correctly is the first crucial step before you can enjoy a game of chess. Whether you’re a complete novice eager to learn or teaching someone new to the game, understanding the initial setup is essential. This guide will walk you through each step, ensuring your chessboard is perfectly arranged for your first move.
Step 1: Orient the Chessboard Correctly – “White on the Right”
The very first thing to consider is the orientation of the chessboard itself. It’s not symmetrical, and getting it turned the right way is key. Look at the squares: you’ll notice alternating light and dark squares. The rule of thumb to remember is “white on the right”. This means that the square in the bottom right corner, closest to you, must be a light-colored square. If it’s a dark square, rotate the board 90 degrees. This correct orientation is crucial for piece placement in the subsequent steps.
Step 2: Place the Pawns on the Second Rank
Pawns are the foot soldiers of your chess army, and they are set up first. Take all eight pawns for each side (White and Black). The second rank (row) is the one directly in front of you. Place a pawn on each square of the second rank. This line of pawns acts as the frontline defense and offense in your chess game. Setting up pawns first can simplify the process and declutter the area for placing the more prominent pieces.
Step 3: Position the Rooks in the Corners
Rooks are powerful pieces that move along ranks and files (horizontally and vertically). They are placed in the corners of the chessboard. Think of them as guarding the flanks of your chess army, positioned on the outermost squares of the first rank (the row closest to you). There are four corners on the board, and each player will have two rooks to place.
Step 4: Introduce the Knights Next to the Rooks
Knights are unique pieces that move in an “L” shape, jumping over other pieces. They are positioned next to the rooks, inwards from the corners. Imagine the knights as agile cavalry, ready to maneuver around the battlefield. Place them on the squares immediately adjacent to the rooks on the first rank.
Step 5: Bishops Flank the Knights
Bishops move diagonally and control long lines on the chessboard. They are placed next to the knights, moving inwards towards the center of the first rank. Each player has two bishops: one that moves on light squares and one on dark squares. Position them on the squares immediately inside the knights.
Step 6: Queen on Her Color Square
The queen is the most powerful piece in chess, capable of moving both horizontally, vertically, and diagonally. It’s crucial to place the queen on the correct square. The rule to remember is “queen on her color”. This means the White queen goes on a light square, and the Black queen goes on a dark square. There will be two center squares left on the first rank, and the light square (for White) and dark square (for Black) are where the queens belong.
Step 7: King on the Remaining Square
Finally, the king, though not the most mobile piece, is the most important because its capture signifies the end of the game. By this stage, there will be only one square left on the first rank for each player. This last square is where the king is placed. It should naturally fit into the remaining space, completing the setup of your chess army.
Step 8: White Moves First
Once the chessboard is set up, you’re ready to play! In chess, the player with the White pieces always makes the first move. There are various ways to decide who plays White – you can flip a coin, hide a white pawn in one hand and let your opponent choose, or simply agree beforehand. Knowing White always starts is a fundamental rule to begin your chess game correctly.
With these eight simple steps, you’ll have your chessboard set up perfectly every time. Now you are ready to start playing and enjoy the fascinating game of chess! If you’re eager to play right away, you can find a chessboard already set up and ready for you online at Chess.com.
