Experiencing issues with your AirPods Pro? Whether it’s connectivity problems, charging difficulties, or just general glitches, resetting your AirPods Pro can often resolve these headaches and restore them to their optimal performance. This guide will walk you through the straightforward steps to reset your AirPods Pro, ensuring you can get back to enjoying your favorite audio without interruption.
When Might You Need to Reset Your AirPods Pro?
Before diving into the how-to, it’s helpful to understand when a reset is the appropriate solution. You might consider resetting your AirPods Pro if you’re encountering any of the following:
- Connectivity issues: AirPods Pro won’t connect to your iPhone, iPad, Mac, or other devices, or they keep disconnecting.
- Charging problems: One or both AirPods Pro earbuds aren’t charging, or the charging case itself isn’t charging correctly.
- Audio glitches: Distorted sound, static, or inconsistent audio quality.
- Pairing difficulties: Trouble pairing your AirPods Pro with a new device.
- Unresponsive controls: Touch controls on the AirPods Pro are not working as expected.
If you’re facing any of these issues, a reset can be a quick and effective first step in troubleshooting.
Step-by-Step Guide: How to Reset Your AirPods Pro
Resetting your AirPods Pro is a simple process that involves a few key steps. Follow these instructions carefully to ensure a successful reset:
-
Place AirPods Pro in the Charging Case and Close the Lid: Begin by placing both of your AirPods Pro earbuds back into their charging case. Make sure the case is closed completely. Wait for at least 30 seconds. This initial step ensures the AirPods are disconnected and ready for the reset process.
-
Forget AirPods Pro on Your Paired Device (iPhone or iPad): On your iPhone or iPad that you typically use with your AirPods Pro, navigate to the Bluetooth settings.
- Go to Settings and tap on Bluetooth.
- Locate your AirPods Pro in the list under My Devices.
- Tap the ” ⓘ ” (More Info) button next to your AirPods Pro name.
- Select Forget This Device.
- Confirm your choice by tapping Forget Device again.
This step is crucial to ensure a clean reset and pairing process. Forgetting the device removes the existing pairing information, allowing for a fresh connection after the reset. If your AirPods Pro are not listed, proceed to the next step.
-
Open the Lid of the Charging Case: With your AirPods Pro still inside the case, open the lid. Keep the lid open throughout the reset process.
-
Press and Hold the Setup Button: Locate the setup button on the back of your AirPods Pro charging case. It’s a small, circular button on the rear of the case. Press and hold this button for approximately 15 seconds.
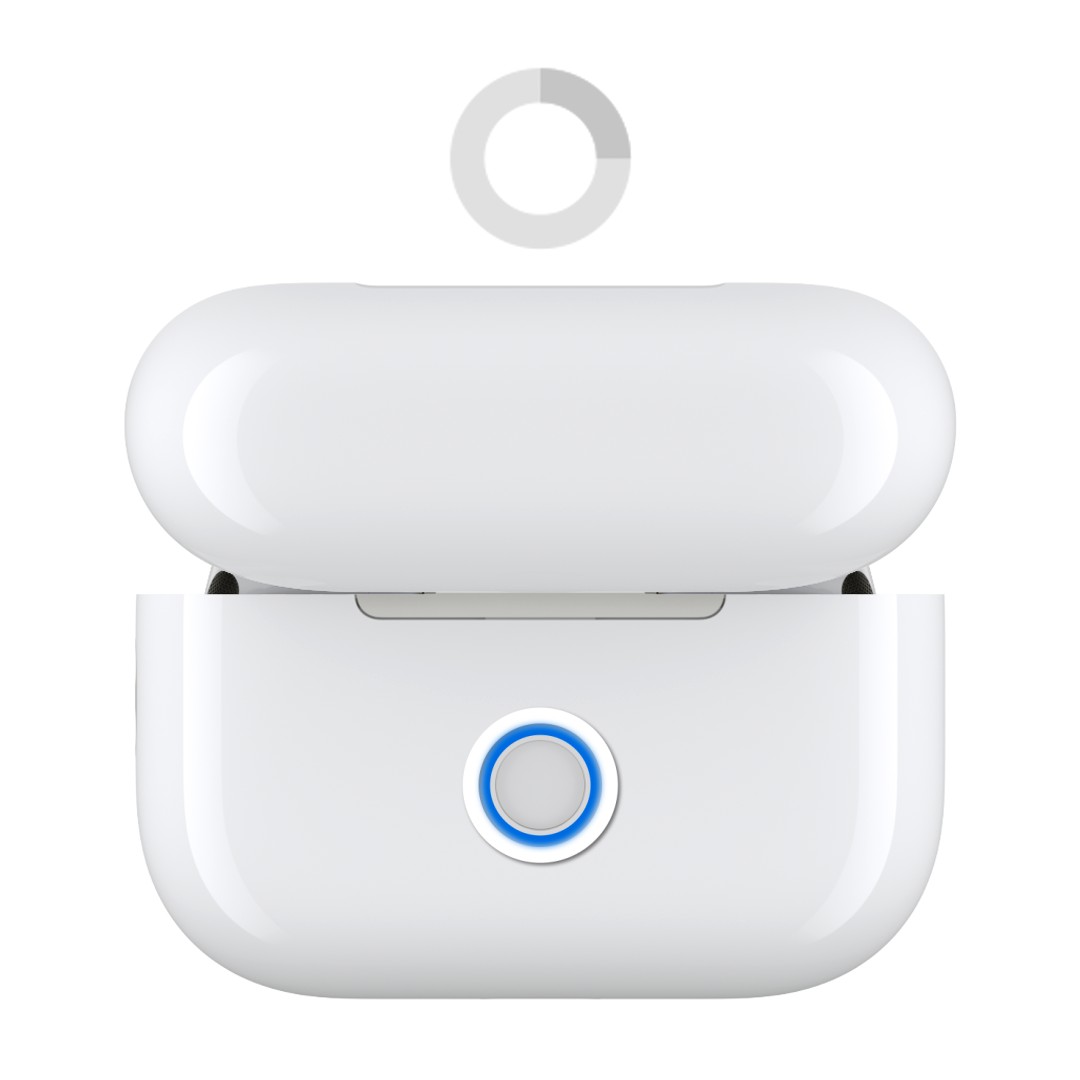
Resetting AirPods Pro: Press and hold the button on the back of the AirPods Pro case for 15 seconds until the status light flashes amber then white.
-
Observe the Status Light: While holding the setup button, watch the status light on the front of the AirPods Pro case (or inside the case for some models). Initially, the status light might flash white. Continue holding the button until you see the status light flash amber first, and then change to flashing white. This sequence indicates that your AirPods Pro have been successfully reset.
-
Reconnect Your AirPods Pro: After the status light flashes white, your AirPods Pro are reset and ready to be reconnected. With the AirPods Pro still in their open charging case, bring them close to your iPhone or iPad. Follow the on-screen instructions that appear on your device to reconnect and set up your AirPods Pro again.
What if the Status Light Doesn’t Flash White? Troubleshooting Reset Issues
If you encounter a situation where the status light doesn’t flash white after following the reset steps, here are a few troubleshooting tips:
-
Ensure Sufficient Charge: Make sure both your AirPods Pro and the charging case have enough charge. Connect the case to a power source and let it charge for at least 20 minutes before attempting the reset again. A low battery can sometimes interfere with the reset process.
-
Repeat the Reset Process: Sometimes, the reset might not register on the first attempt. Repeat steps 4 and 5, ensuring you hold the setup button for the full 15 seconds and carefully observe the status light sequence.
-
Try Forgetting the Device Again: Even if you didn’t see your AirPods Pro in the Bluetooth list initially, try going through the “Forget This Device” steps again after charging and before re-attempting the reset.
-
Contact Apple Support: If you’ve tried these steps and the status light still doesn’t flash white, or if you continue to experience issues, it might be time to reach out to Apple Support for further assistance. There might be a hardware issue or a more complex problem that requires professional attention.
Reconnecting and Enjoying Your AirPods Pro
Once you’ve successfully reset your AirPods Pro and the status light has flashed amber then white, you can reconnect them to your Apple devices. The reconnection process is usually automatic and straightforward when you bring the open case near your iPhone or iPad. Follow the prompts on your screen to complete the pairing.
Resetting your AirPods Pro is a valuable troubleshooting step that can resolve a variety of common issues. By following this guide, you can ensure your AirPods Pro are working smoothly, allowing you to fully enjoy their premium audio experience.