Taking a screenshot on your Mac is a fundamental skill, whether you’re sharing information, creating tutorials, or simply saving something you see on your screen. macOS offers a variety of built-in tools and keyboard shortcuts to make capturing your screen incredibly easy and versatile. This guide will walk you through everything you need to know about how to screenshot on a Mac, from capturing the entire screen to specific windows, and even recording video. Let’s dive in and explore the different methods to become a screenshot pro!
Capture Your Entire Mac Screen: Shift + Command + 3
The quickest way to capture everything visible on your Mac display is by using the Shift + Command + 3 keyboard shortcut. This command is your go-to for grabbing a full snapshot of your screen.
- Press and hold the Shift key, the Command key (⌘), and the number 3 key simultaneously.
- You will hear a camera shutter sound (if your sound is turned on), and momentarily a thumbnail of your screenshot will appear in the bottom-right corner of your screen.
- Click on the thumbnail to immediately open and edit the screenshot using Markup tools, allowing you to crop, annotate, share, or delete it. If you don’t click the thumbnail, it will automatically save to your desktop after a few seconds.
This method is ideal when you need to quickly capture everything on your screen without needing to select a specific area.
Capture a Portion of Your Mac Screen: Shift + Command + 4
Sometimes you only need to capture a specific part of your screen. For this, macOS provides the Shift + Command + 4 shortcut, which activates a selection tool.
- Press and hold the Shift key, the Command key (⌘), and the number 4 key at the same time.
- Your cursor will transform into a crosshair pointer (+).
- Click and drag the crosshair to select the exact area of the screen you want to capture. A rectangle will appear as you drag, indicating the selection area.
- To resize the selection while dragging, continue to drag the mouse.
- To reposition the selection while maintaining its size, press and hold the Space bar while dragging.
- To cancel the screenshot process at any time, press the Esc (Escape) key.
- Release the mouse button or trackpad to take the screenshot of the selected area.
- Similar to the full screenshot, a thumbnail will appear in the corner, allowing you to edit or wait for it to save to your desktop.
This method is perfect for capturing specific content like a part of a webpage, an image, or a particular section of an application window.
Capture a Specific Window or Menu: Shift + Command + 4 + Space Bar
If you want to capture a specific window, such as a browser window, a document, or even a menu, macOS offers a handy variation using the Space bar in combination with the previous shortcut.
- Press and hold Shift + Command + 4.
- Press the Space bar. The crosshair cursor will change into a camera icon.
- Move the camera icon over the window you wish to capture. As you hover over different windows, they will highlight, indicating they are the target for the screenshot.
- Click on the window you want to capture.
- To capture the window without its shadow, press and hold the Option (⌥) key while clicking.
- To cancel the screenshot, press the Esc (Escape) key.
- Again, a thumbnail will appear for editing, or the screenshot will save to your desktop.
This is incredibly useful for capturing application windows cleanly, especially for tutorials or documentation where you need to focus on a specific application interface.
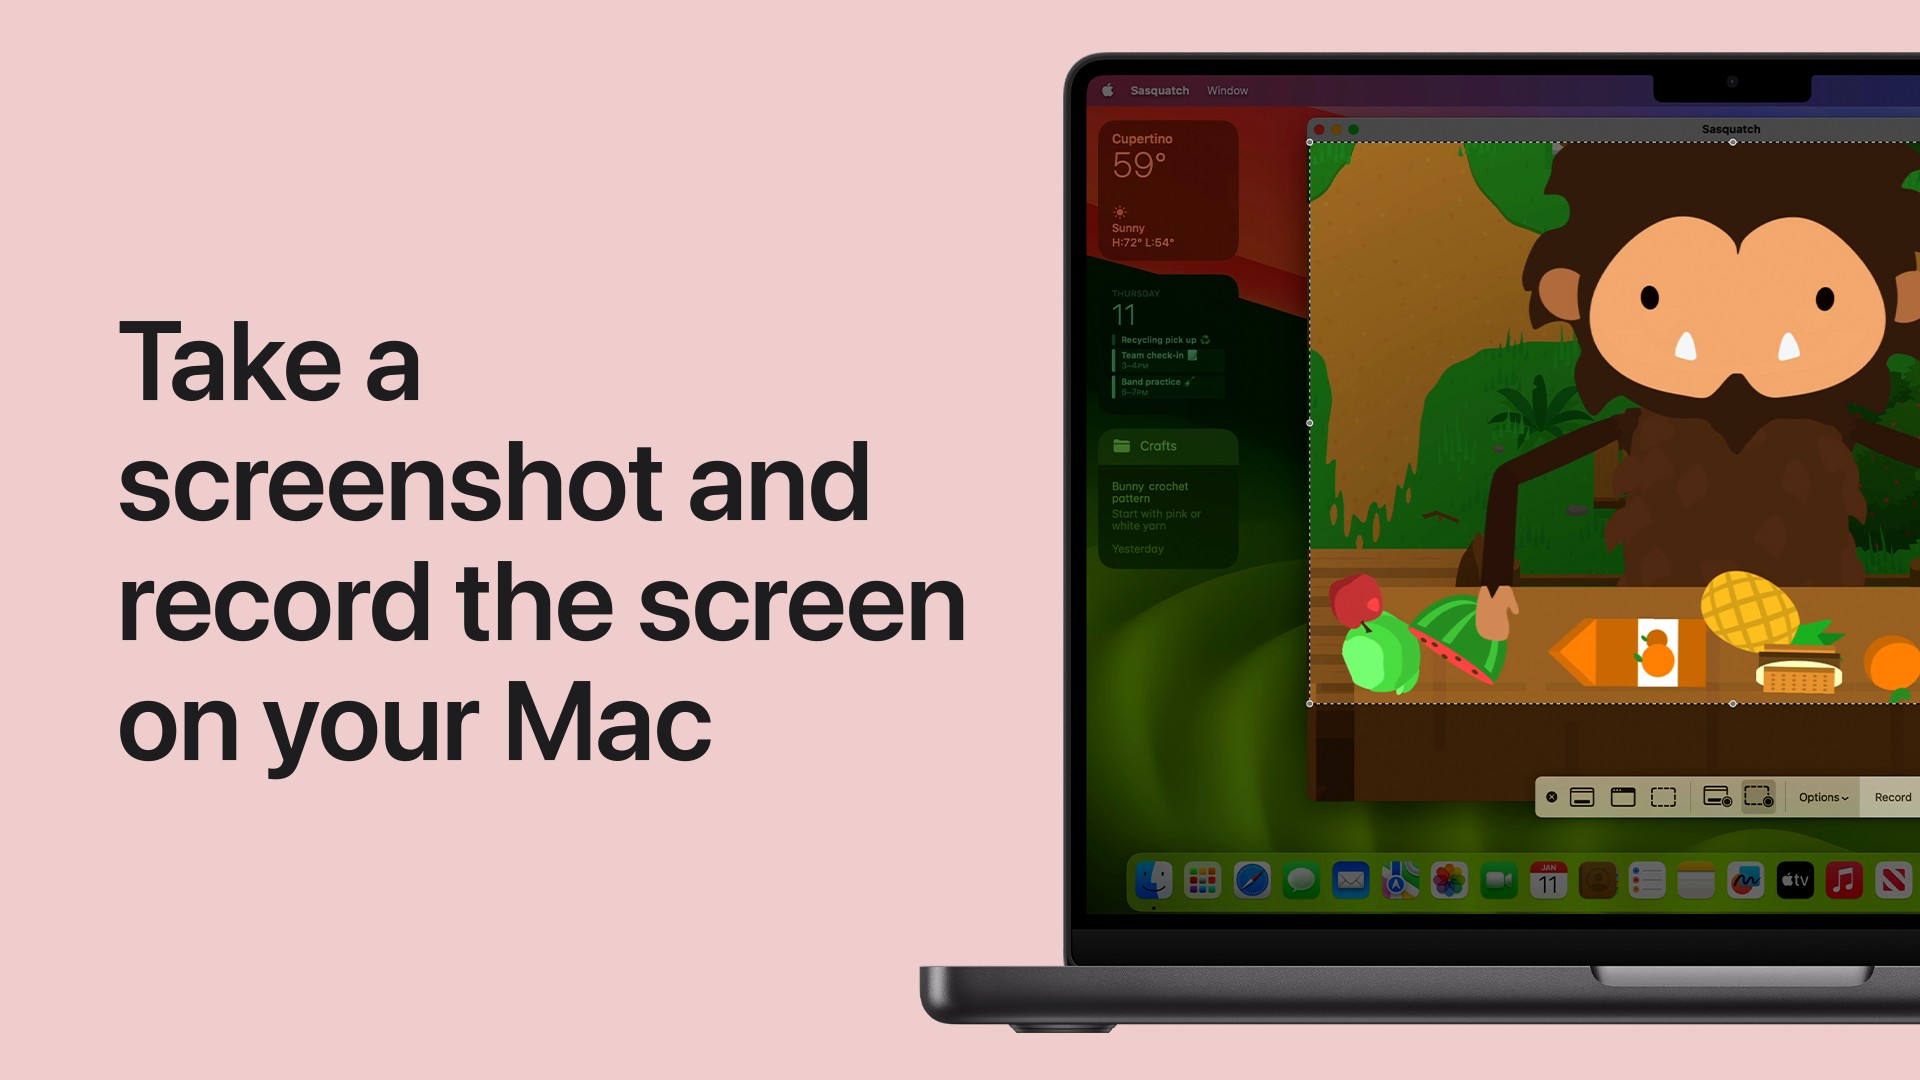
Using the Screenshot App: Shift + Command + 5 for More Options
For more advanced screenshot options and screen recording, macOS includes the Screenshot app, accessible via the Shift + Command + 5 shortcut.
- Press and hold Shift + Command + 5. This will bring up a small toolbar at the bottom of your screen.
- This toolbar provides various options:
- Capture Entire Screen: (Icon resembling a full screen) – Functions like Shift + Command + 3.
- Capture Selected Window: (Icon resembling a window) – Functions like Shift + Command + 4 + Space Bar.
- Capture Selected Portion: (Icon resembling a dashed rectangle) – Functions like Shift + Command + 4.
- Record Entire Screen: (Icon resembling a solid rectangle with a dot) – Starts recording a video of your entire screen.
- Record Selected Portion: (Icon resembling a dashed rectangle with a dot) – Starts recording a video of a selected area of your screen.
- Options: This dropdown menu allows you to set a timer for screenshots (None, 5 seconds, 10 seconds), choose where to save screenshots (Desktop, Documents, Clipboard, Mail, Messages, Preview, or Other Location), and show or hide the floating thumbnail.
This app provides a centralized interface for all your screenshot and screen recording needs, offering greater control and customization.
Finding Your Screenshots and Screen Recordings
By default, all screenshots and screen recordings are saved to your Desktop. The filenames are automatically generated in the format “Screen Shot [date] at [time].png” for screenshots and “Screen Recording [date] at [time].mov” for screen recordings.
If you can’t immediately see your screenshots, they might be hidden behind other windows. You can easily access your desktop files by:
- Going to Finder > Go > Desktop from the menu bar.
- Or, clicking Desktop in the sidebar of any Finder window.
Remember, you can also change the default save location using the Options menu within the Screenshot app (Shift + Command + 5).
Bonus Tip: Save Screenshots to Clipboard
For quickly pasting a screenshot into a document or message without saving it as a file first, you can save it directly to your clipboard. To do this:
- Hold down the Control key in addition to any of the screenshot shortcuts (e.g., Control + Shift + Command + 3 for a full-screen screenshot to clipboard).
- Alternatively, for screenshots that show a thumbnail, Control-click on the thumbnail and choose “Save to Clipboard” from the shortcut menu.
Now you can paste the screenshot directly (Command + V) into applications that support image pasting.
Mastering screenshots on your Mac is essential for effective communication and productivity. With these methods, you’ll be able to capture and share anything on your screen with ease. Experiment with the different shortcuts and the Screenshot app to find the workflow that best suits your needs!